
How to build a basic, beautiful one page website
By the end of this article, you will be able to build and launch an amazing one-page website, even if you don't know how to code.

Hi,
I whole-heartedly believe that you need a “home base” that you wholly owned. That said, it’s not without technical difficulty to set up a website. Luckily, with the existing tools at our disposal, we can create an absolutely stunning website without a lot of tech knowledge at all.
I wouldn’t call myself a web developer since I don’t know any coding languages, but if you point me to a good no-code website builder, I can make something pretty and functional.
I’ve been building websites since 2010, when I created my first website through Homestead, which I recently learned was still around, though my account has been closed. I’ve created dozens of websites in my life for all sorts of purposes.
My specialty, I guess, is in simple, clean, one-page websites that also function as sales landing pages. Today, I’m going to show you how to set up a very basic and beautiful website that allows you to start gathering emails and protecting your home base without a ton of headaches.
That doesn’t mean there will be no headaches, though.
We’re going to be using Bluehost and Elementor to create this website. I am using them because I know how to work them, and I have found them to be the cheapest options available while still being relatively easy to use.
We’ll also be using Wordpress. I know a lot of people are Wordpress shy, but once you have a website set up, I have found it to be pretty easy to use. However, sometimes getting your site loaded is a pain.
Finally, the page we are building today is for my authorship. If you aren’t an author, this should still work for you, but you do have to extrapolate from known data.

PART 1: Setting up your website
Before we get your website going, we have to first buy a domain and get your Wordpress site installed.
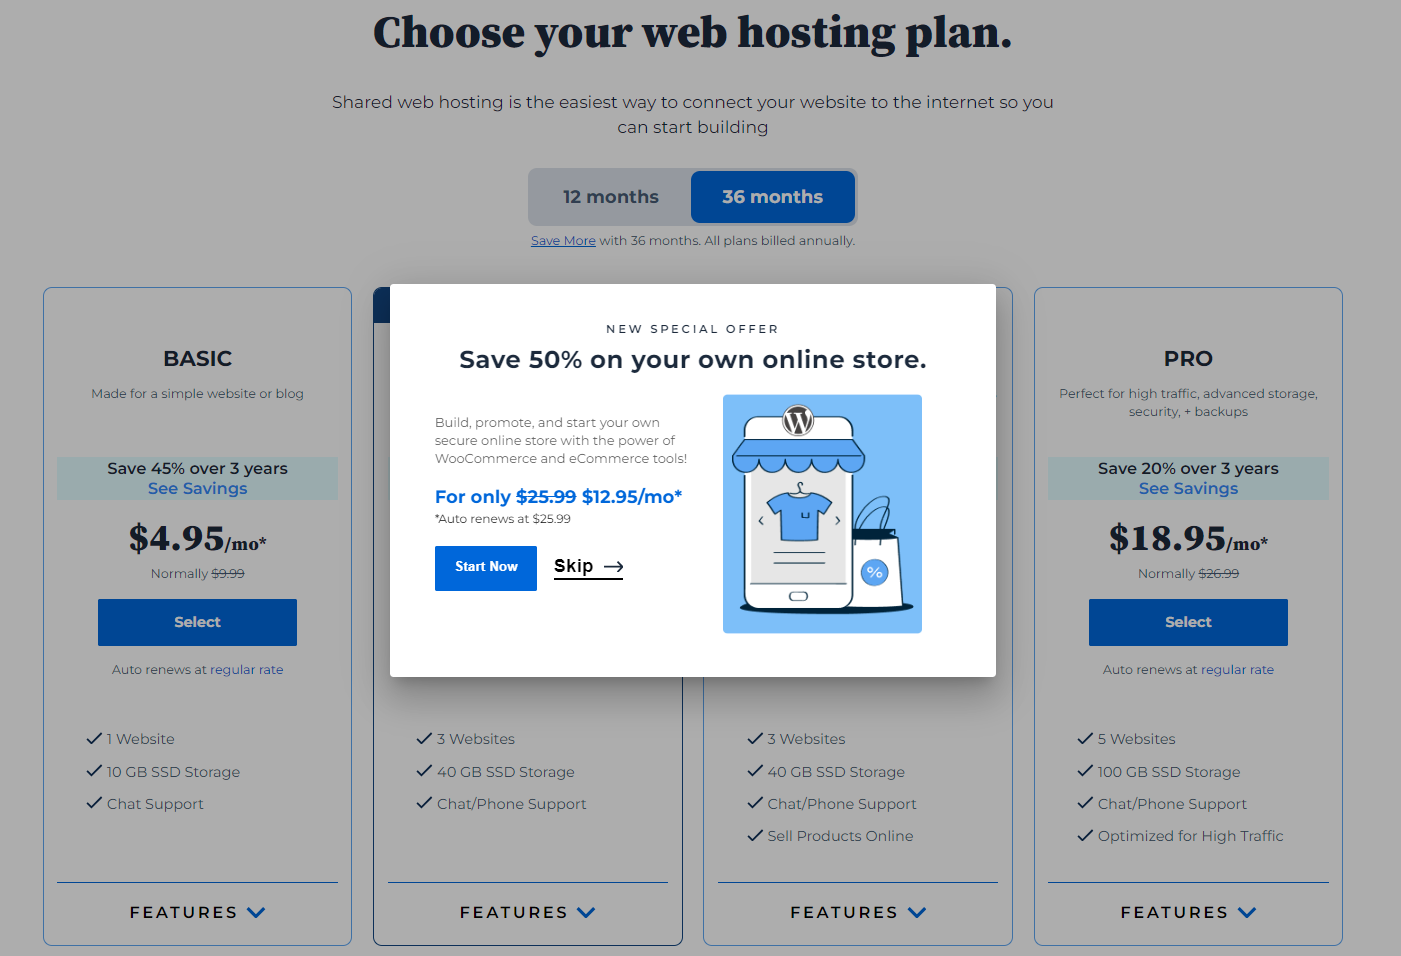
Step 1: Head to Bluehost.com and scroll down until you see a place to sign up for a hosting plan. Right now this is about halfway down the page, and that might change, but you should be able to choose your hosting plan. I have the BASIC 36-month plan. In fairness, though, I was grandfathered into unlimited sites somehow.

Step 2: Once you choose your hosting plan, it will ask if you want to start a store. Your answer should be no. We’ll be using Payhip to host our shop for free.
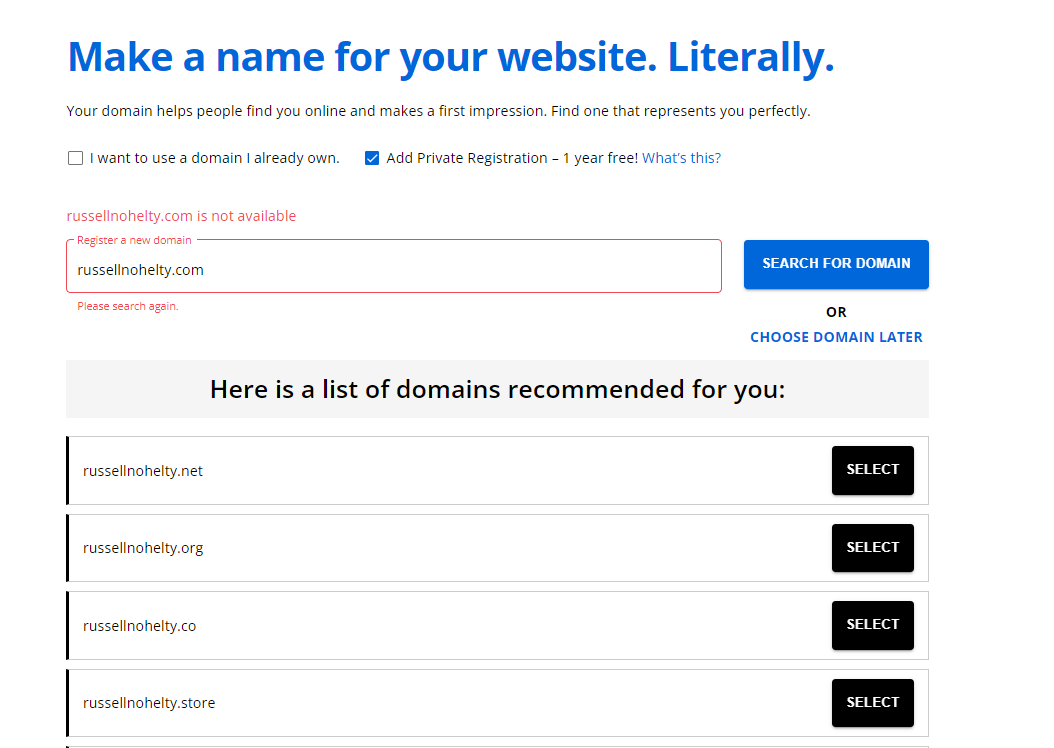
Step 3: Then, it will ask you to choose a domain name. If your website is available, it will take you to the checkout page. Otherwise, it will come up with something like this and make you either choose another name or search again.
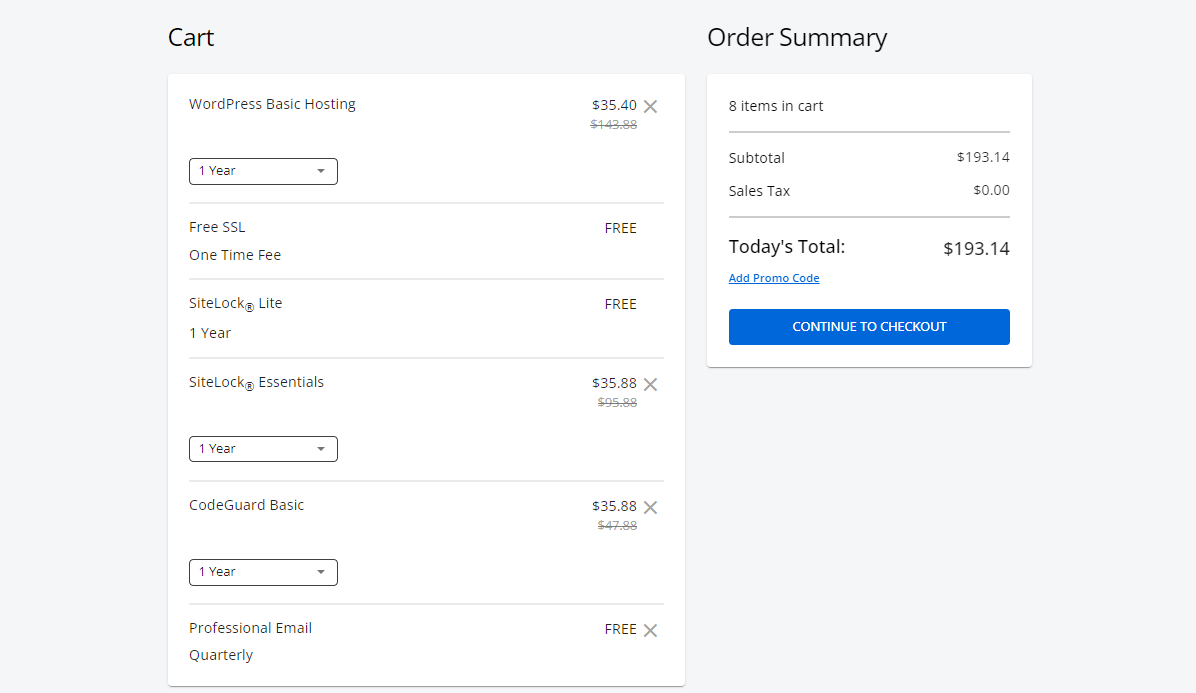
Step 4: It will ask if you want a bunch of stuff. If you want that stuff, you can get it. I didn’t get any stuff and the only negative was that since I didn’t get domain protection I get called and emailed constantly from companies trying to sell me things.
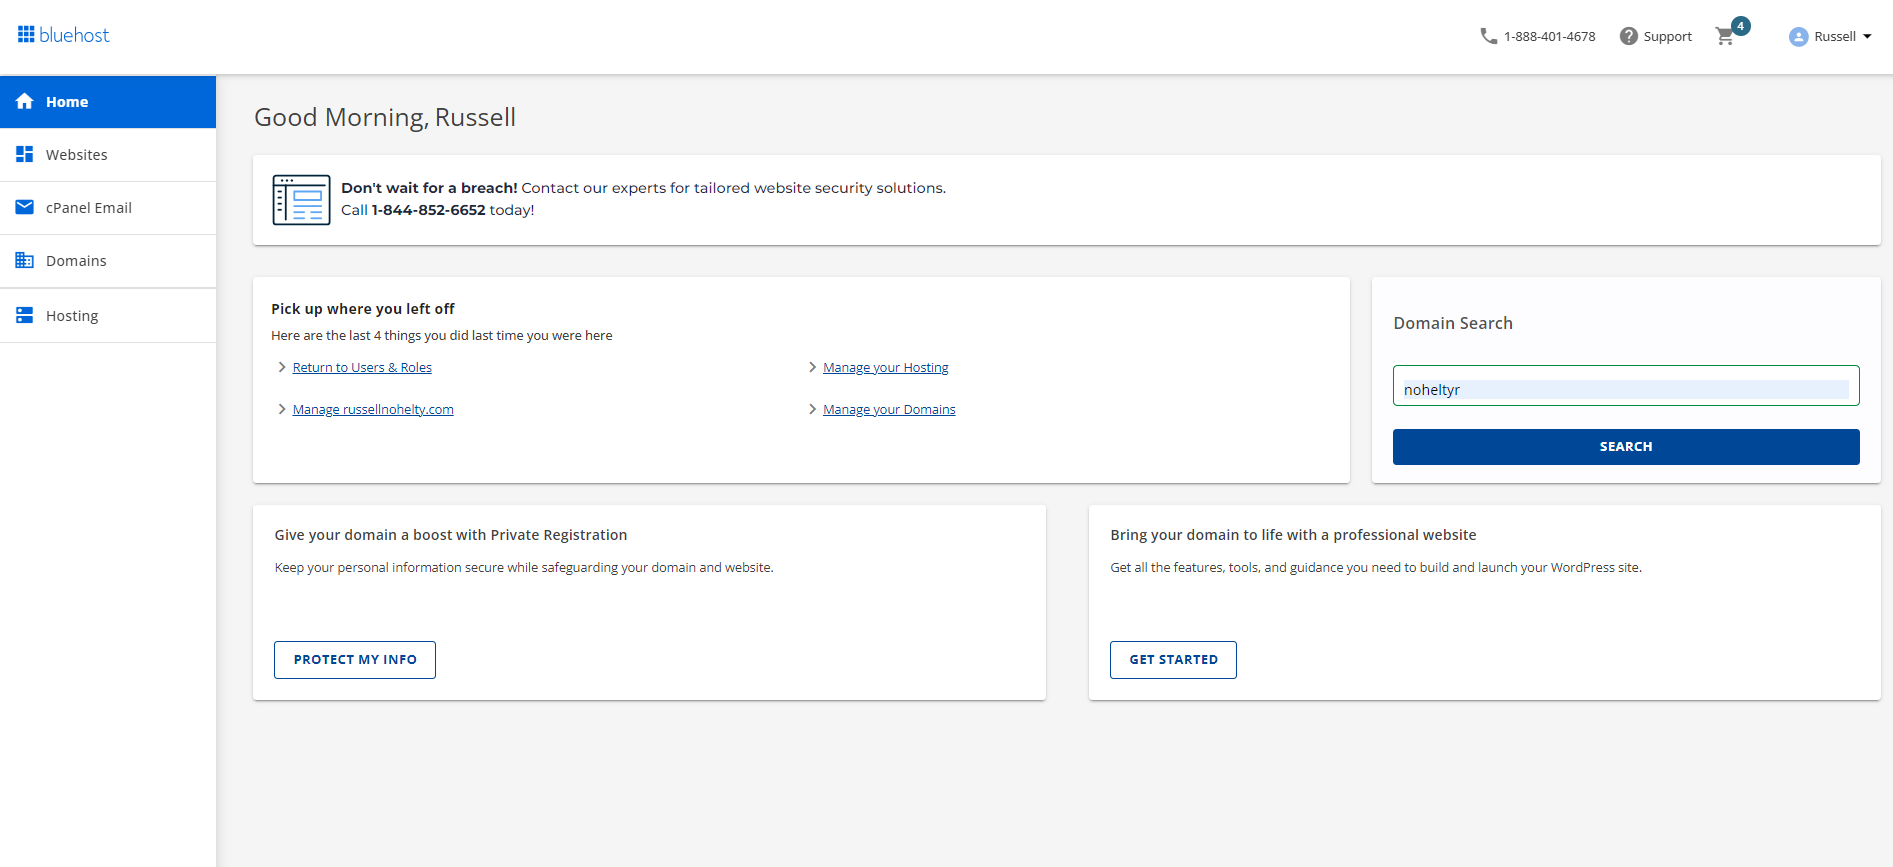
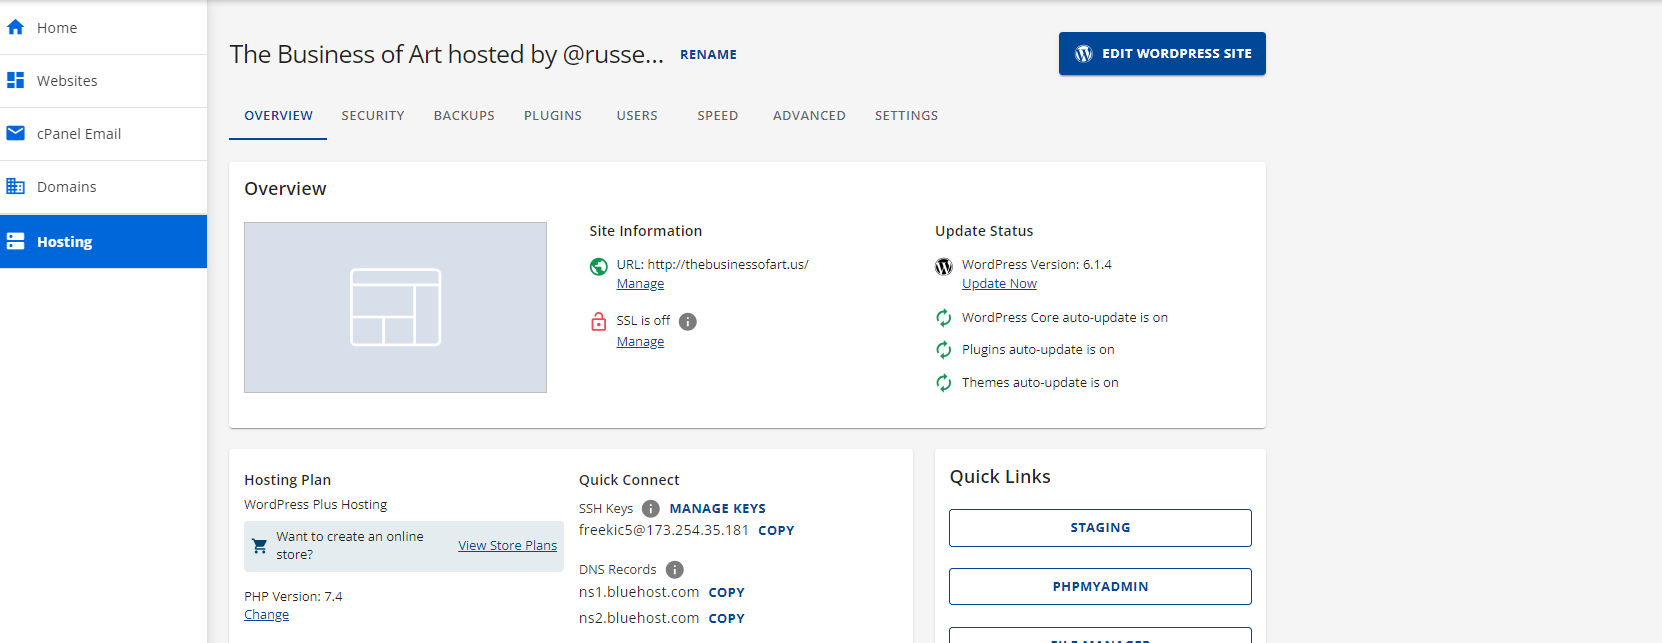
Step 5: After you checkout and get your login details, head to your account. You should see something like this. If you see that, head to the hosting tab on the left scroll.
Step 6: Click “Install Wordpress” and then continue.

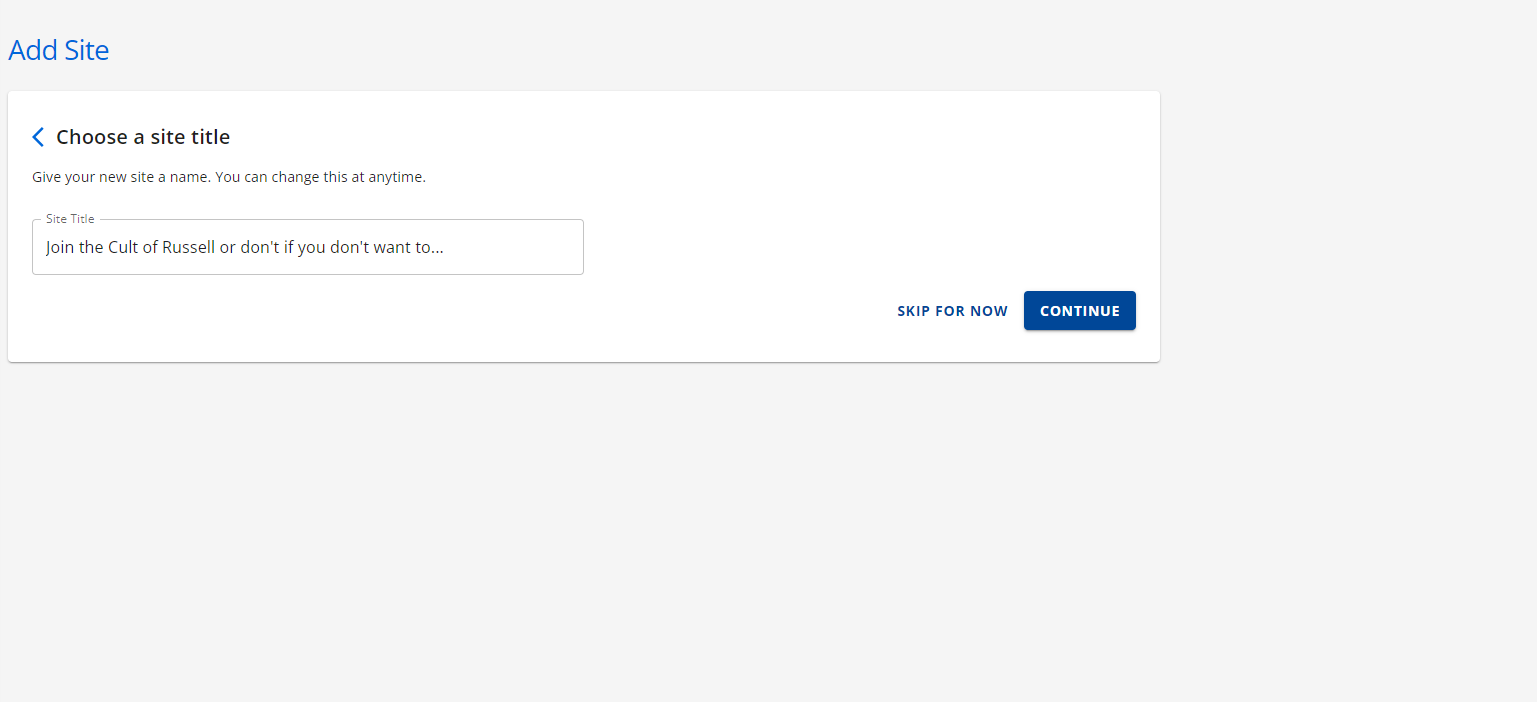
Step 7: Choose a site title. I recommend something like “Welcome to the website of Russell Nohelty” and not the nonsense I wrote below.
Step 8: Type in the name of the domain you just bought, and click the blue button, which I think says continue but I’m not sure because I forgot to record it.
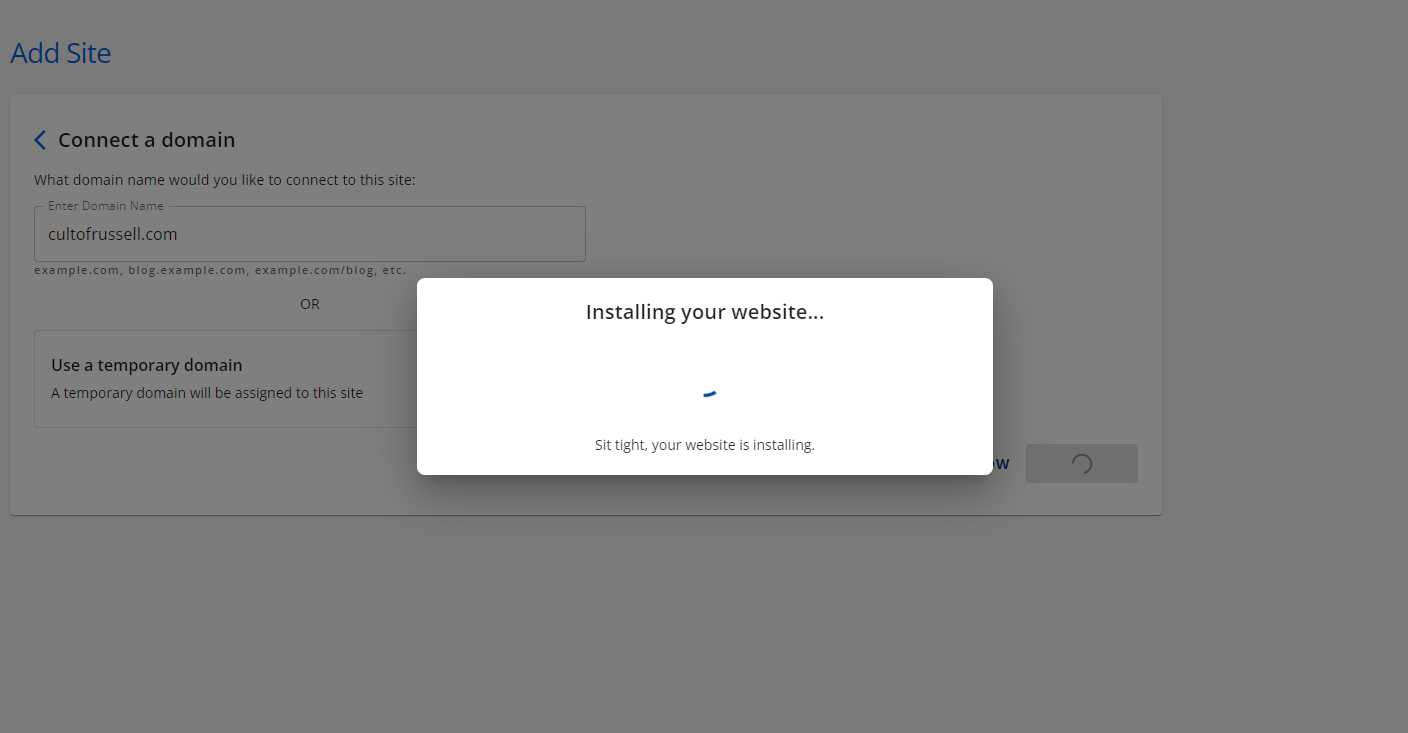
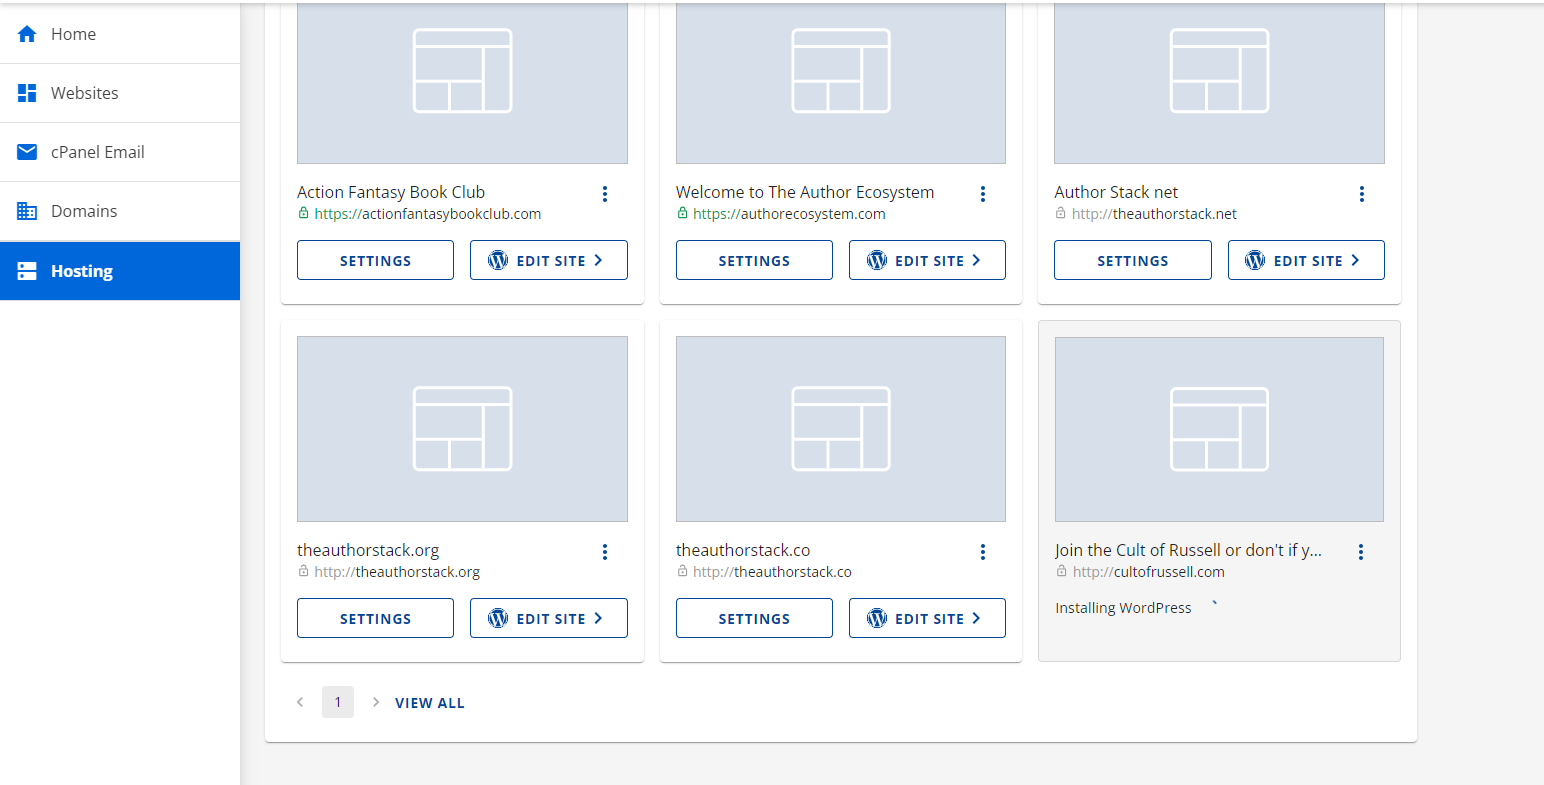
Step 8: It should bring you back to the Hosting tab, where you will see a grayed-out box that shows your link and then says “Installing Wordpress”. It could take up to 48 hours to propagate, which is their fancy way of saying “able to be used”.
Once the box stops being grayed out, you can click “Edit Site” and it will bring you to your new Wordpress site.
PART 2: Setting up your theme and plug-ins
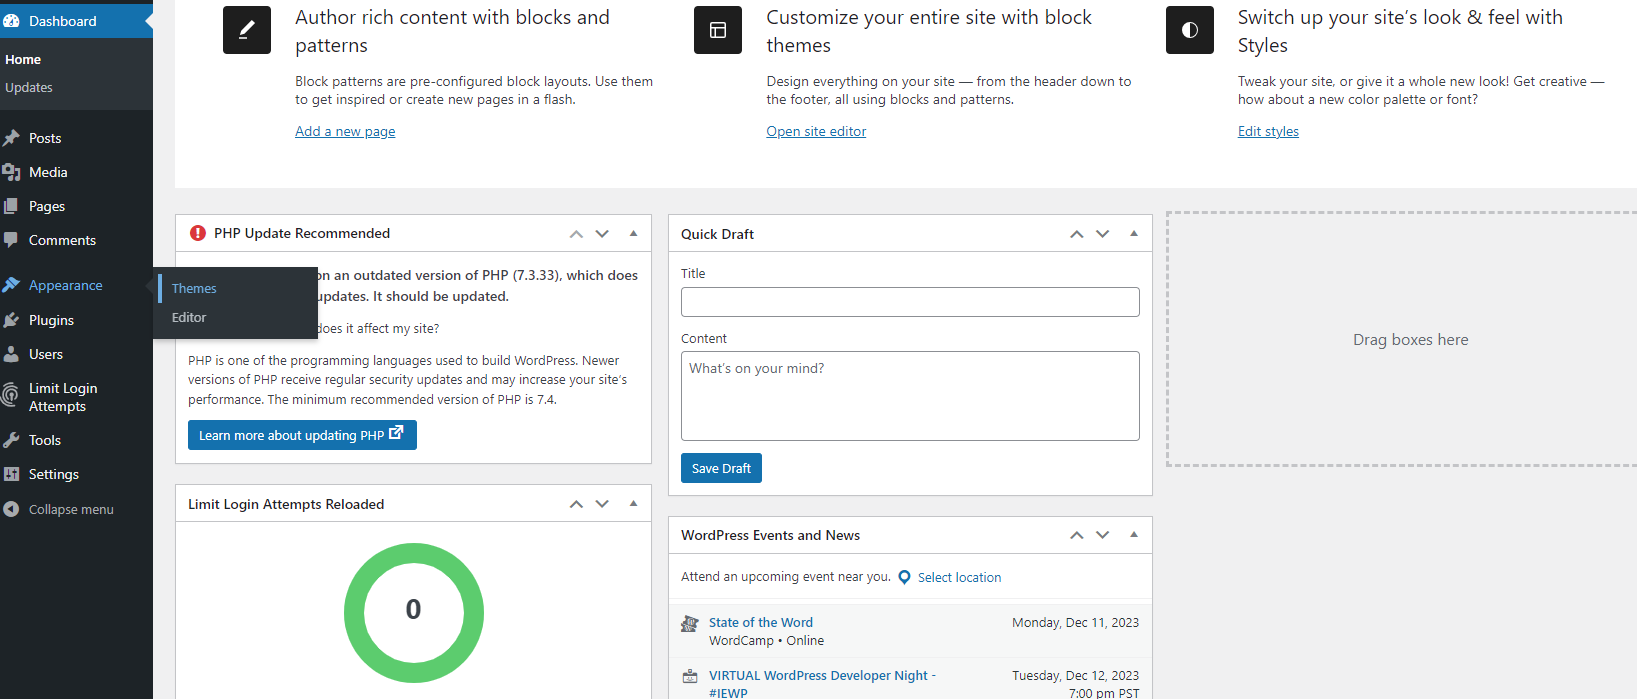
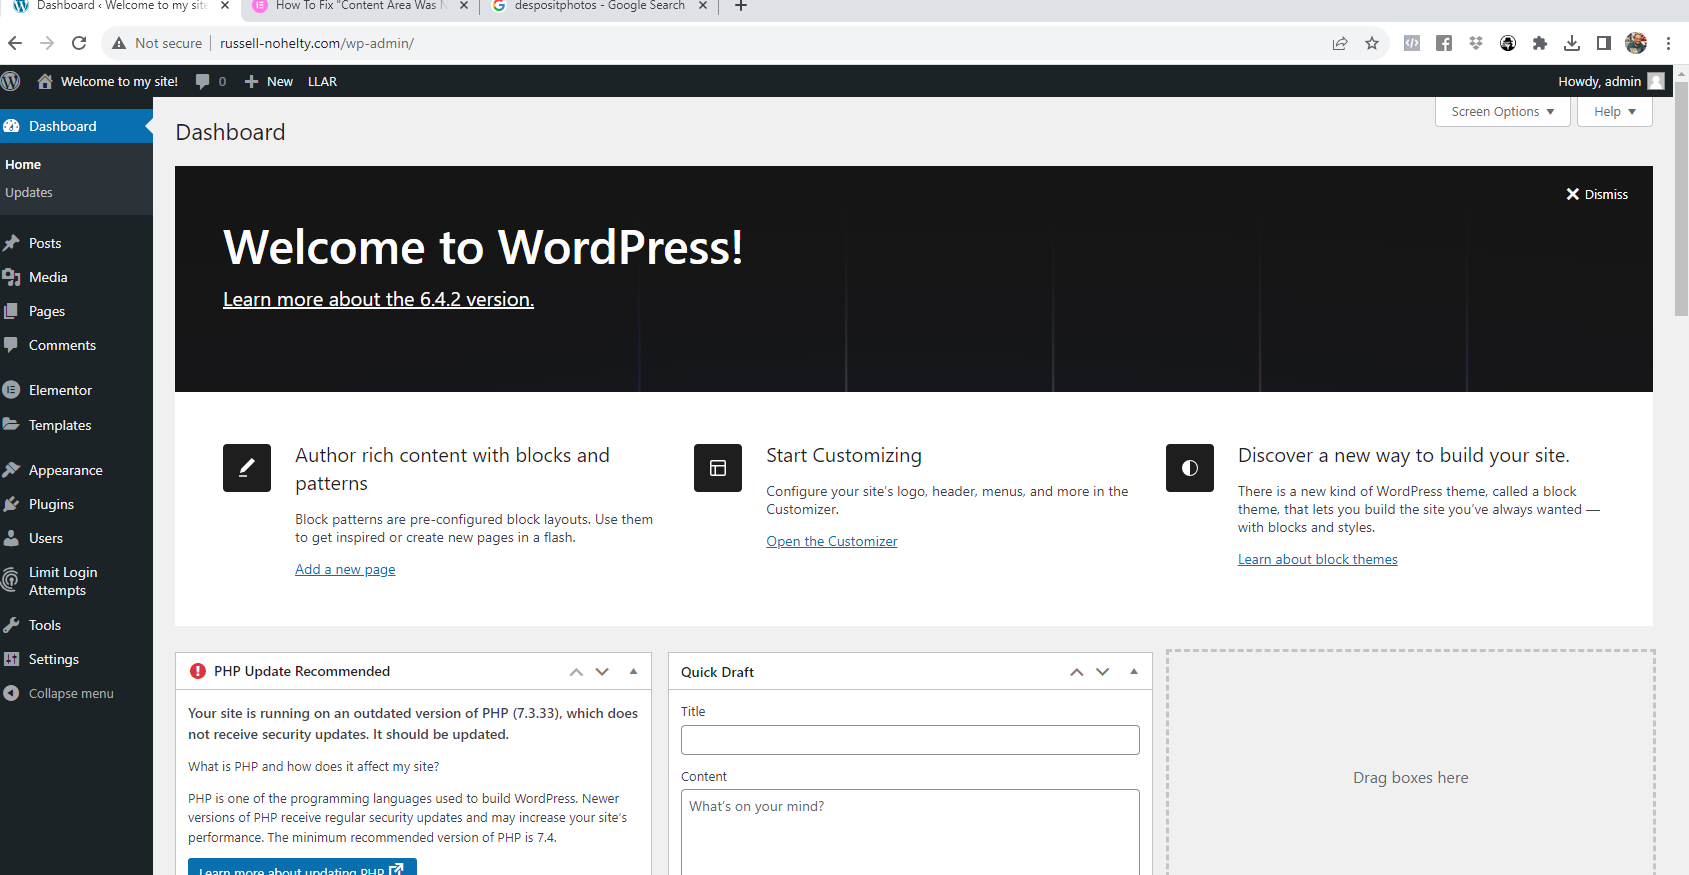
Now that we have Wordpress installed, you can get to your admin page by going to yoursite/wp-admin. Now, let’s get ready to create some magic or something.
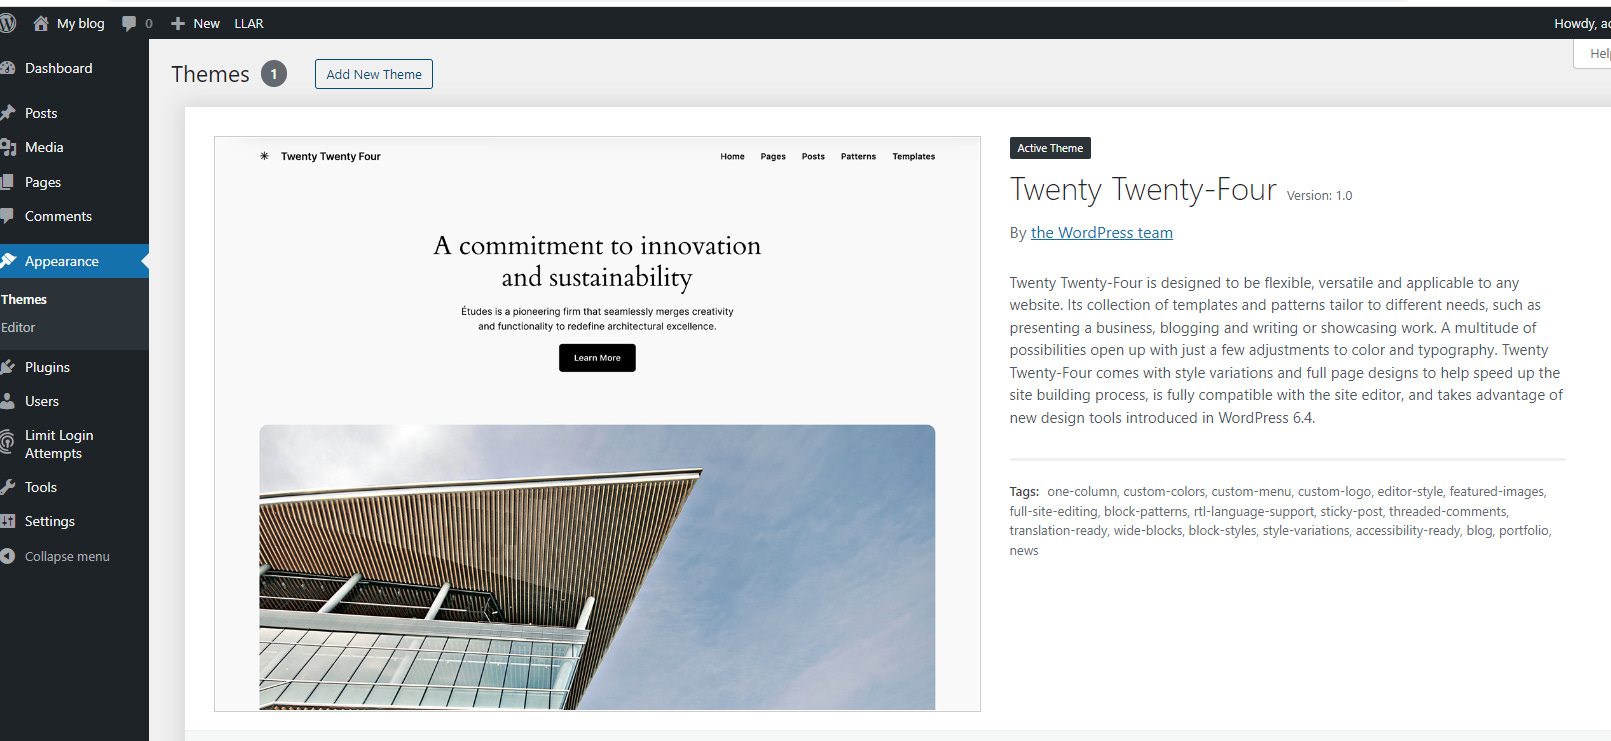
Step 1: First go to Appearance>Theme on the left menu.
Step 2: Click Add New Theme at the top of the page.
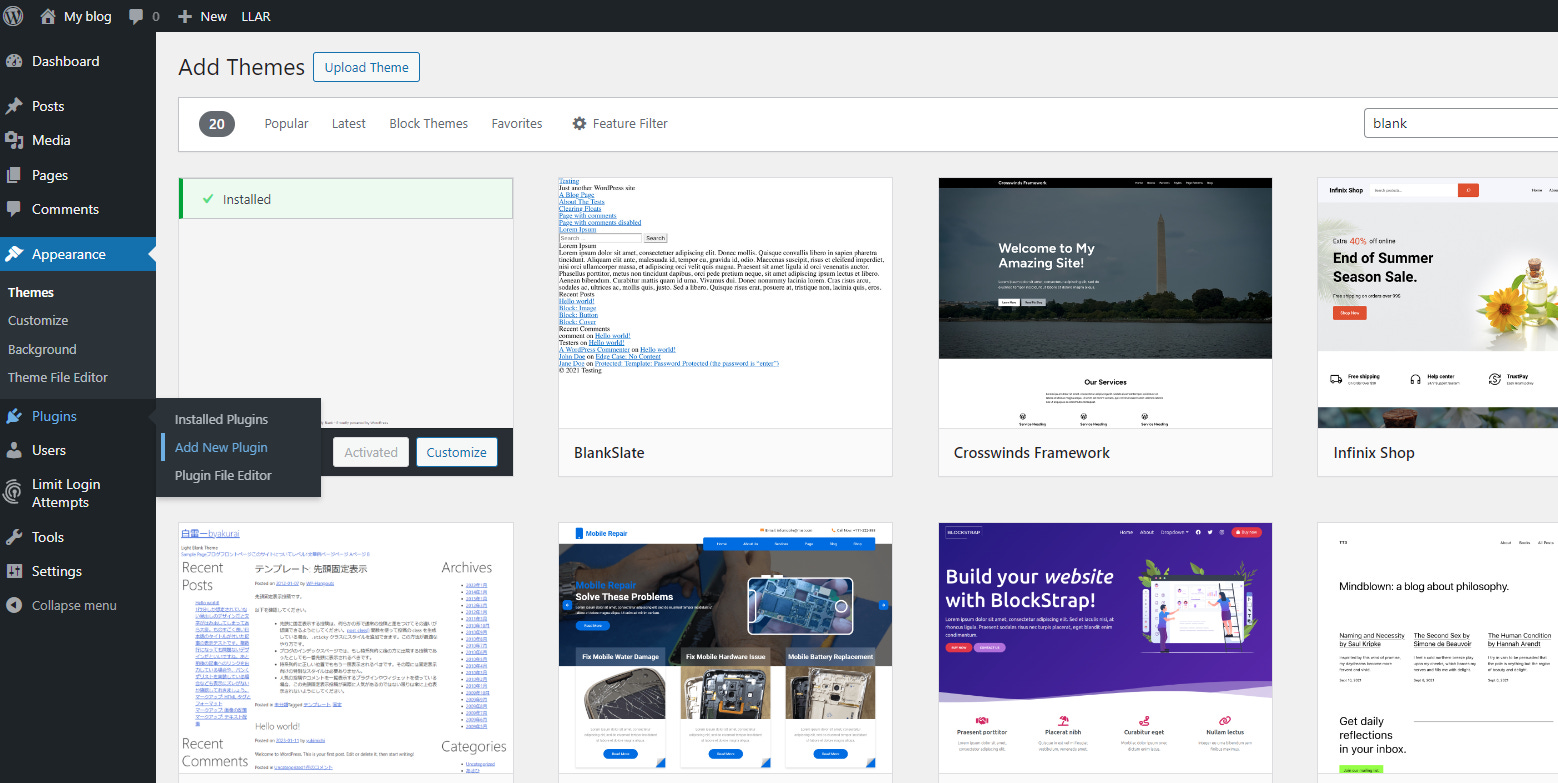
Step 3: Search for Blank in the search bar on the right side. Hove over the first one that says Intentionally blank and click the button that says Install. Once it is installed, click Activate.

Step 4: Go to Plugins>Add new plugin.
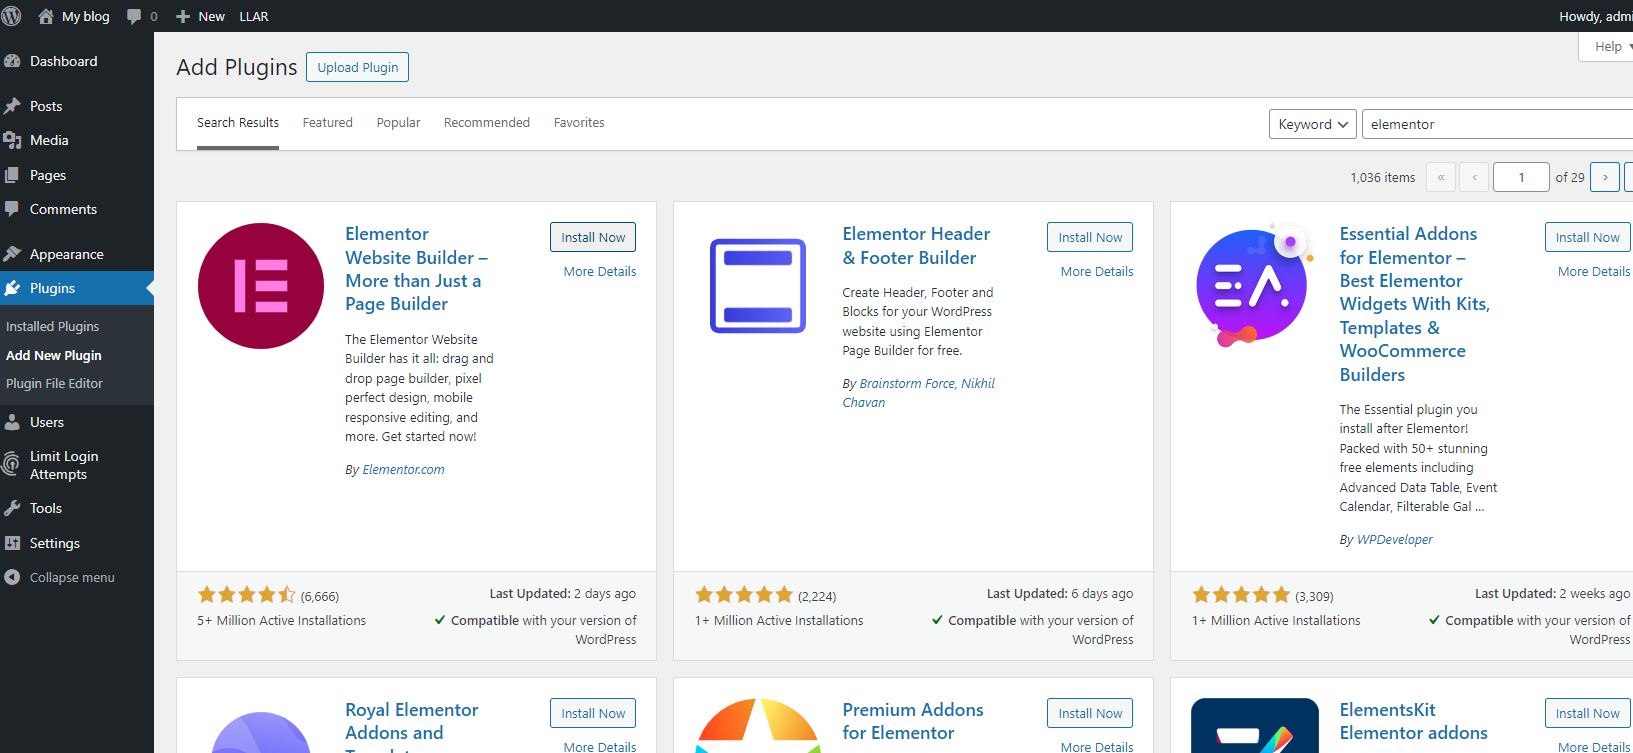
Step 5: Search for Elementor and click install now, then activate.
Step 6: Go through the set-up to create your Elementor account. This is DIFFERENT from your Bluehost or other account.
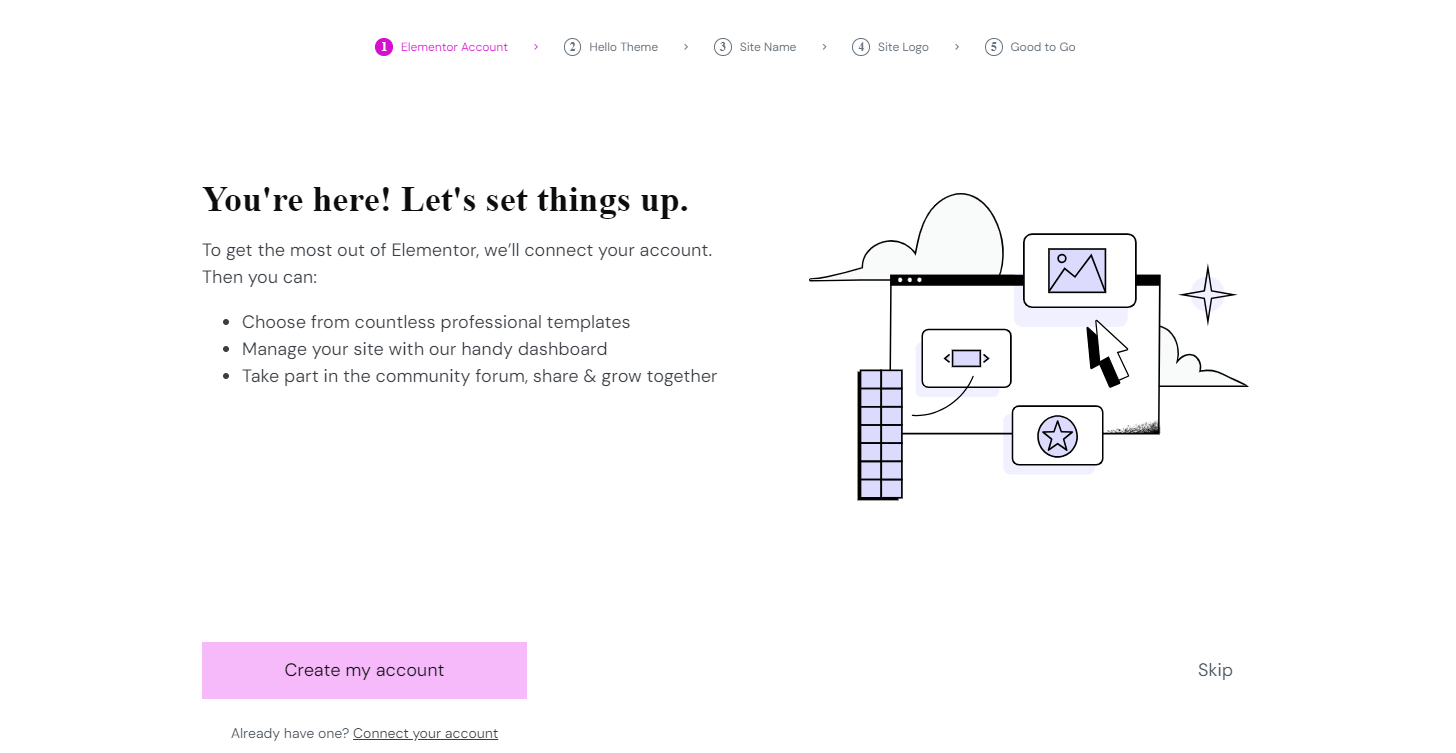
Step 7: Once you have your account, it will ask if you want to continue with Hello Theme. Say, yes, and finish the installation.
Then, if you have a logo, drop it in. If not, I recommend going to depositphotos.com and finding something that resonates with you. There is almost always a sale on images through Appsumo, and if you’ve missed the last one a new one will come around soon.
Step 8: It will ask if you want to start with a blank template or a template.
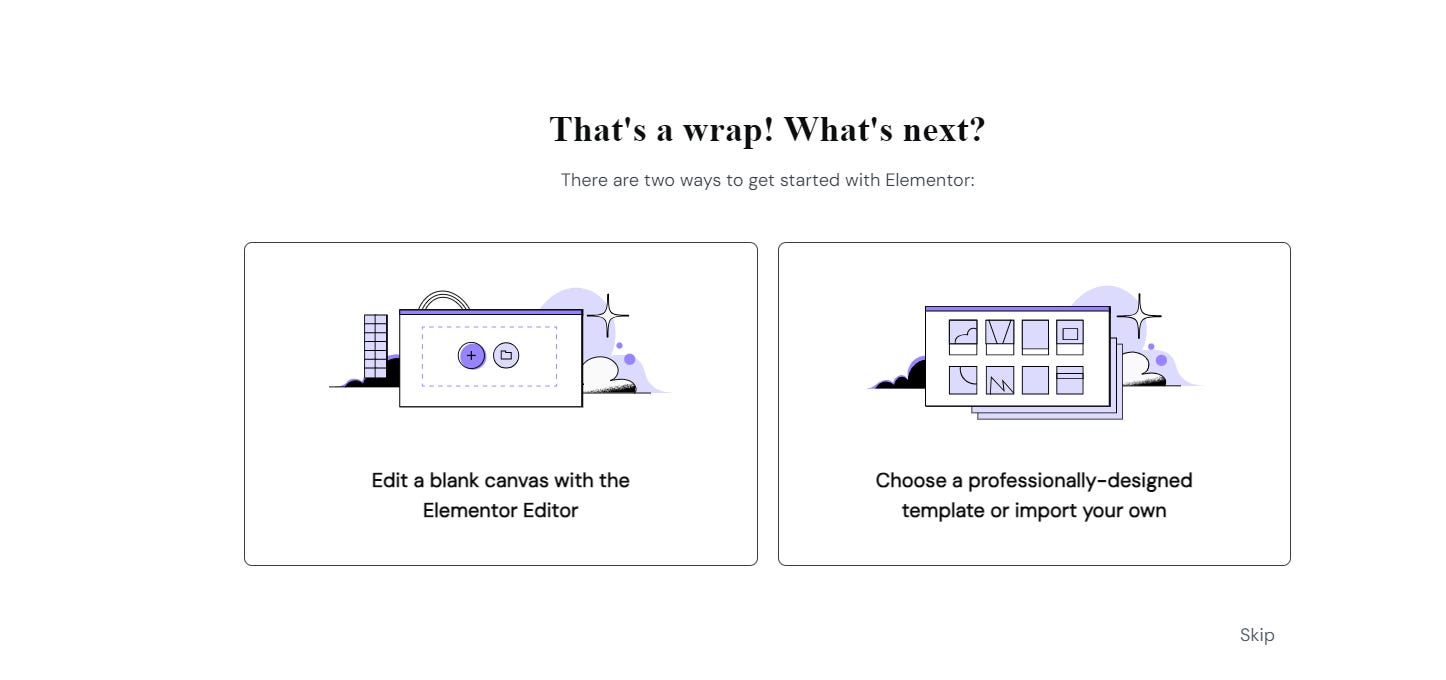
Instead of making that choice, go up to the main bar and delete everything past /wp-admin.
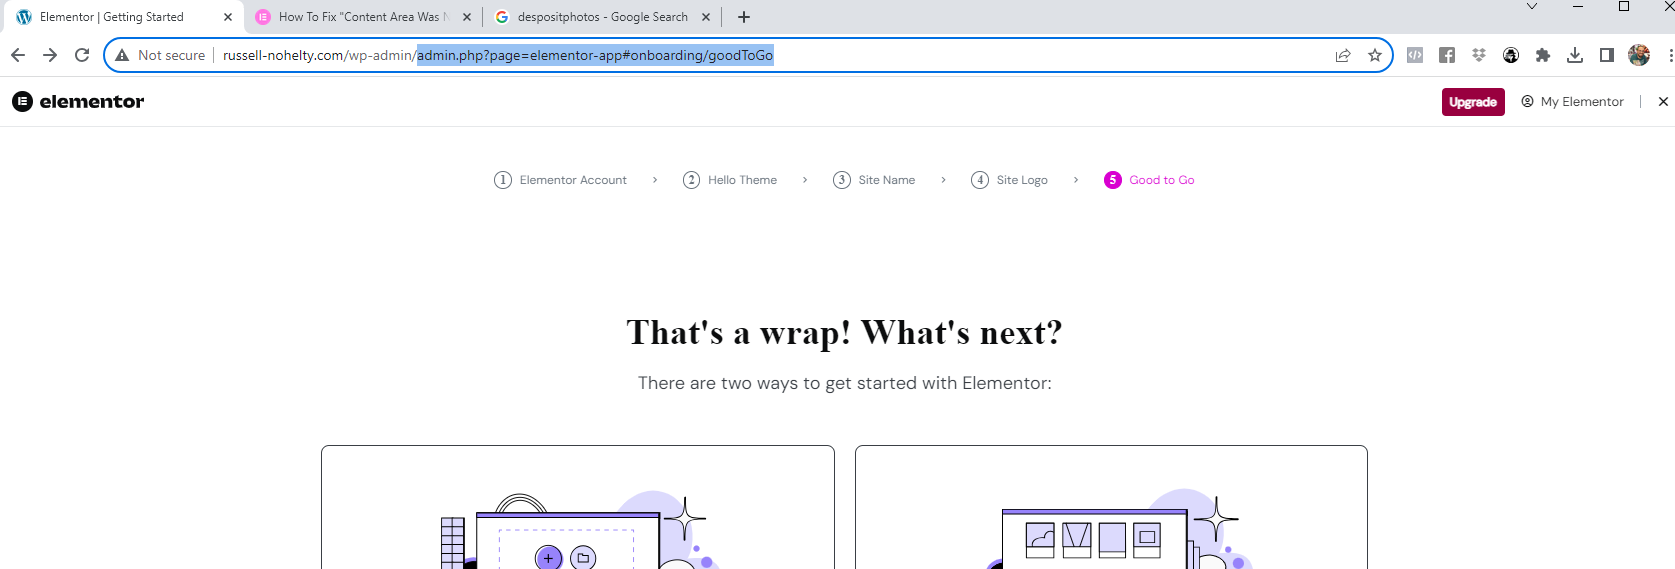
It will look something like this.

That will lead you back to the main page.
Step 9: We’re almost ready for the fun part, but first, we need to install a couple more plugins. First, we need to set up our SSL certification.
To summarize, an SSL certificate on the front end is the badge that let’s all of your visitors or potential customers know that the information they submit via your site is safe. Security is important, privacy is important, trust is important! That’s the beauty of an SSL certificate. It lets your site’s visitors know those things are important to you too. Without one, you will not succeed in getting your products and services to the people that want them. The symbol that appears when your site has an SSL takes care of half of the battle for you.
There are several factors that go into making an online purchase, such as price, quantity, and quality. Those values are usually associated with the product itself, right? Getting someone to trust in a product is one thing, but how can you get visitors to trust in your website? The answer is your SSL certificate. Having one allows you to process credit card and other personal info safely and securely. It allows you to become PCI compliant, which is also a must for online business. -Bluehost
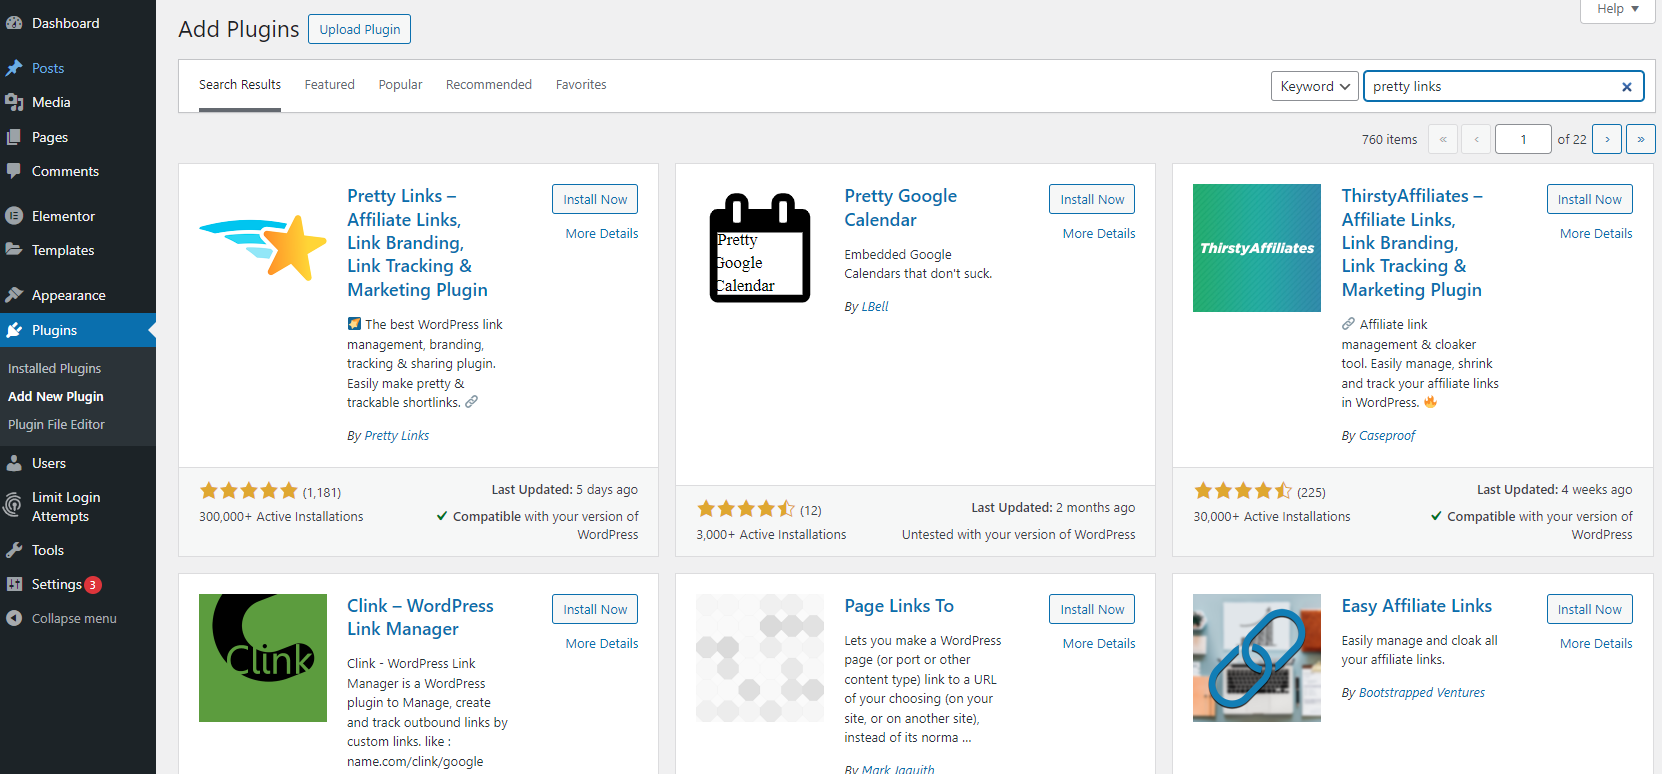
To set one up, we’re looking for Really Simple SSL.
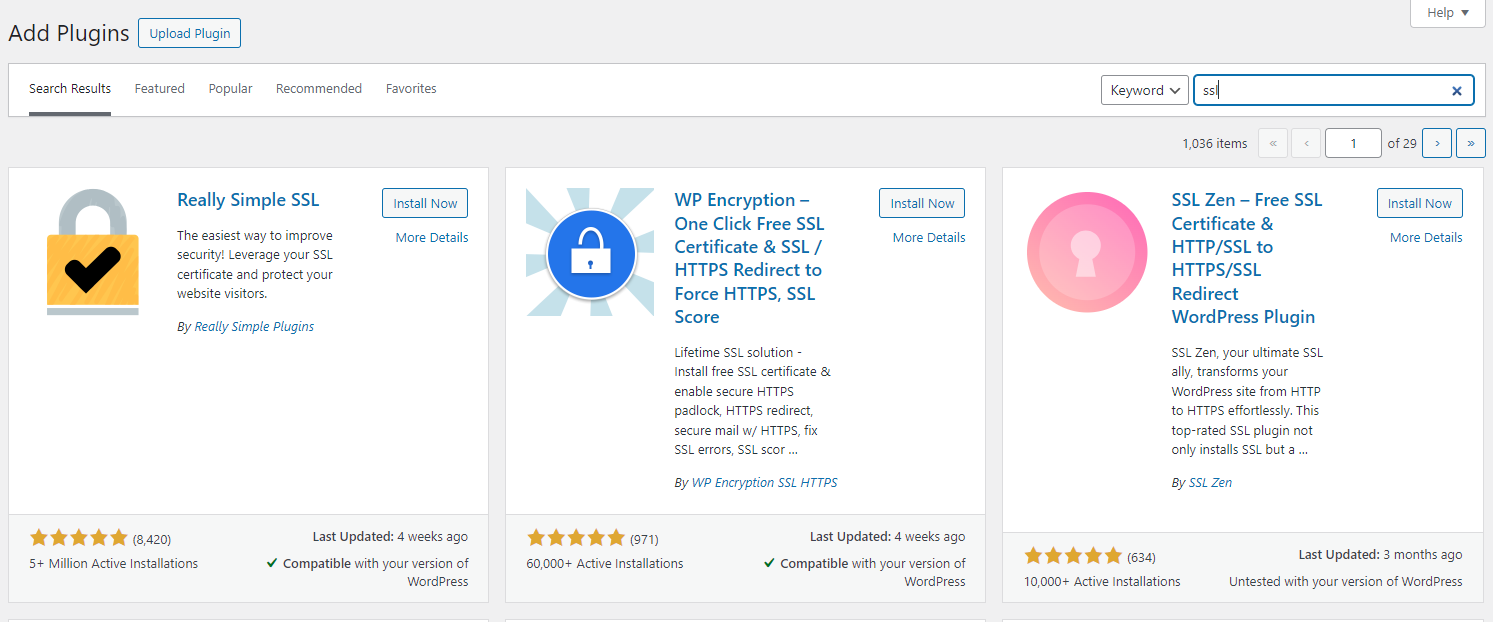
If you get lost, you can find it by going to Settings>SSL and Security. Then click the box that says Activate SSL.
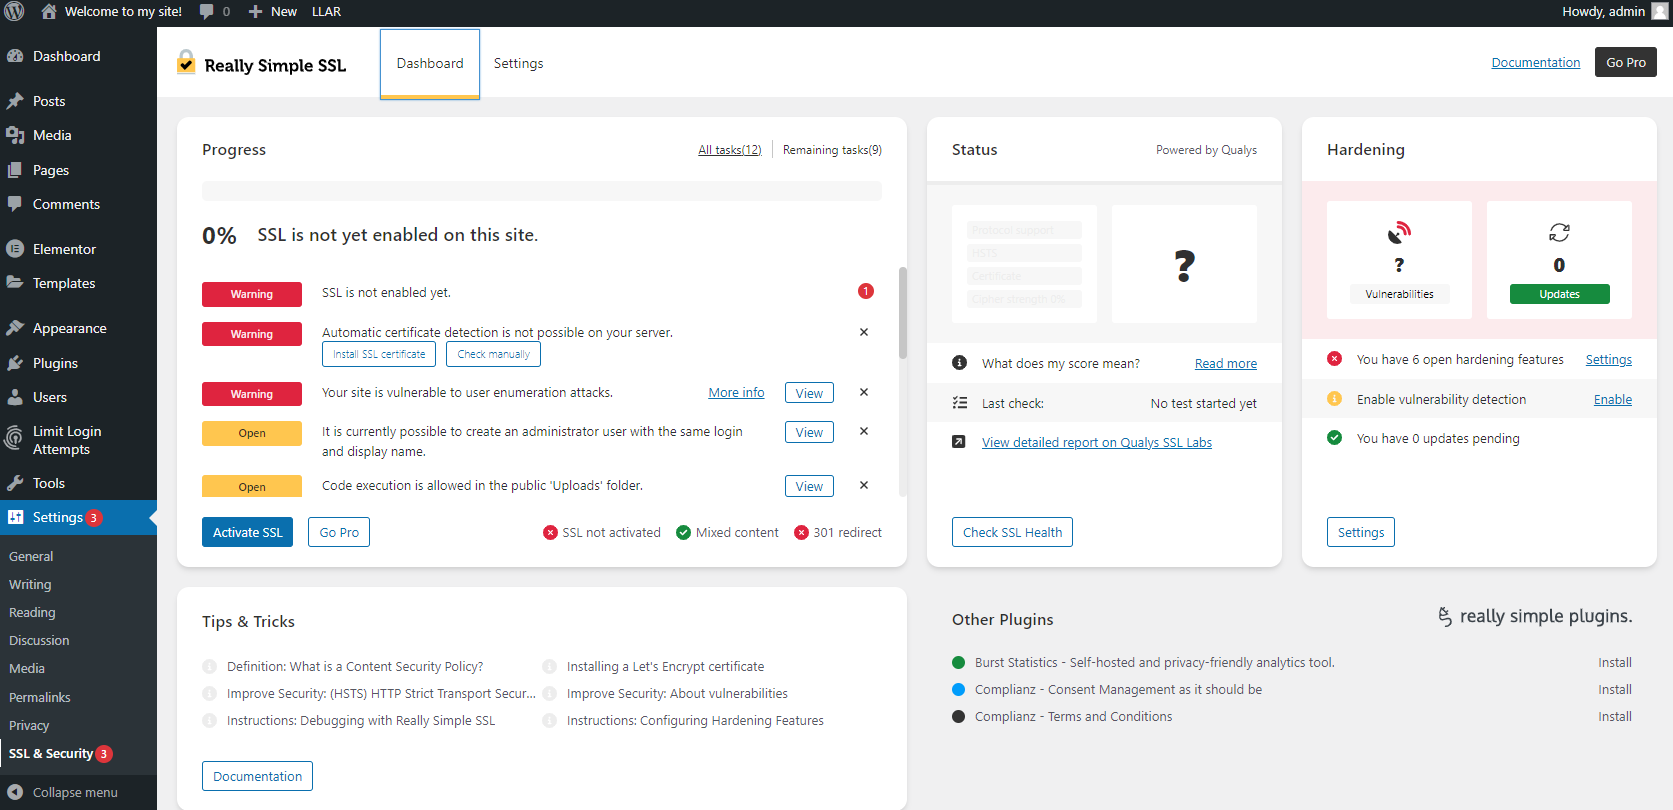
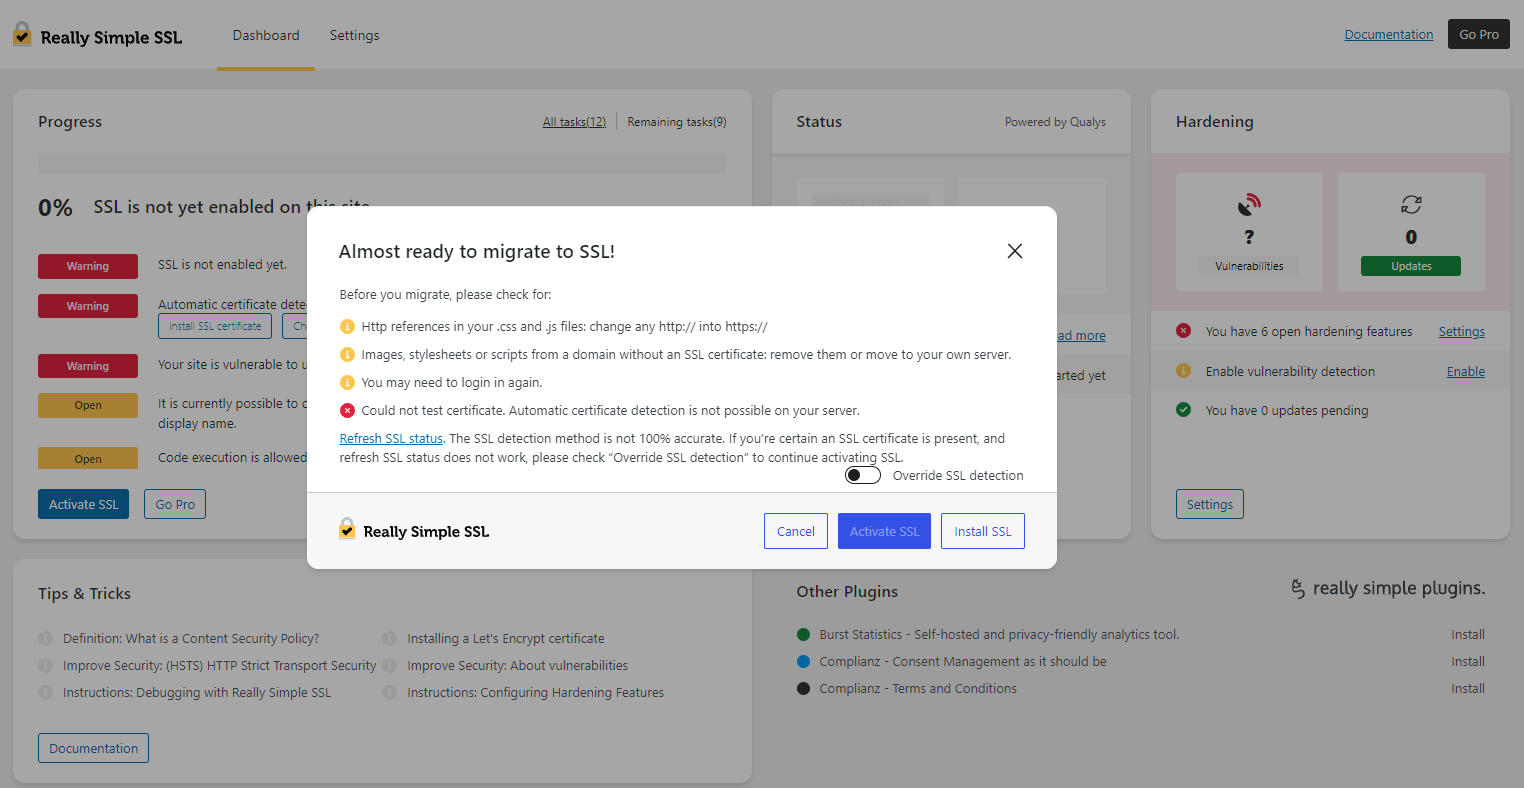
STEP 10: Then, click Install SSL.
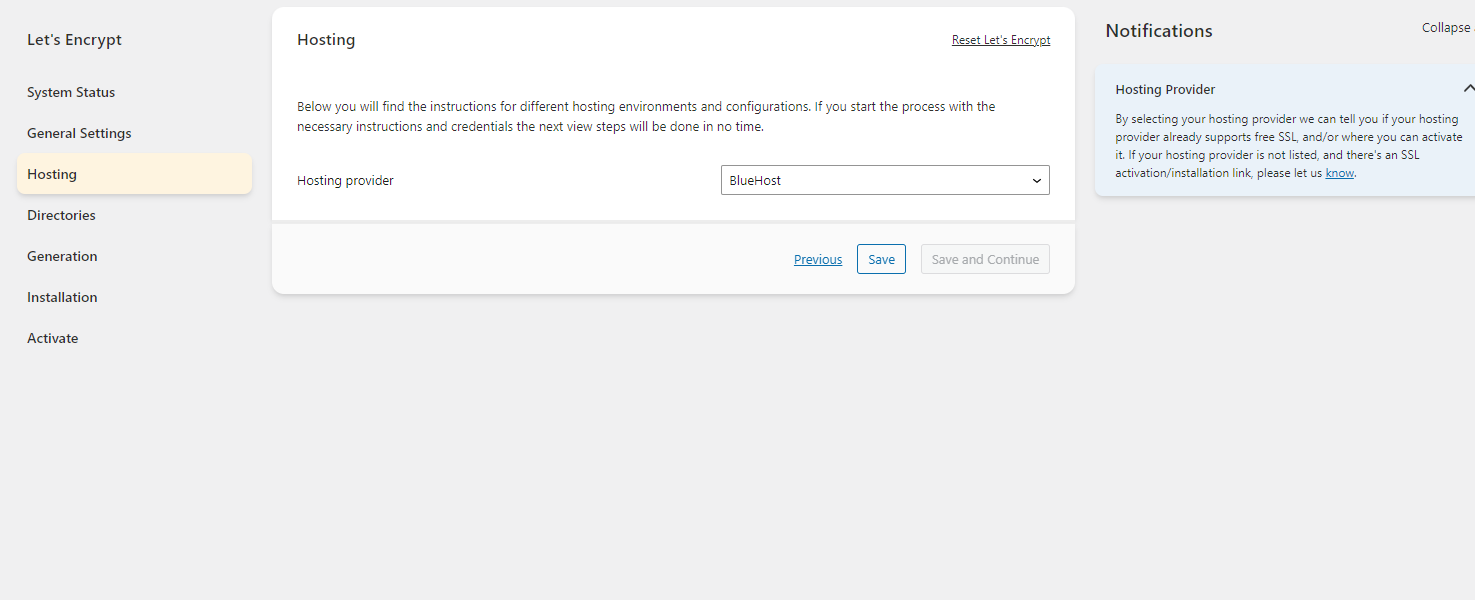
Step 11: Go through the general settings, and then choose Bluehost from the Hosting section.
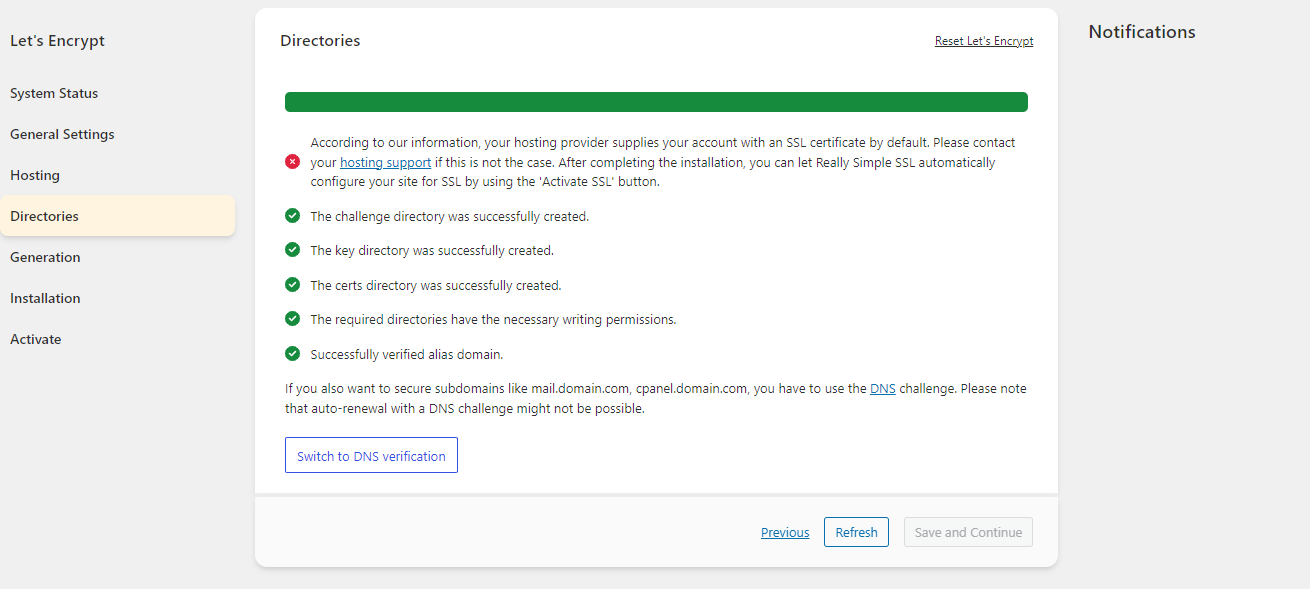
Step 12: Depending on your hosting plan, you might get an error that says “ According to our information, your hosting provider supplies your account with an SSL certificate by default. Please contact your hosting support if this is not the case. After completing the installation, you can let Really Simple SSL automatically configure your site for SSL by using the ‘Activate SSL’ button.”
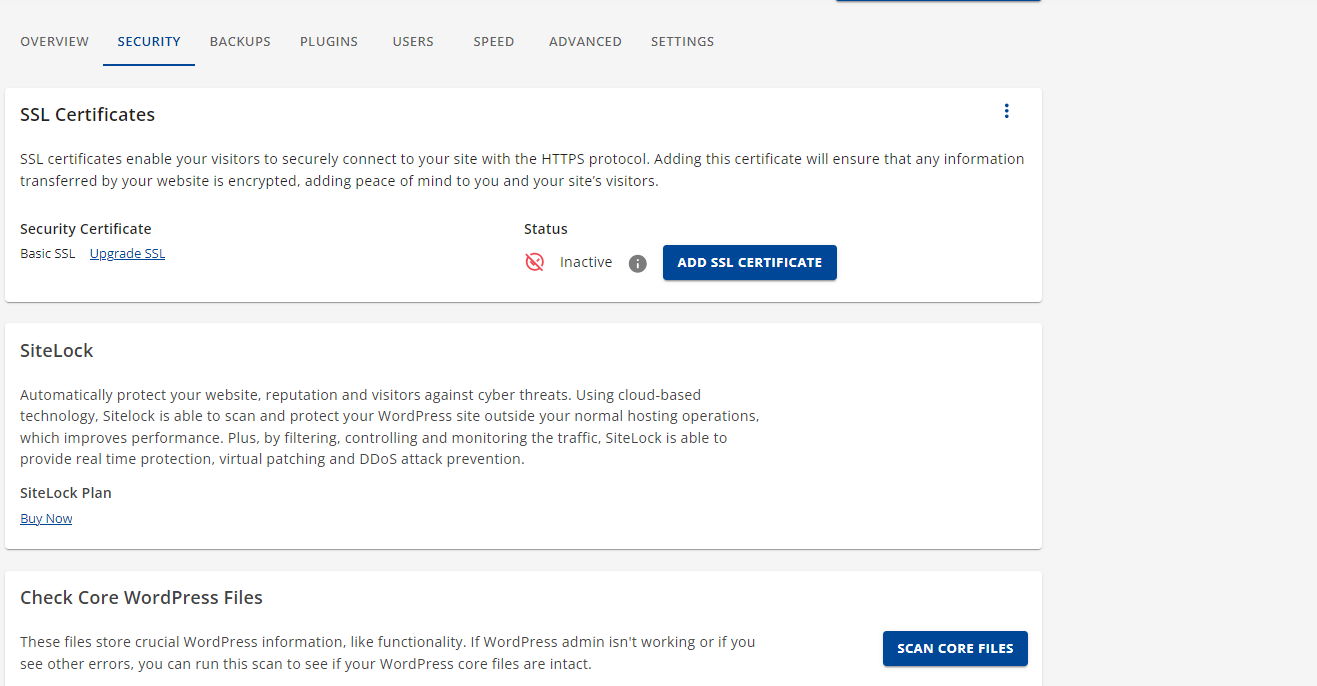
If that happens, return to the Hosting tab in your account and click settings on your website. Inside you should see a red link that says SSL is off.
Click Manage, then Add SSL certificate.
It might take some time to propagate, but you should be good now.
Step 13: Now, we need to get Pretty Links. This will allow us to set very easy redirects for our site, which you need more than you think.
Once you activate, it will ask you to activate your license. This is only to get paid as an affiliate.
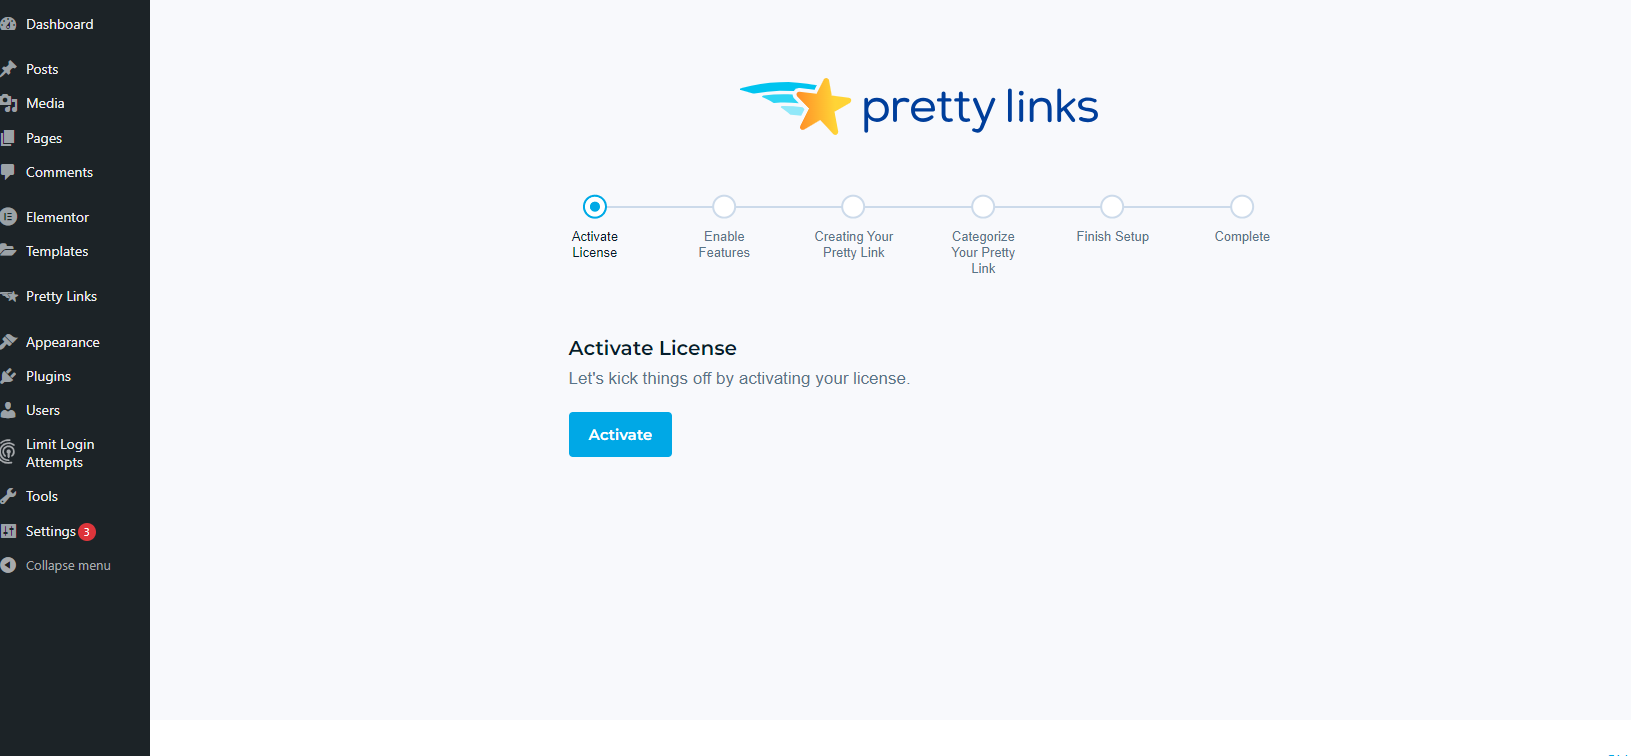
You should be able to go to the Pretty Links tab on the left and use it.
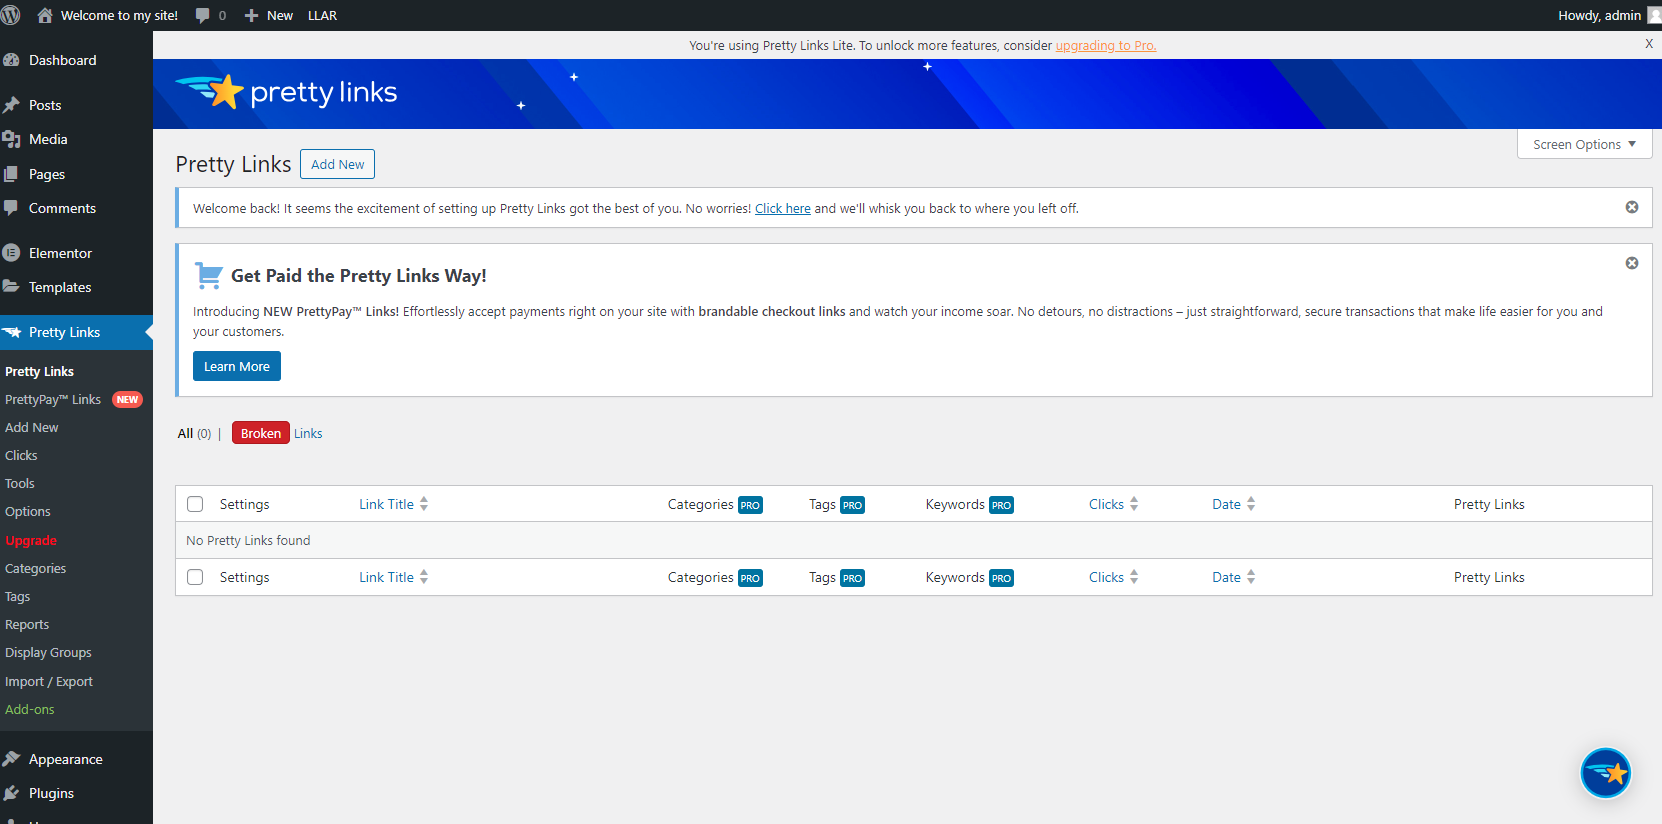
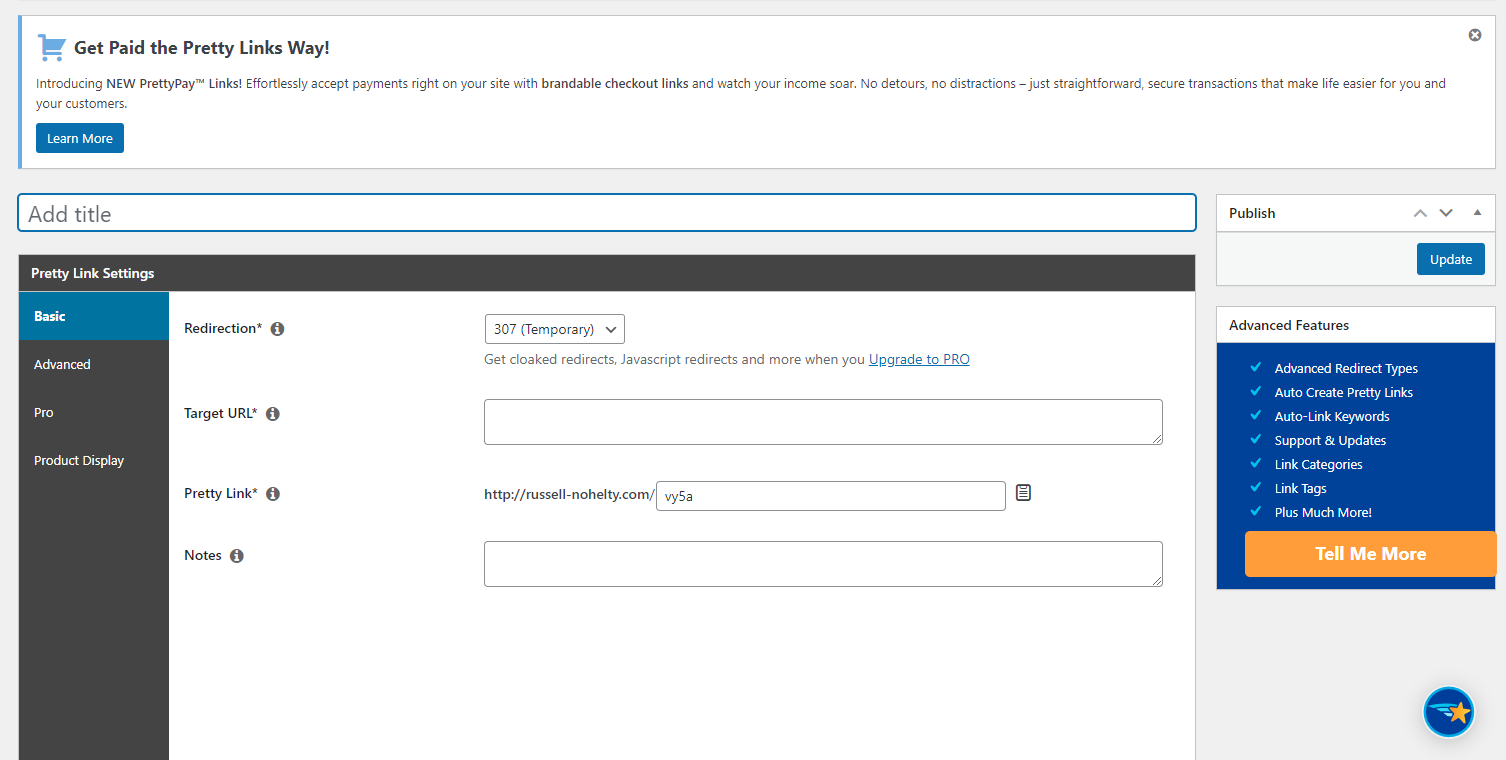
In order to set a new one up, all you have to do is click Add New, and fill out a redirect. This is the easiest way to set up a redirect that I have ever used.
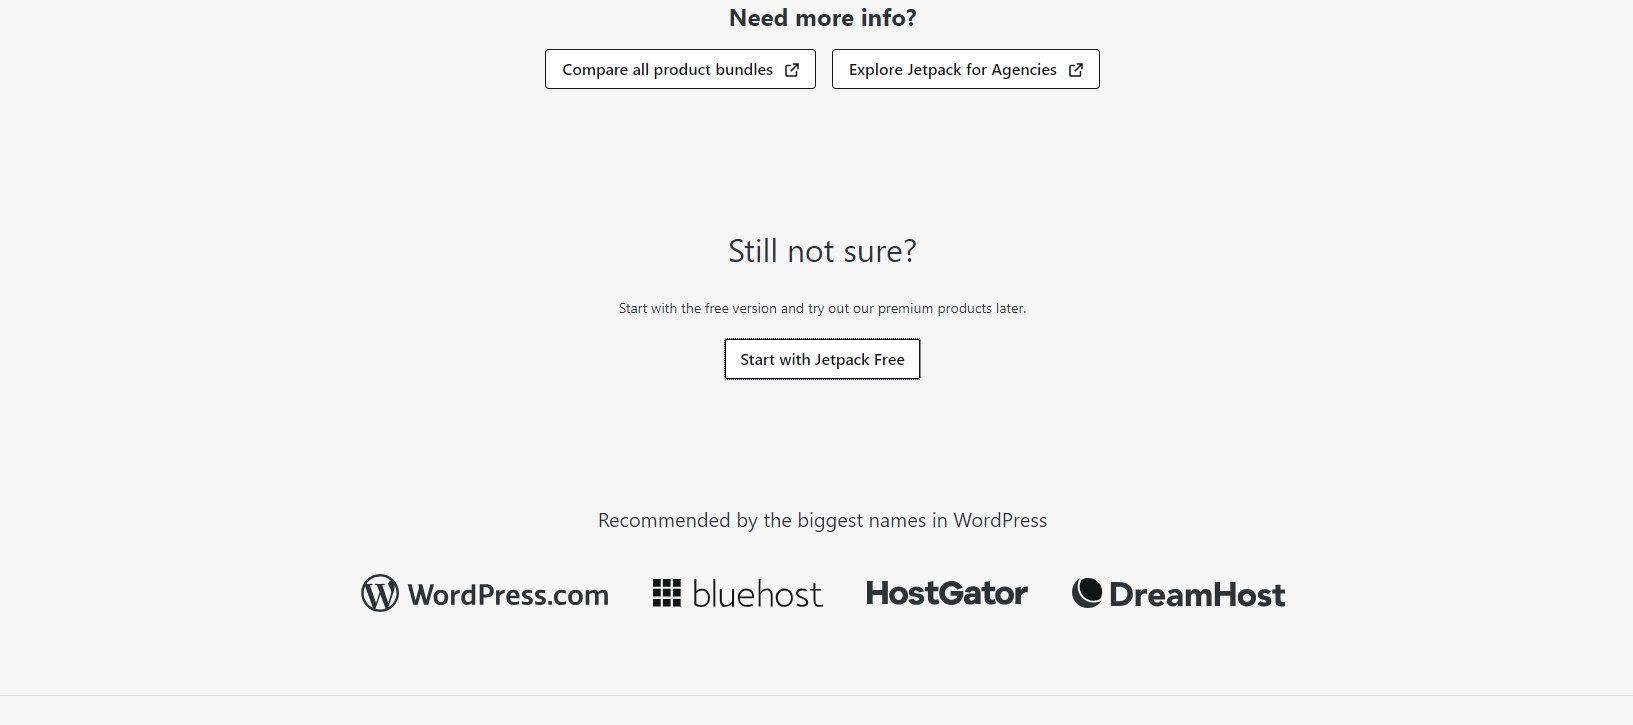
Step 14: If it doesn’t come installed, you should also set up Jetpack. This will give you some extra security and track if your site ever goes down.
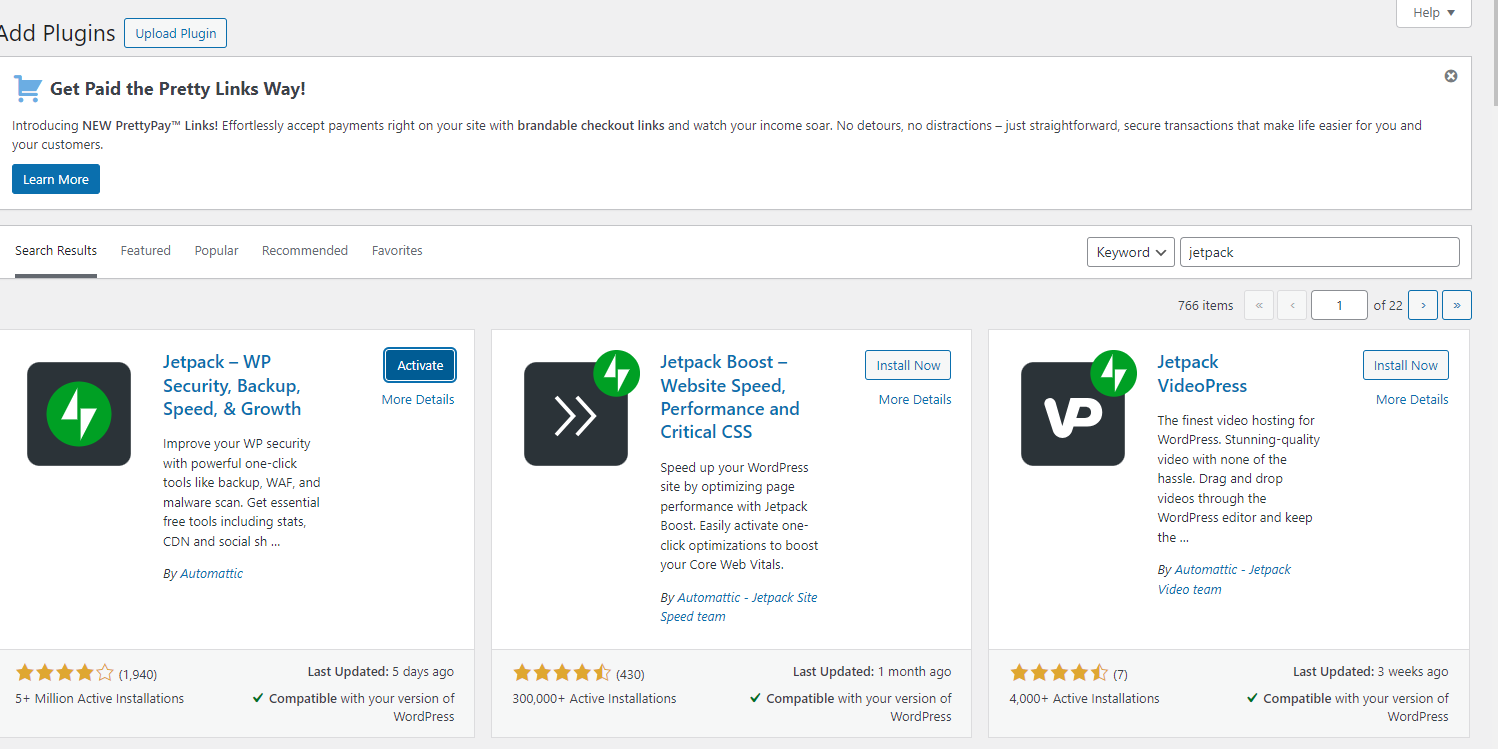
Once it’s set up, it will bring you to this page and make it seem you have to make a choice, but you don’t.
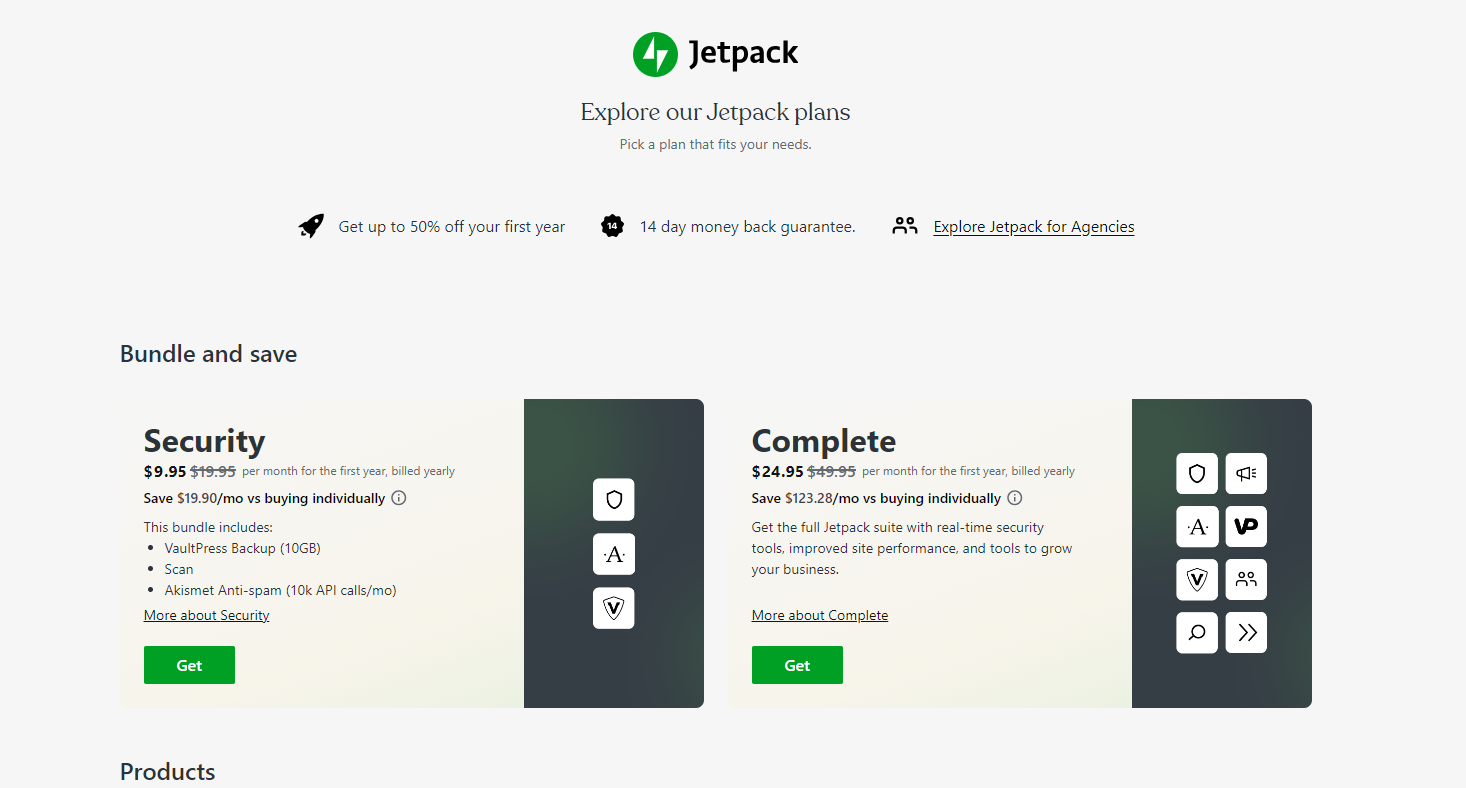
Just scroll down until you see a button for “Start with Jetpack Free”.
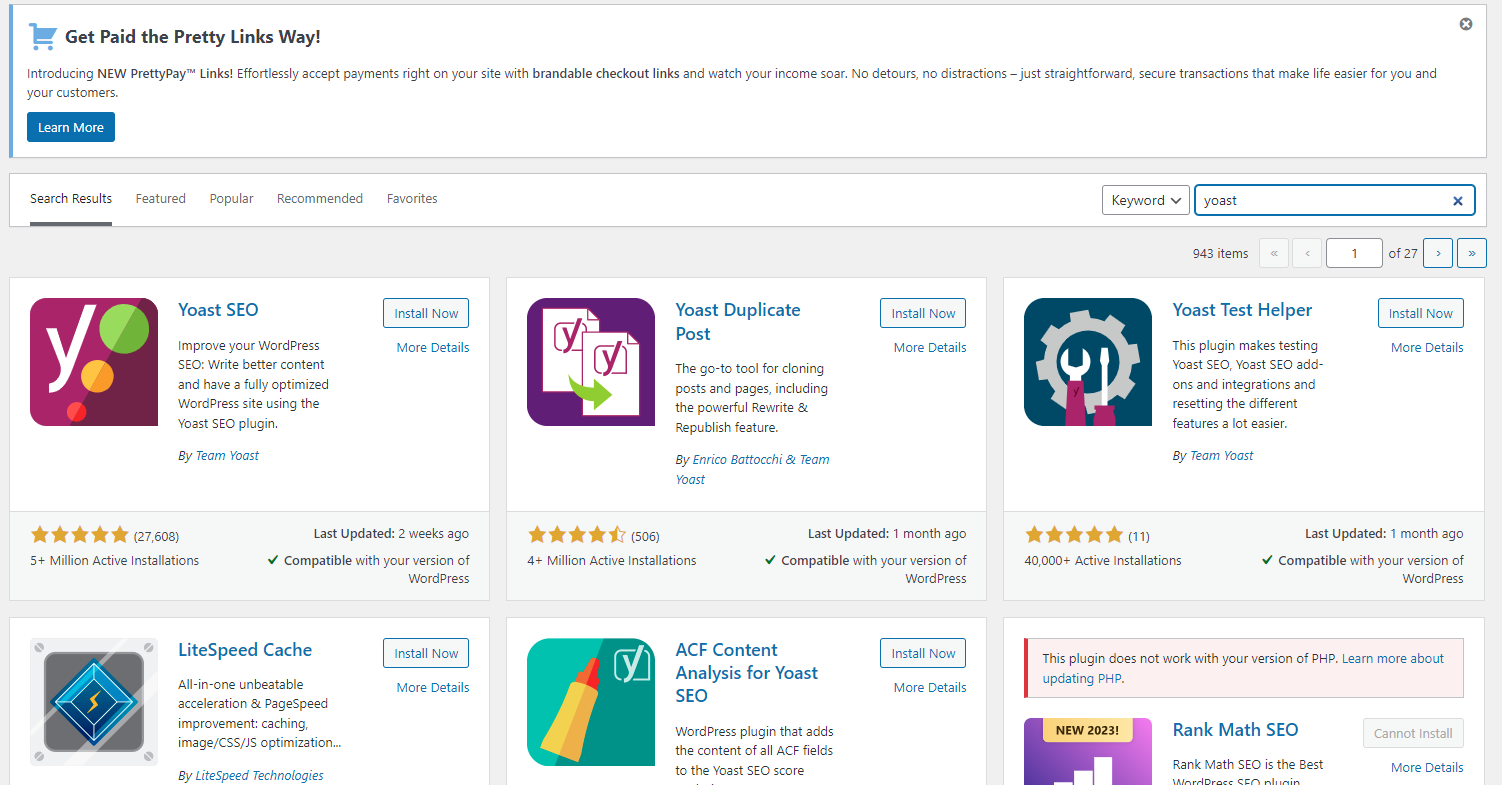
Step 15: Finally, you’ll likely want to set up Yoast. This will help you with SEO.
After you activate the plugin, it will bring you to this screen where you can set up your first-time configuration.
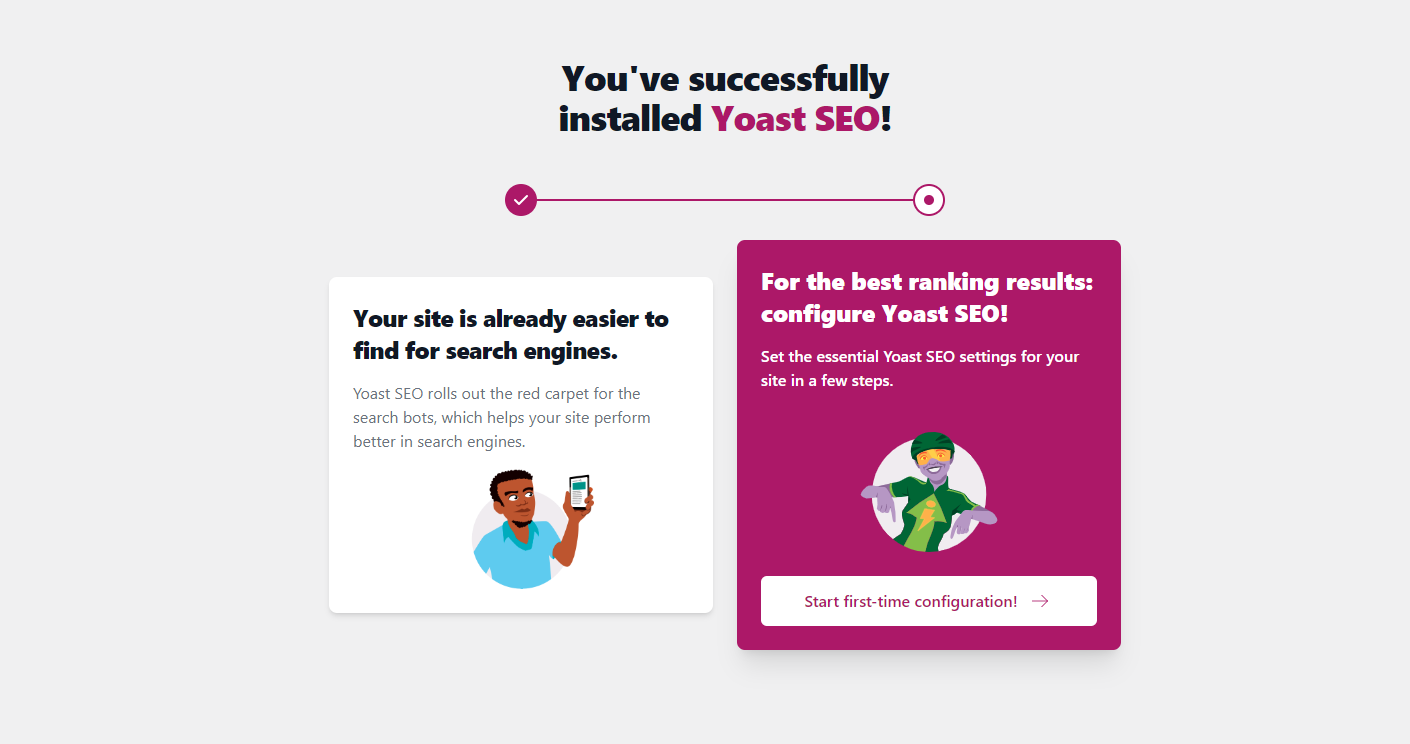
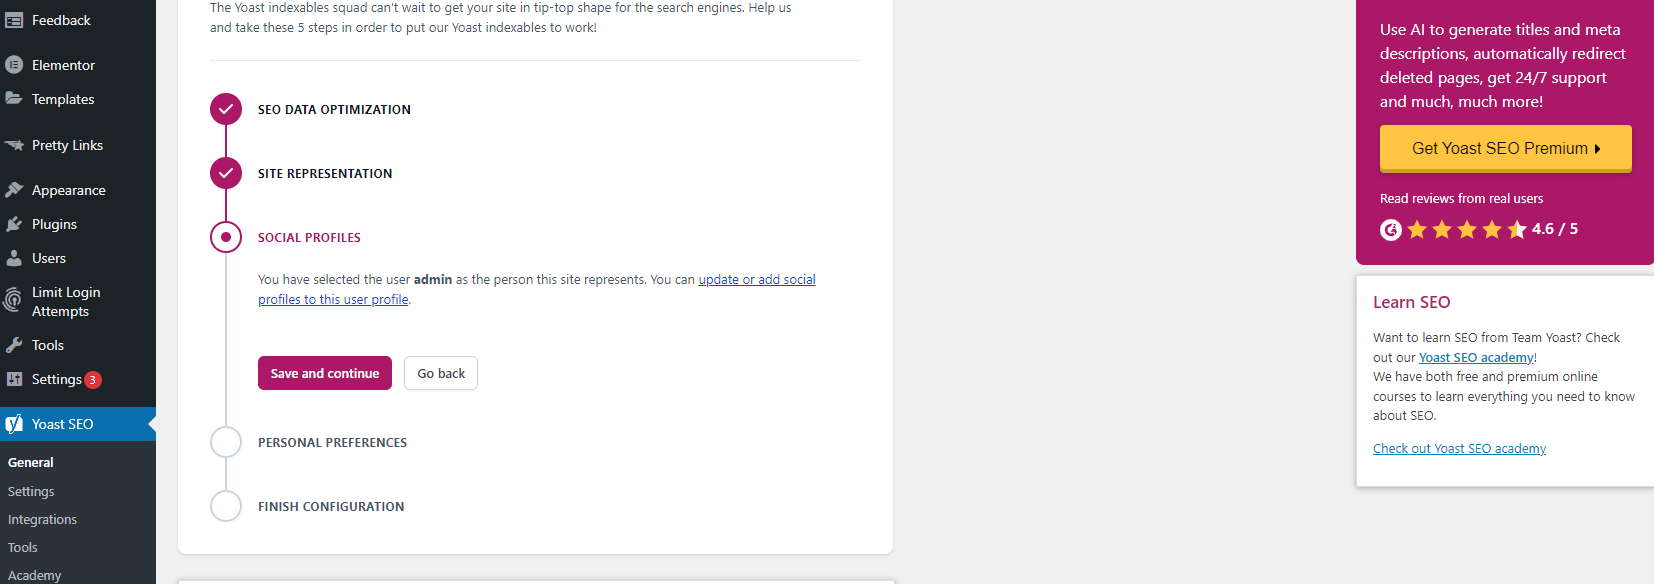
All you have to do is follow the steps.
You’ve done the boring stuff. Congrats! Now, we can make a website.
PART 3: Setting up your page
One more boring part. Then, we can actually make our website. This is the boring minutiae that separates the beautiful website from the people who give up, which I totally respect because this is the worst.
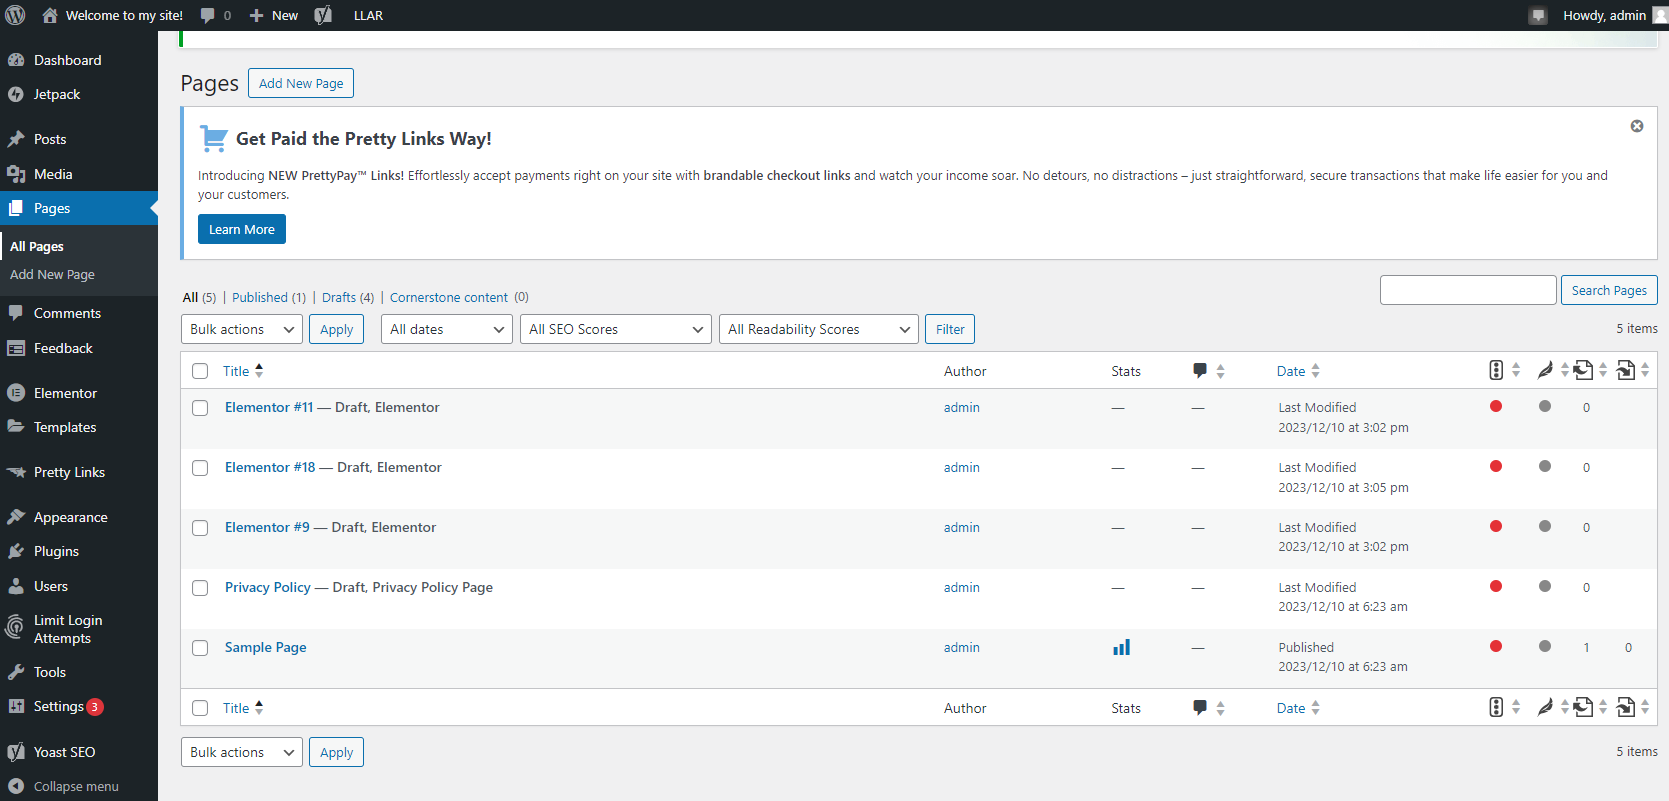
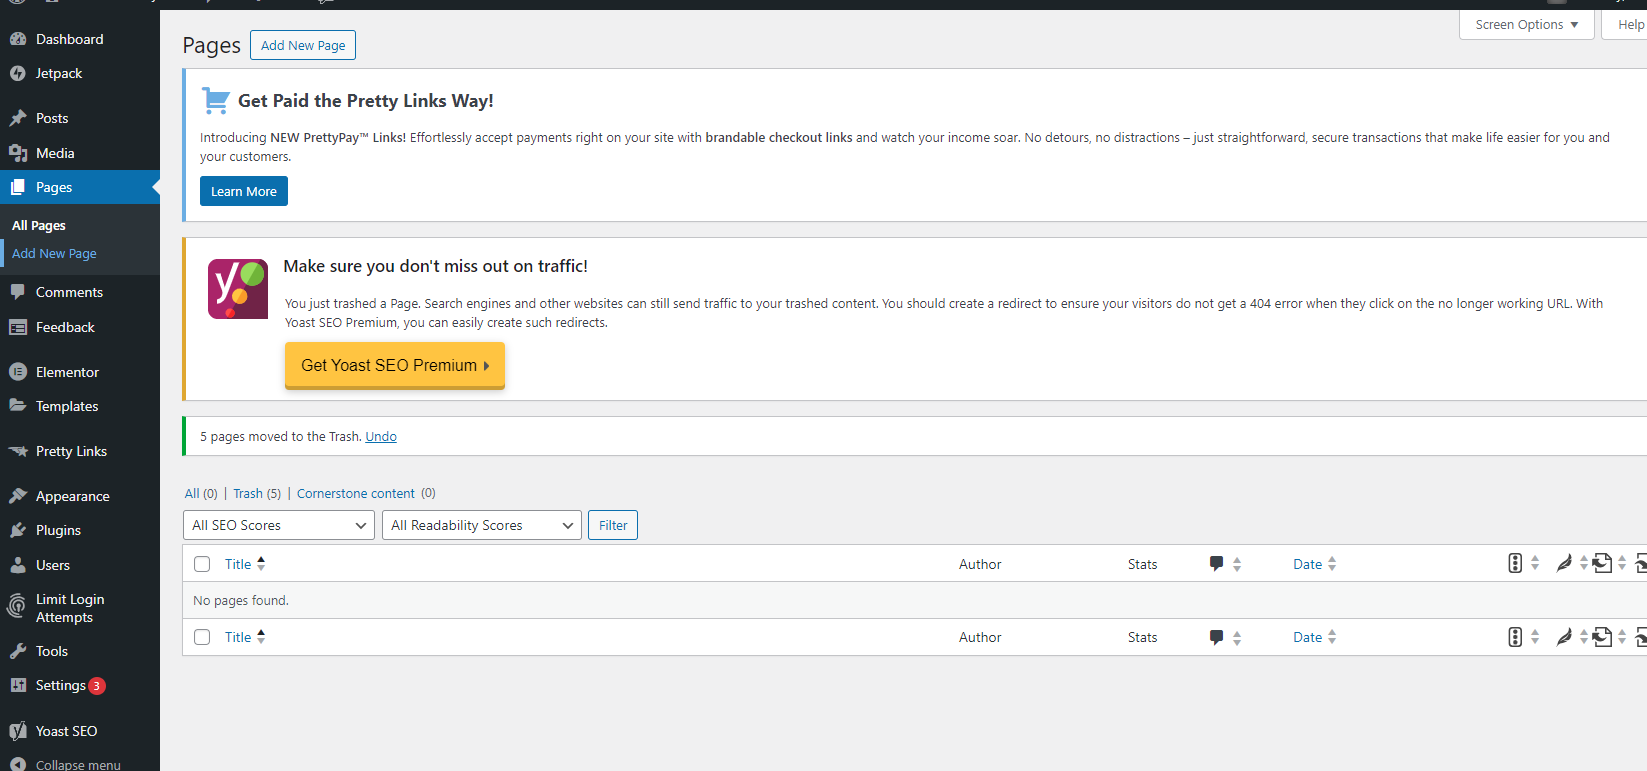
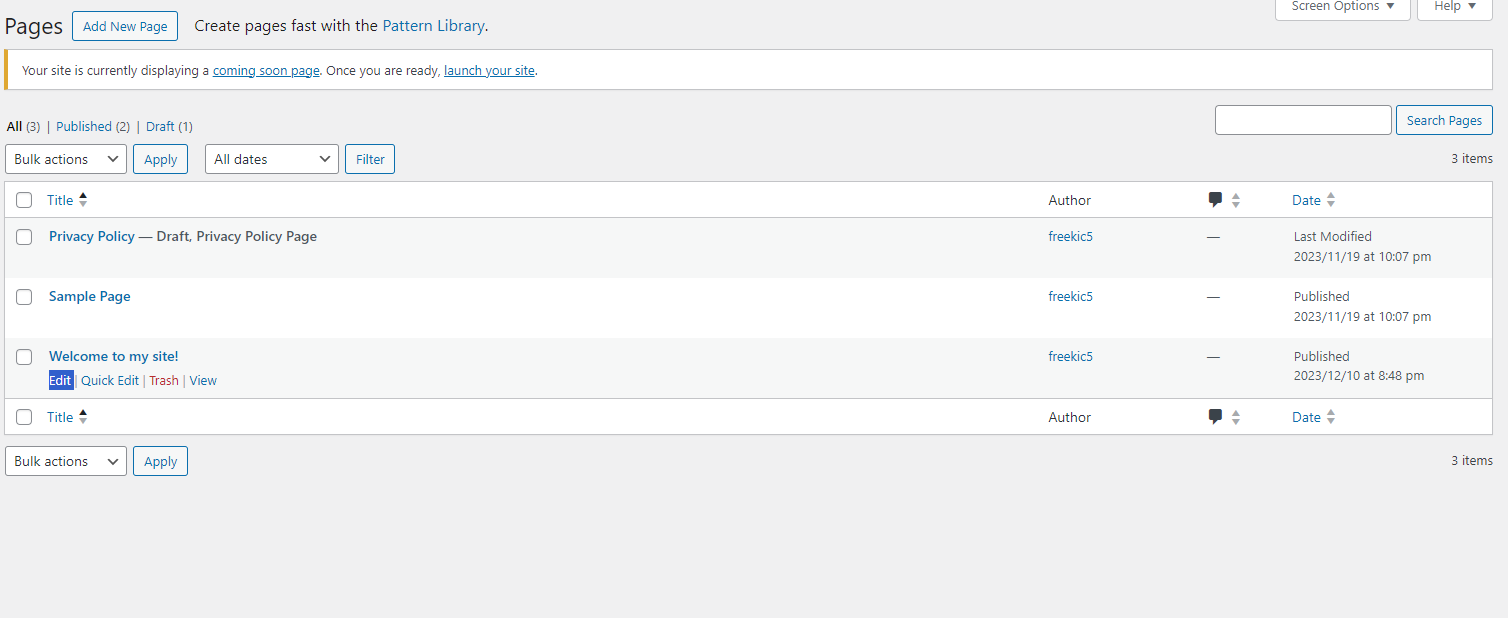
Step 1: Let’s go to the Pages tab on the left bar, and look at all the pages that have already been created. They are all useless. I would delete them all.
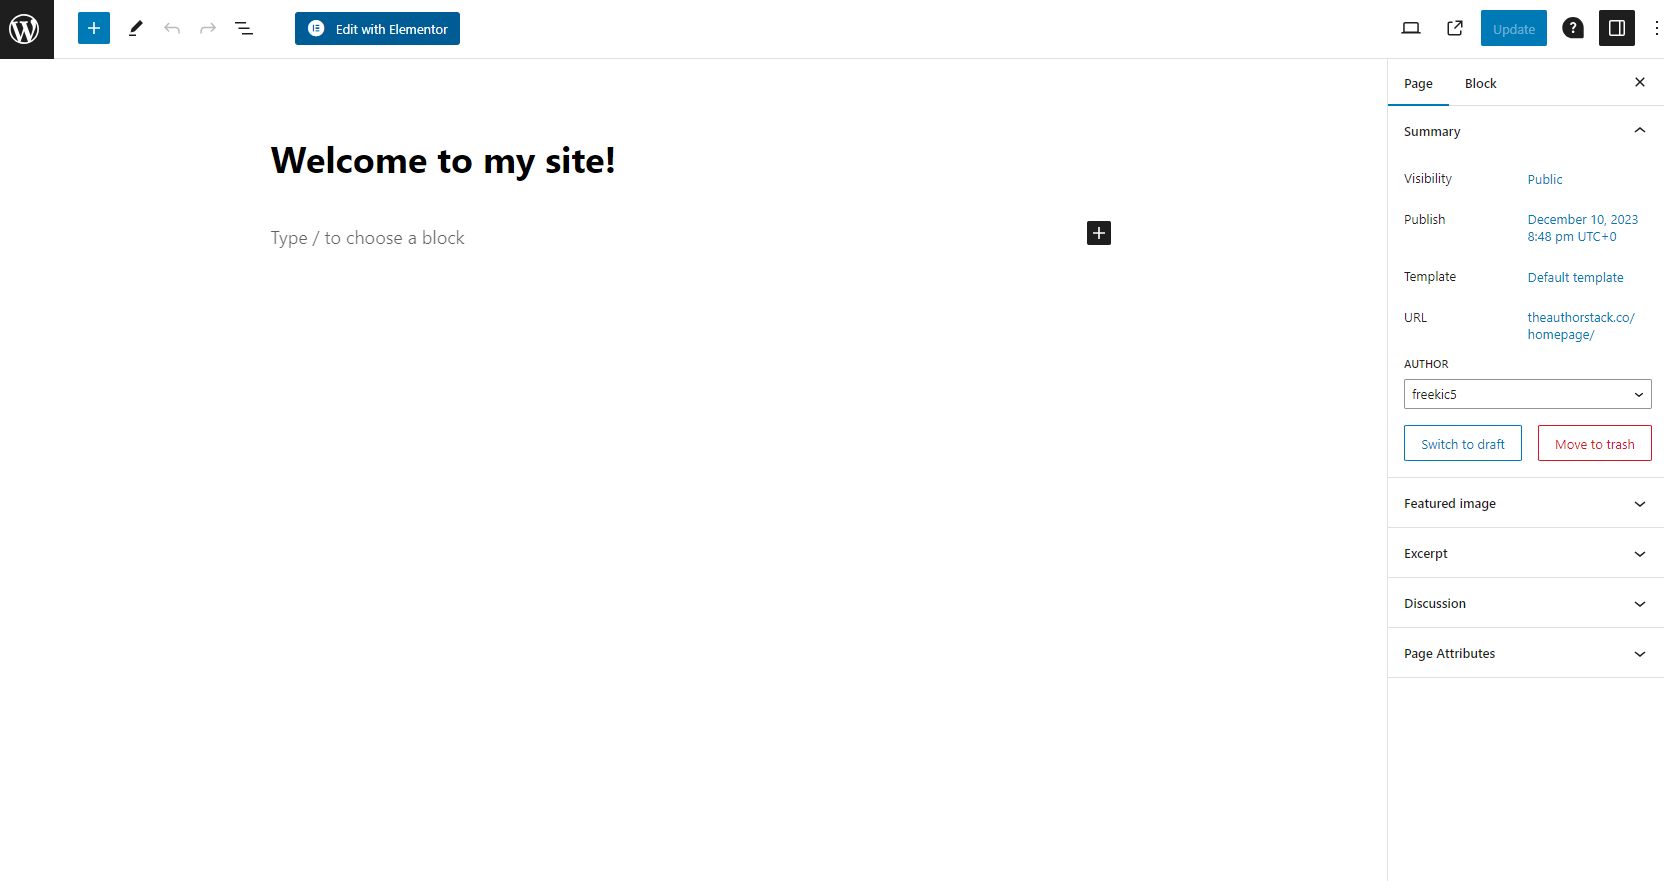
Step 2: Now, we’re going to go to the Pages tab and click, Add New Page.
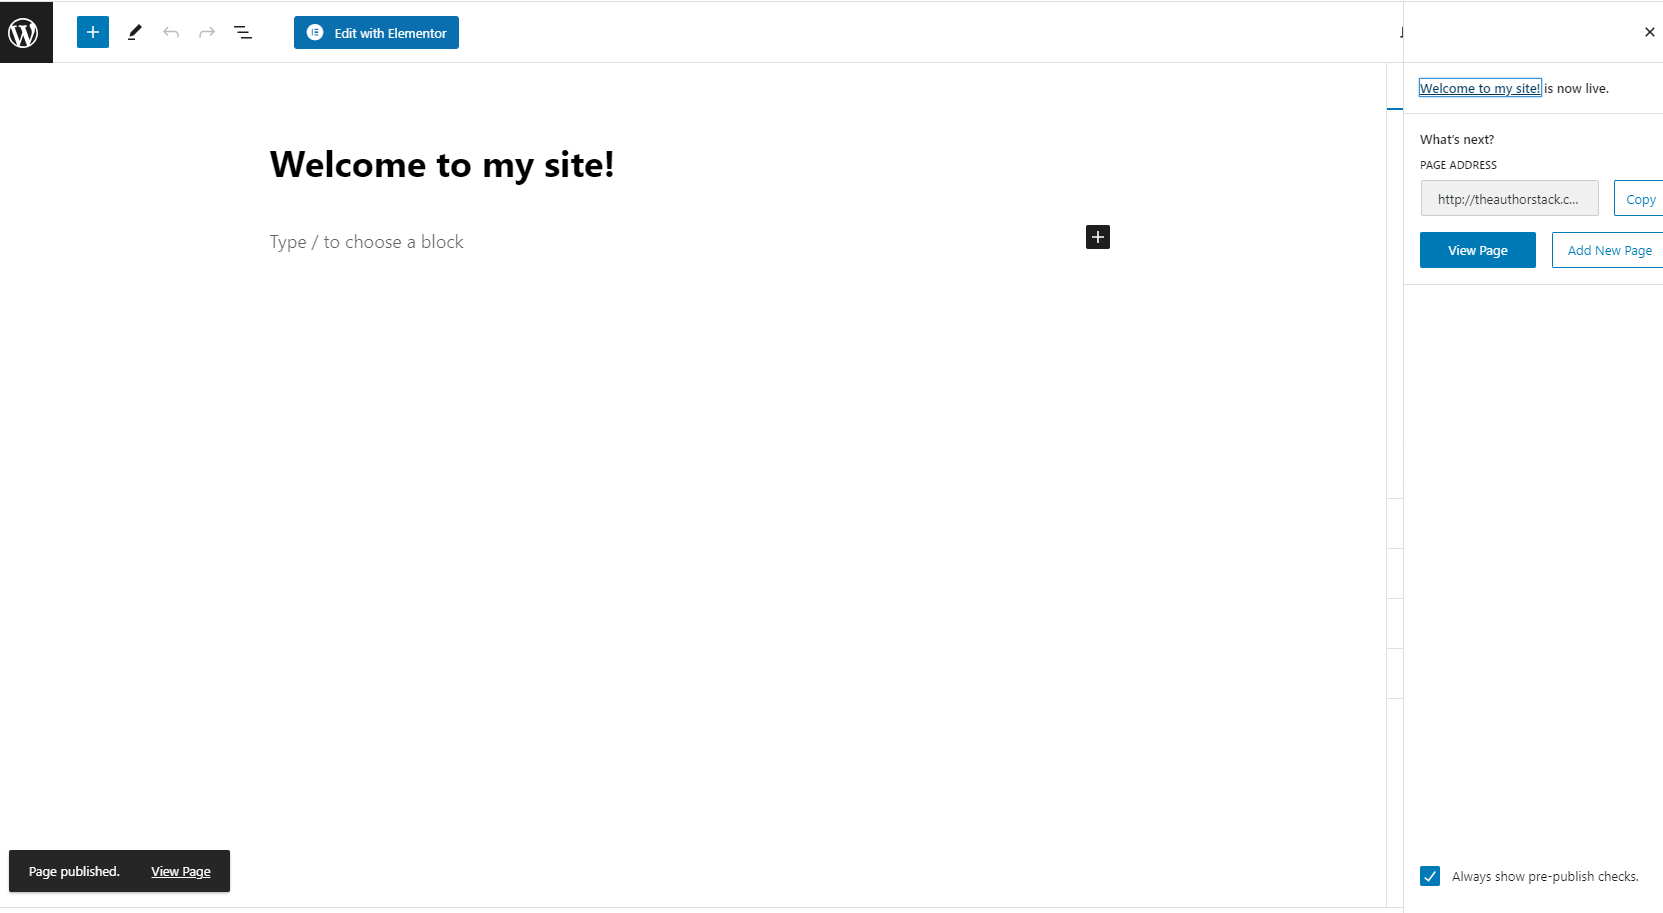
Step 3: It will generate a new page, and you click edit with Elementor at the top.
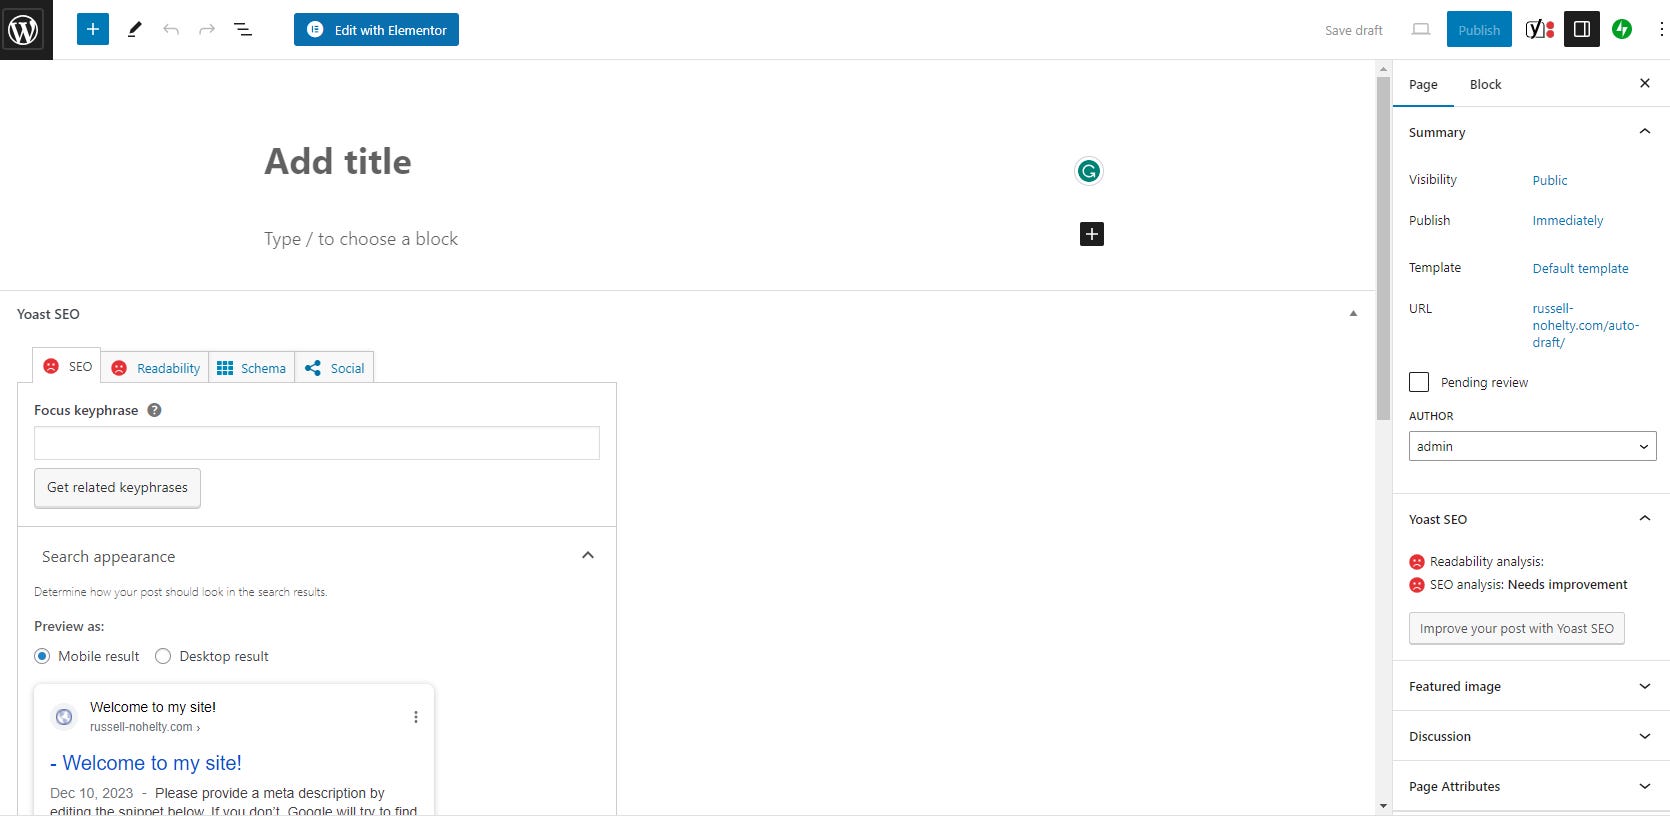
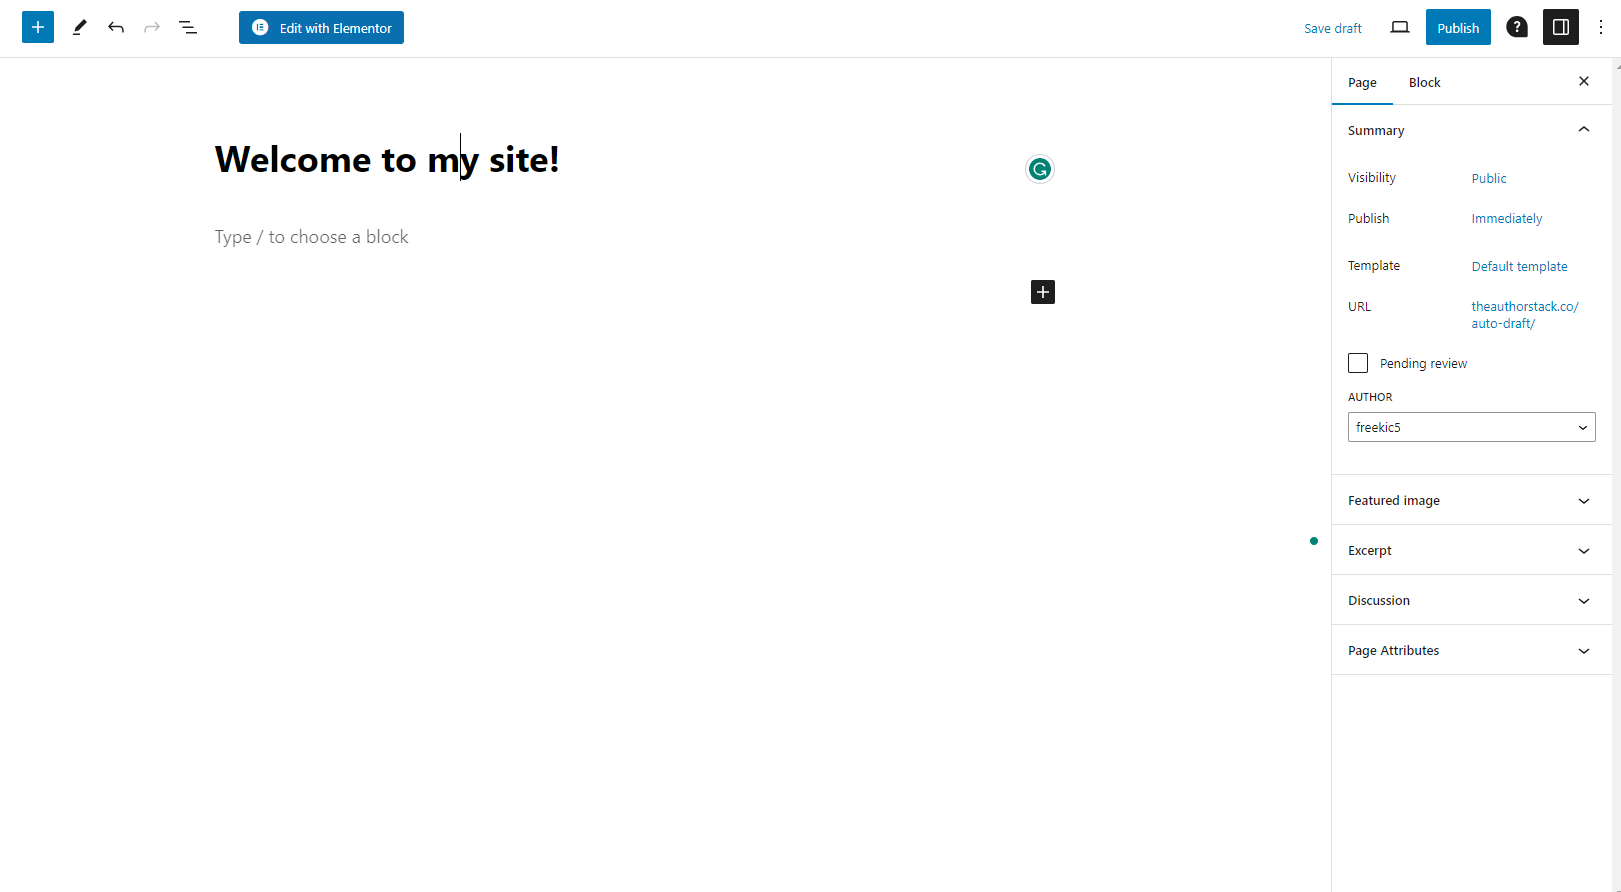
Let’s give it a title, like Welcome to my site! Then, click publish.
Step 4: Before we start designing, let’s set that as your homepage. Click the big W in the top left and it should take you back to the dashboard.
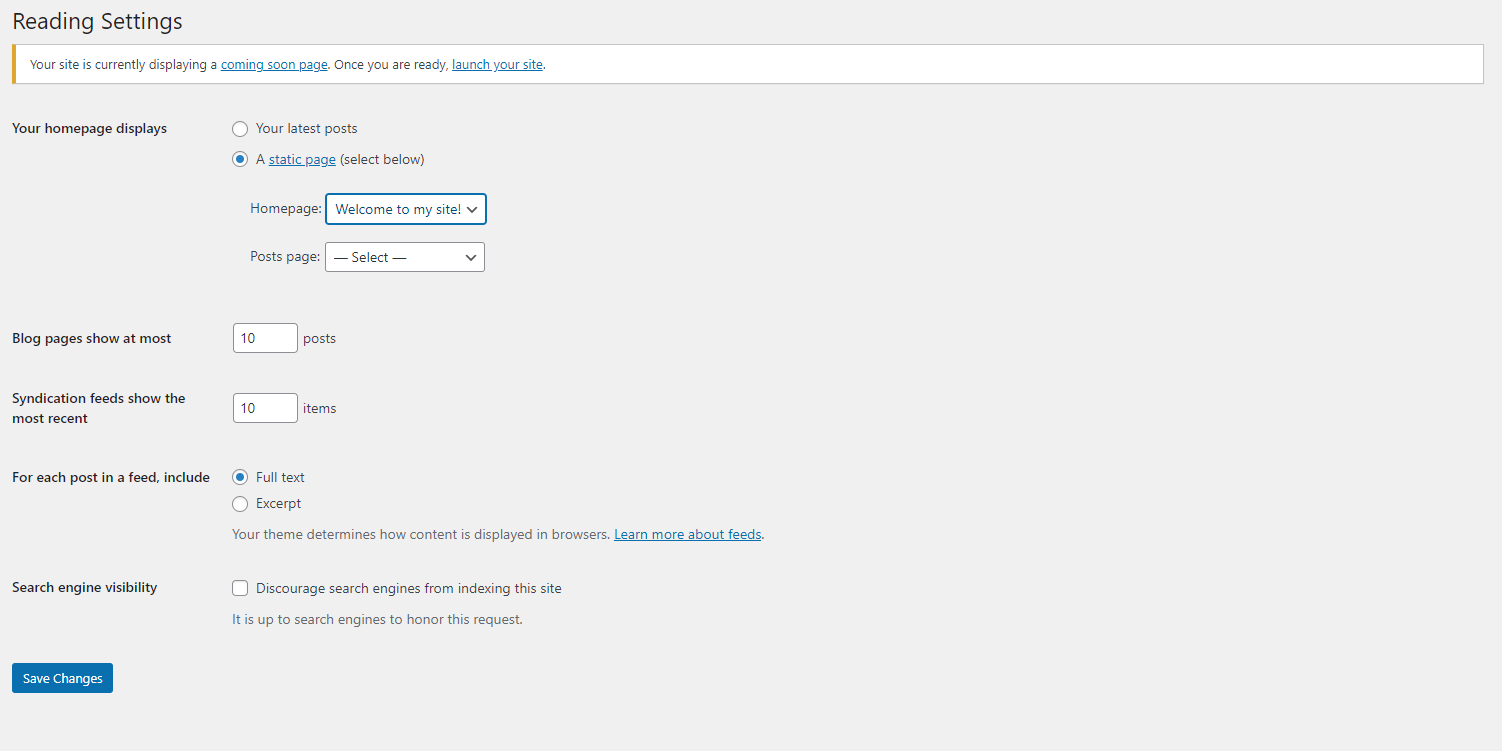
Step 5: Then, go to Settings>Reading. We want to set the homepage to a static page, and make that page the one we just published.
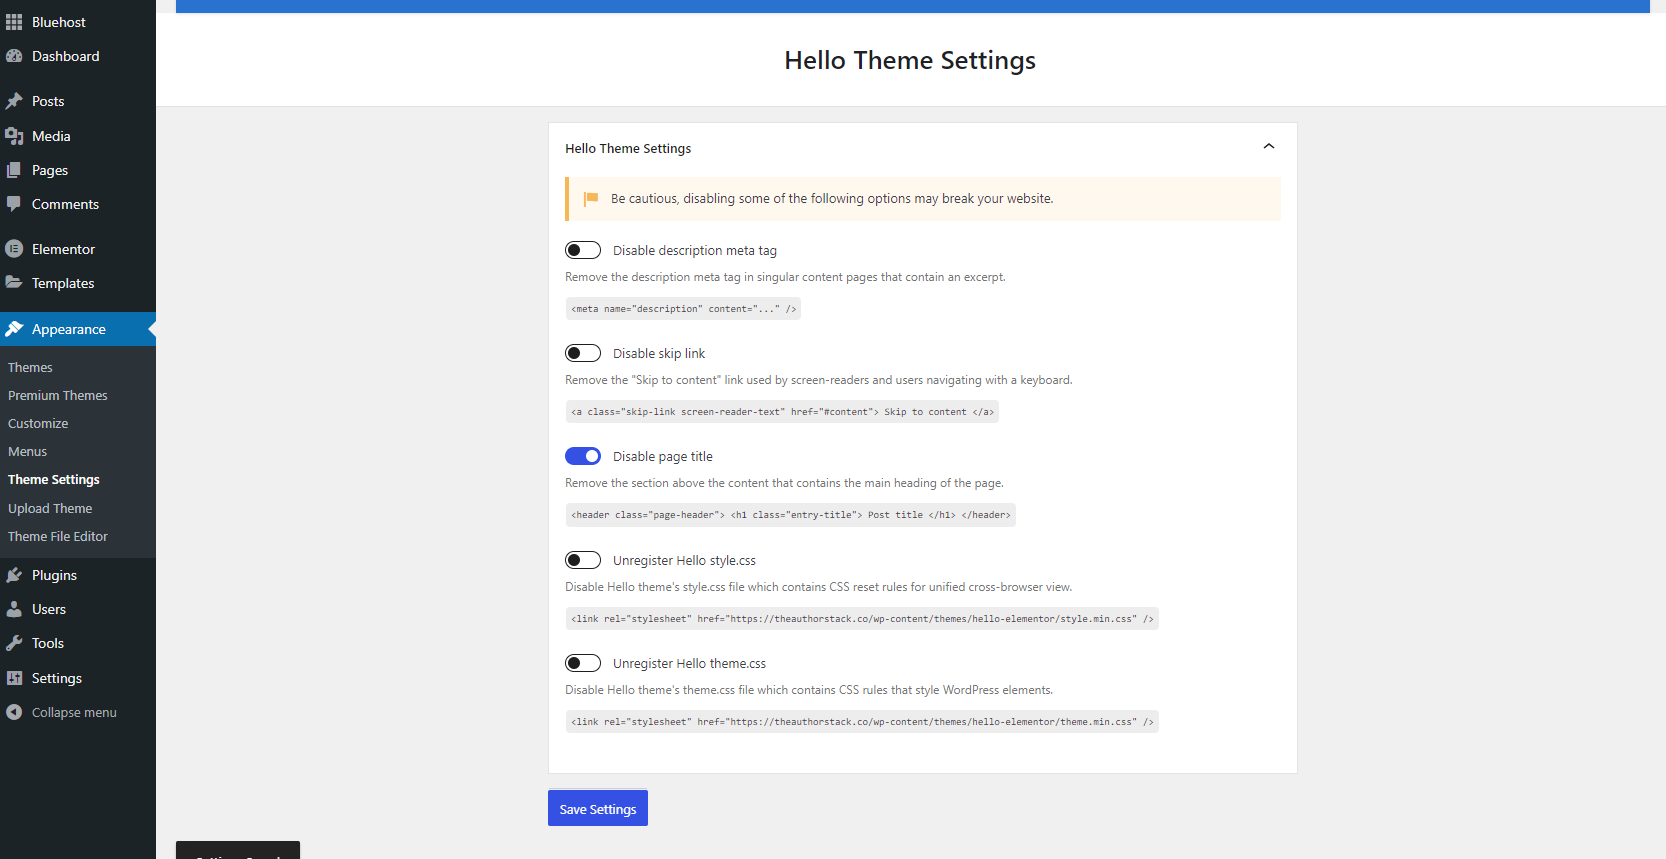
Step 6: Now we need to stop the page title from showing. Otherwise, it will look kind of ugly. So go to Appearance>Theme Settings. Turn on Disable Page Title.
Step 7: Now, back to the page. Head back to pages, but this time we’re going to hover over the page we just made and click quick edit.
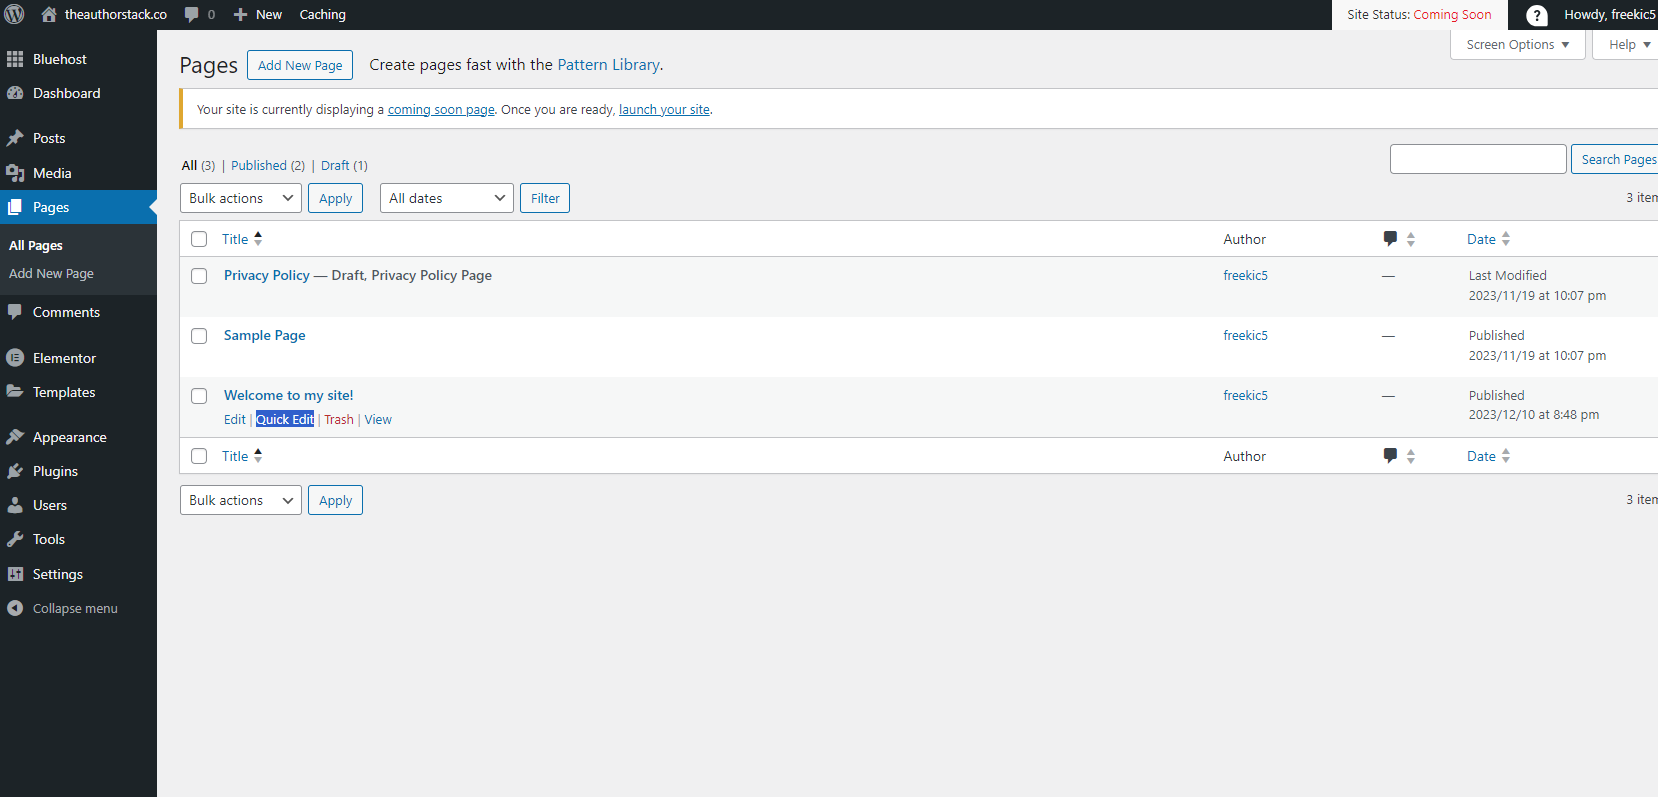
Step 8: Let’s change that slug to something like home or homepage.
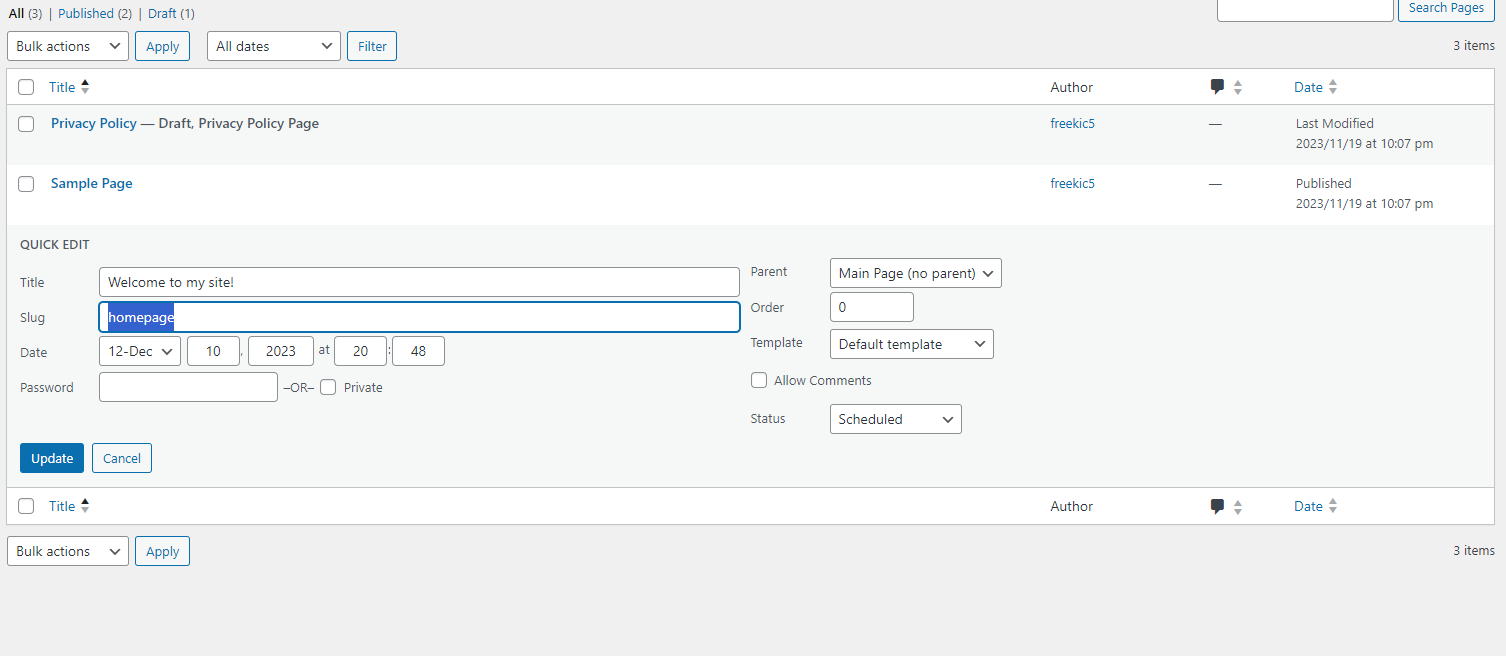
Step 9: Click update, and then hover over the page again and click edit.
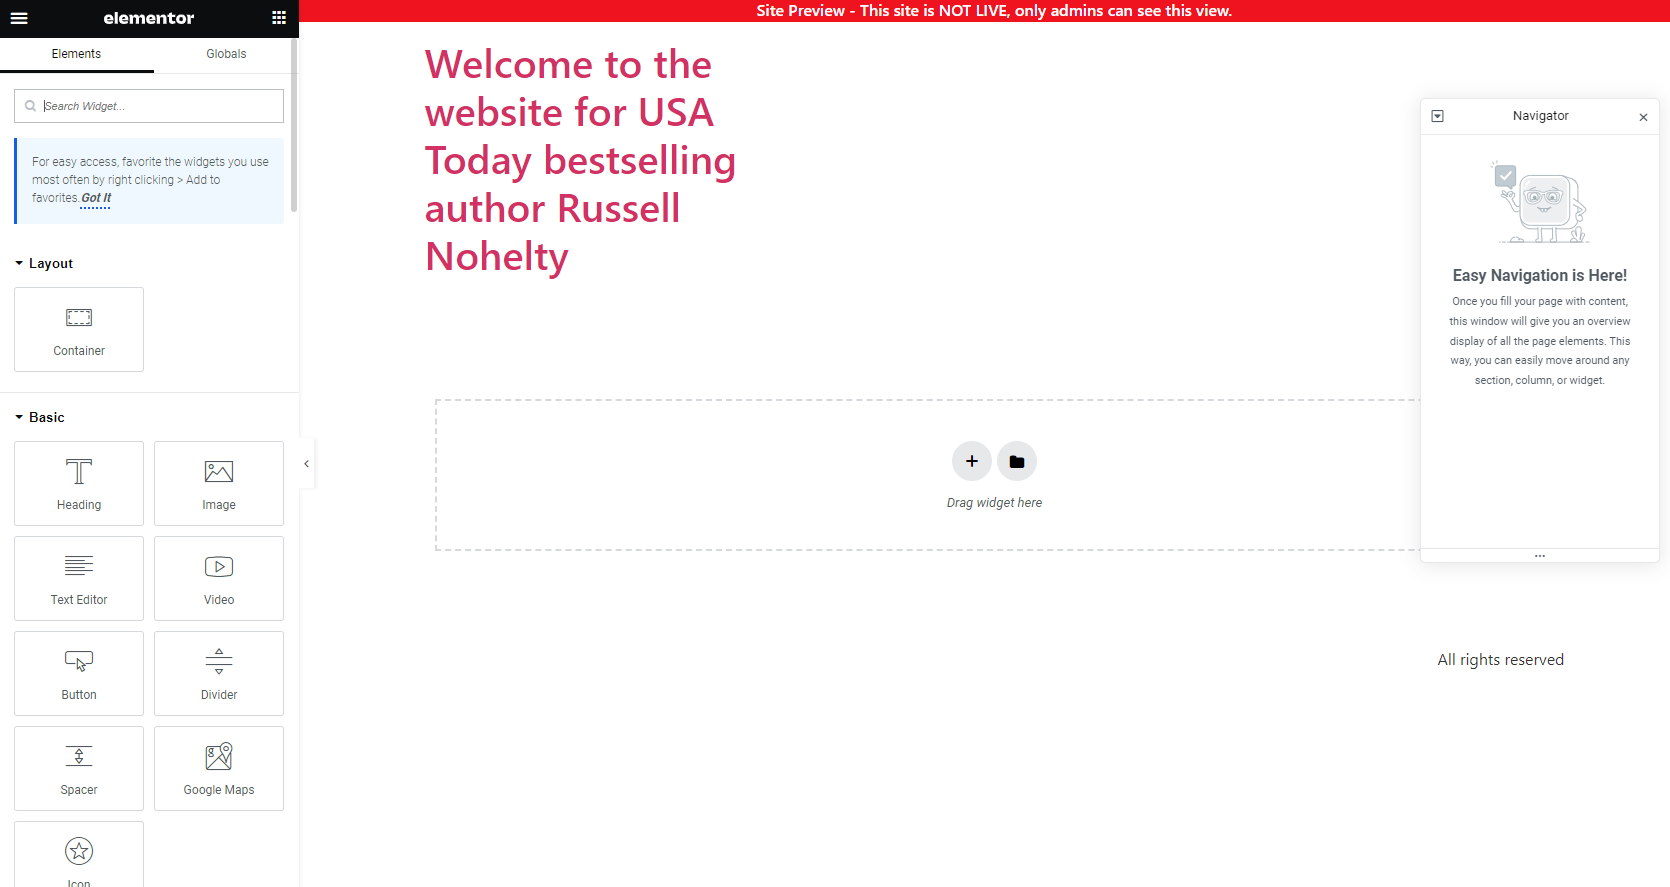
Step 10: And now click Edit with Elementor.
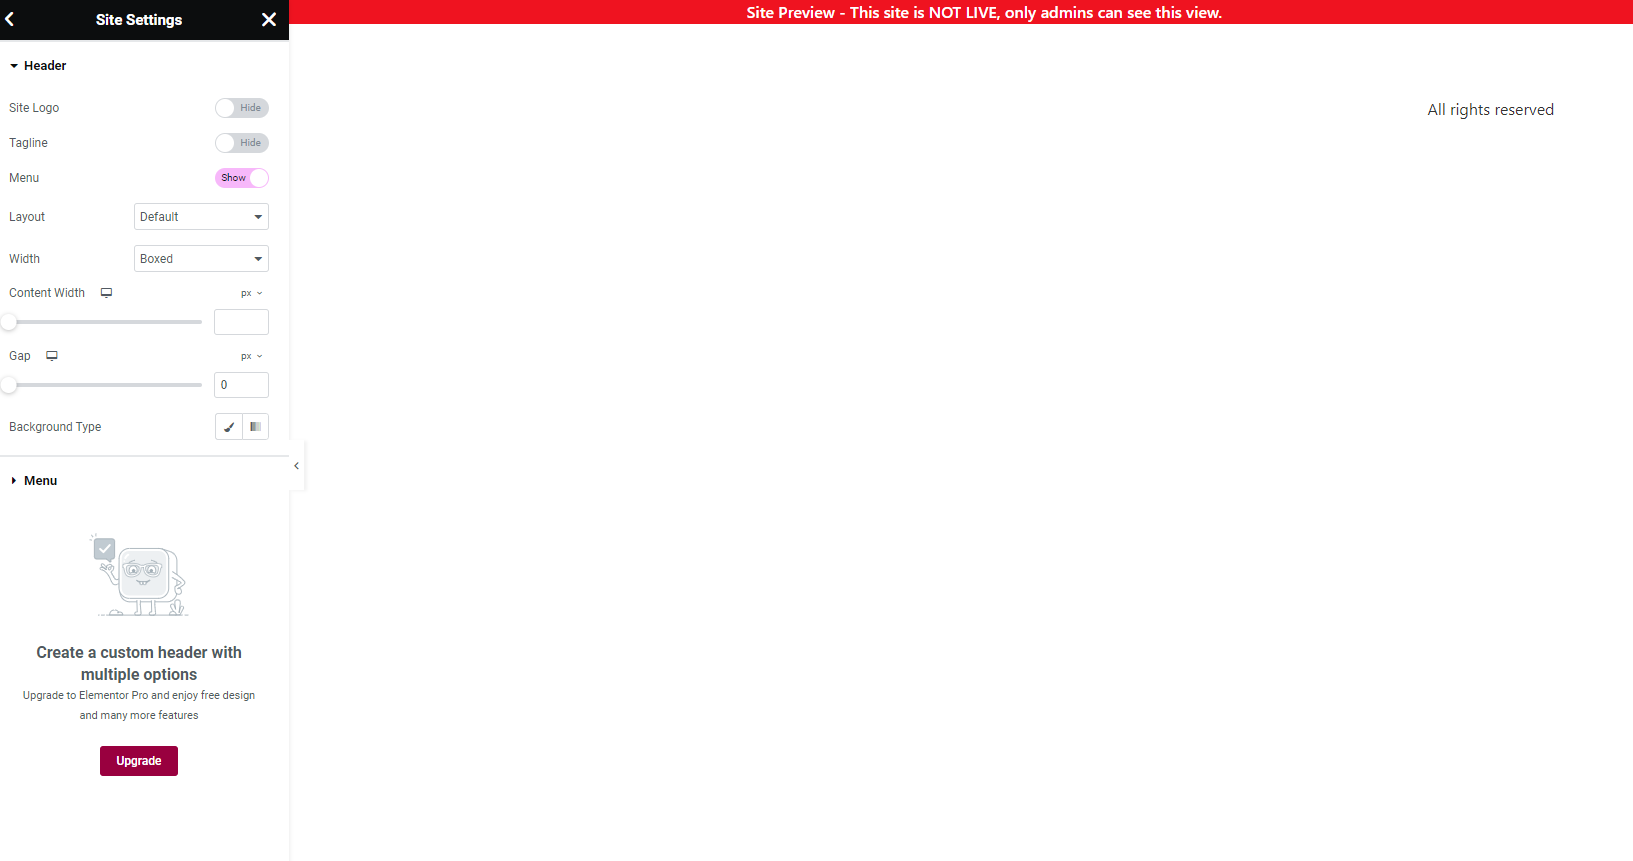
Step 10: Click on the three lines at the top left and click on site settings.
Step 11: Click Header, and then turn off logo and tagline. This should hide them. Then click update.
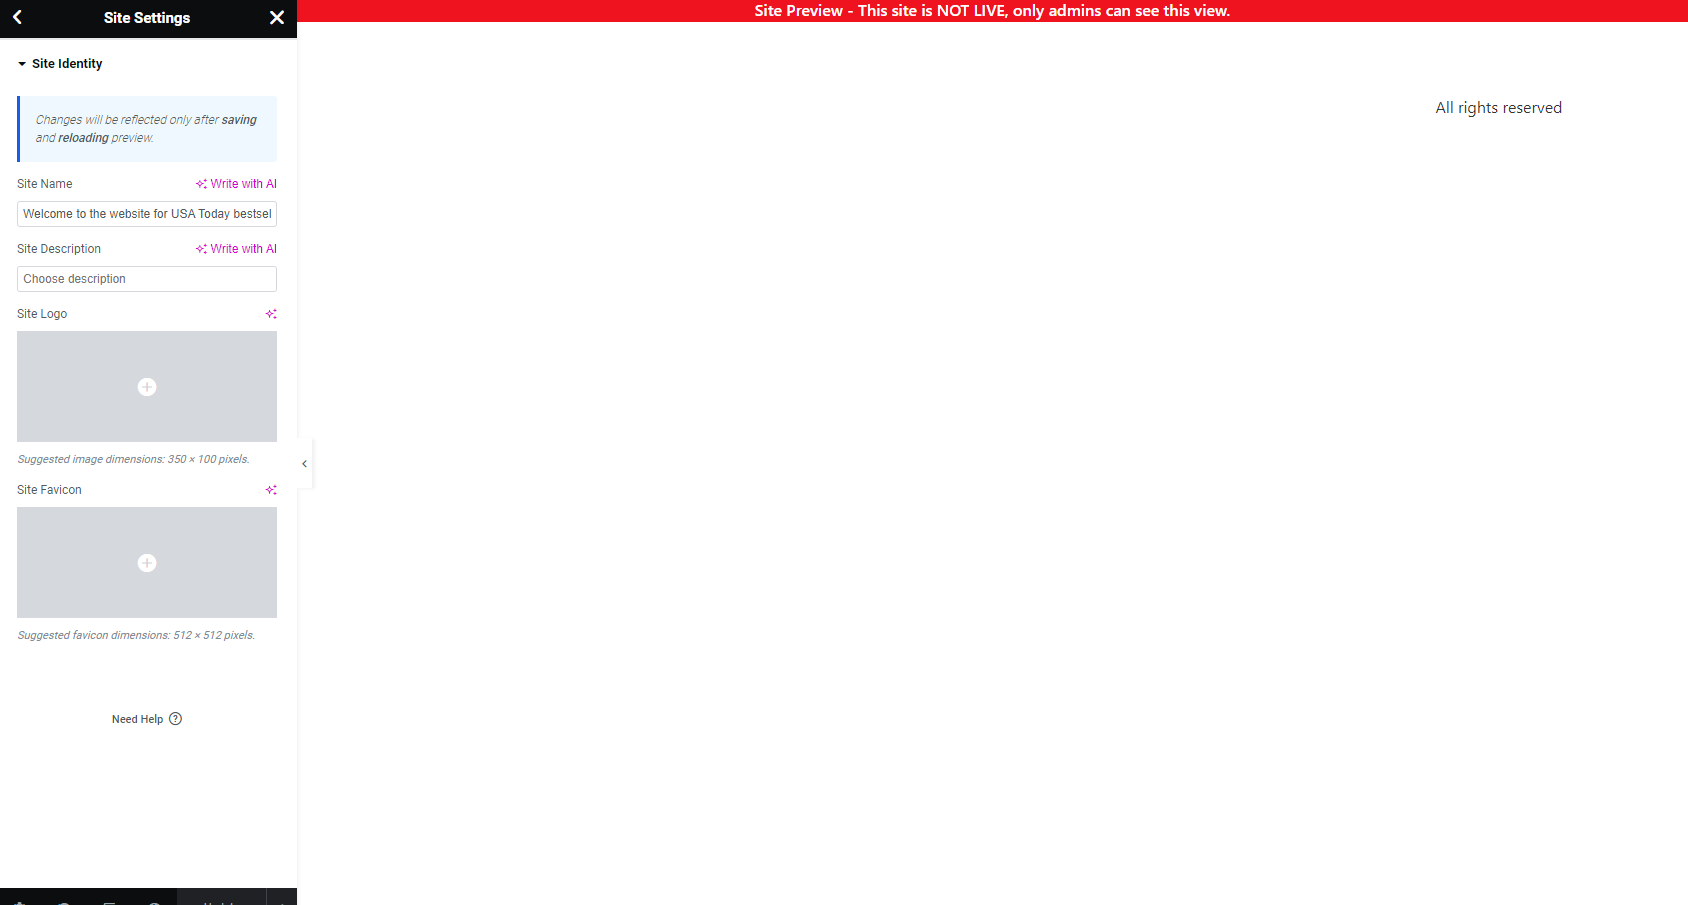
Step 11: Click Site Identity. This should allow you to change the website name, the description, upload a main photo, and a favicon that shows up in the search tab when somebody comes to your site. This is what social media and search engines scrape when they look up your site.
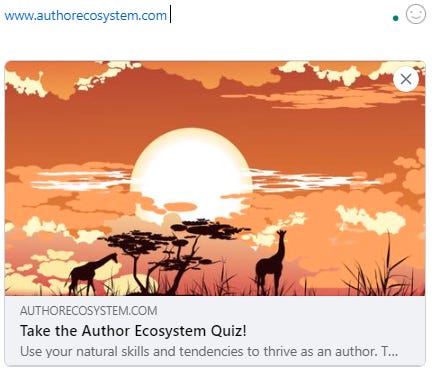
Once you’re done it should look like this when you share on social media. If not, give it some time and come back to it.
For the favicon, the little logo next to your site should change from the generic Wordpress to something unique to you, like most of these sites.

Once you’ve finished this, you should have a completely blank template, and we’re ready to create your website.
PART 4: Make a beautiful website
This is it. If you’ve gotten this far, congratulations. The rest of this is a lot of graphics and design, but we’ve set ourselves up for success.
SECTION A: Opt-in Box
First thing we’re going to do is create an opt-in box so you can start getting those sweet, sweet emails.
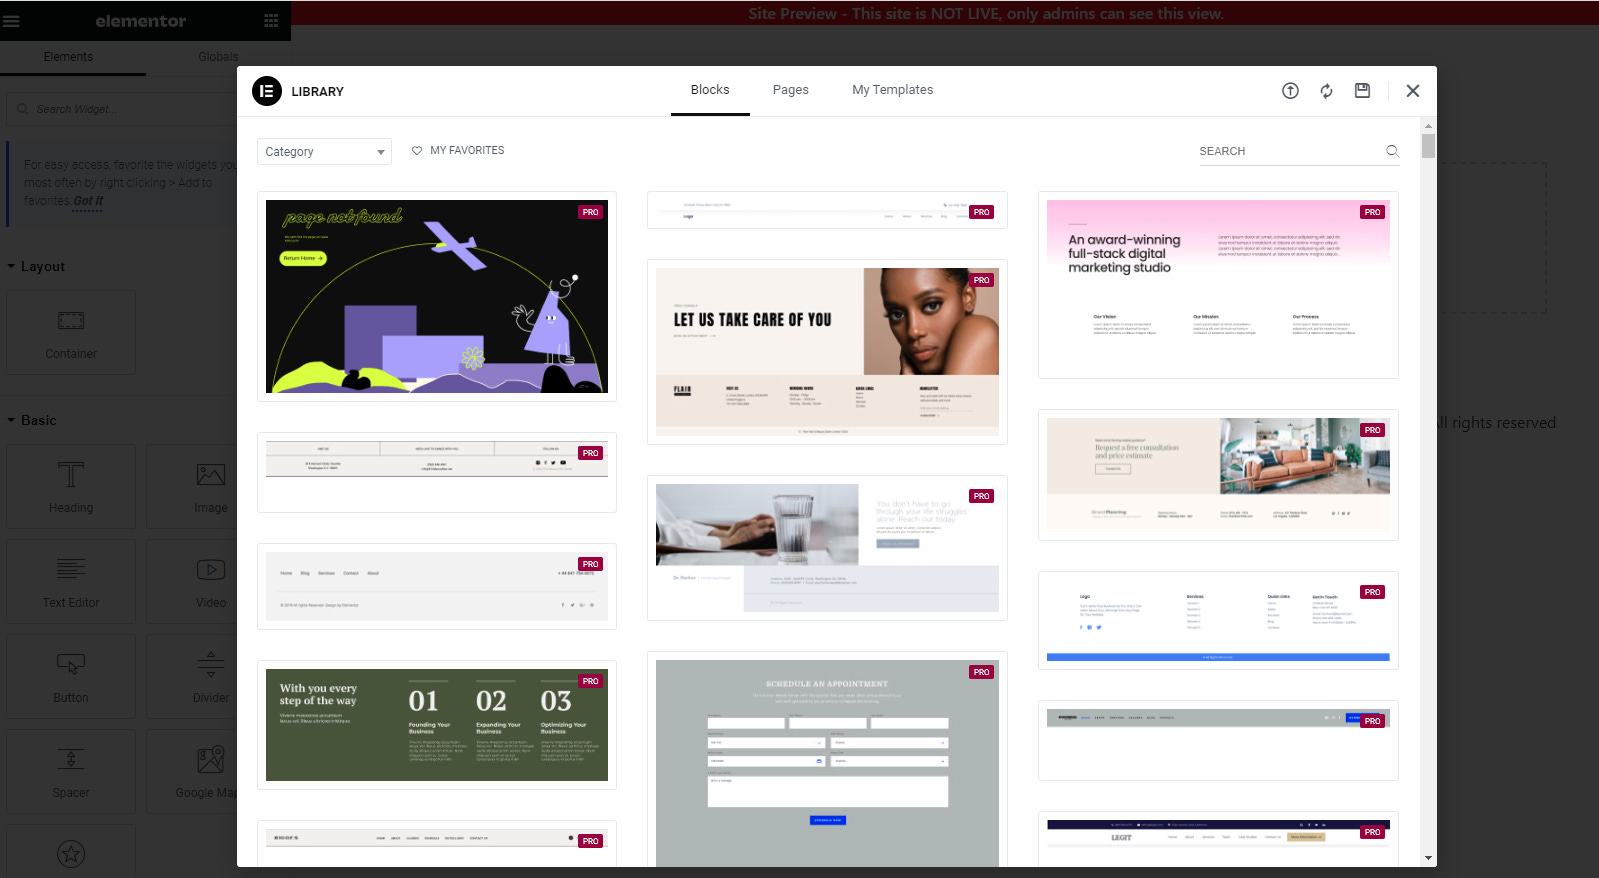
Step 1: While we can start from scratch, I think we should see if there’s anything we like from the templates. So, click the folder icon inside the dotted line.
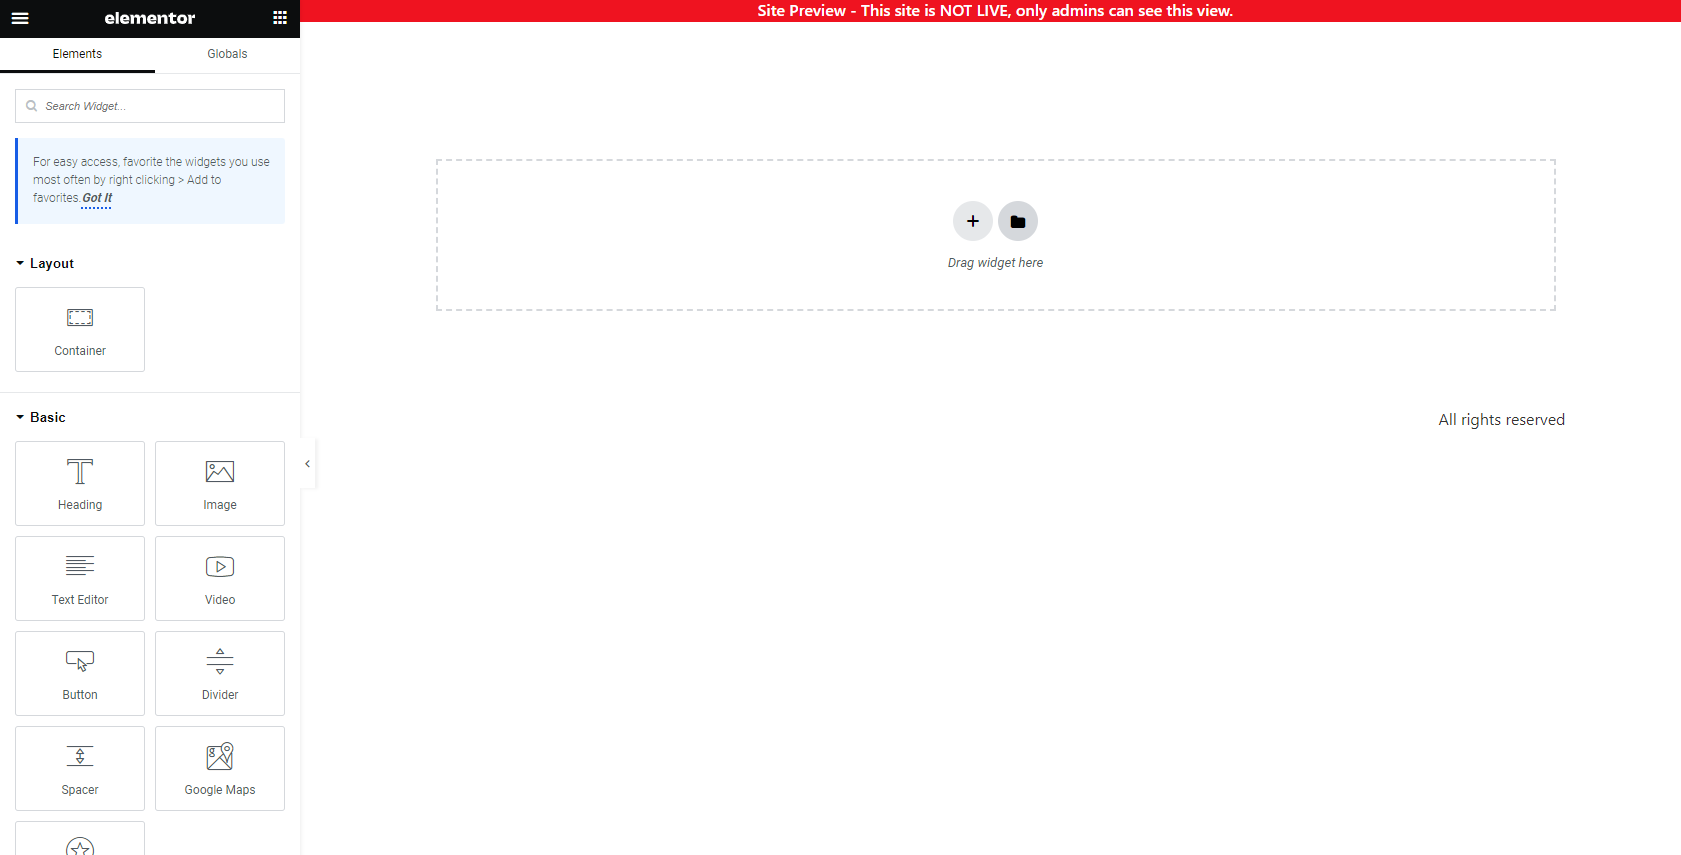
Most of these will only be available for Pro accounts, but maybe we’ll see something pretty that will inspire us. Also, if you see something you like, feel free to upgrade to Pro. I’m trying to do this the very hard way.
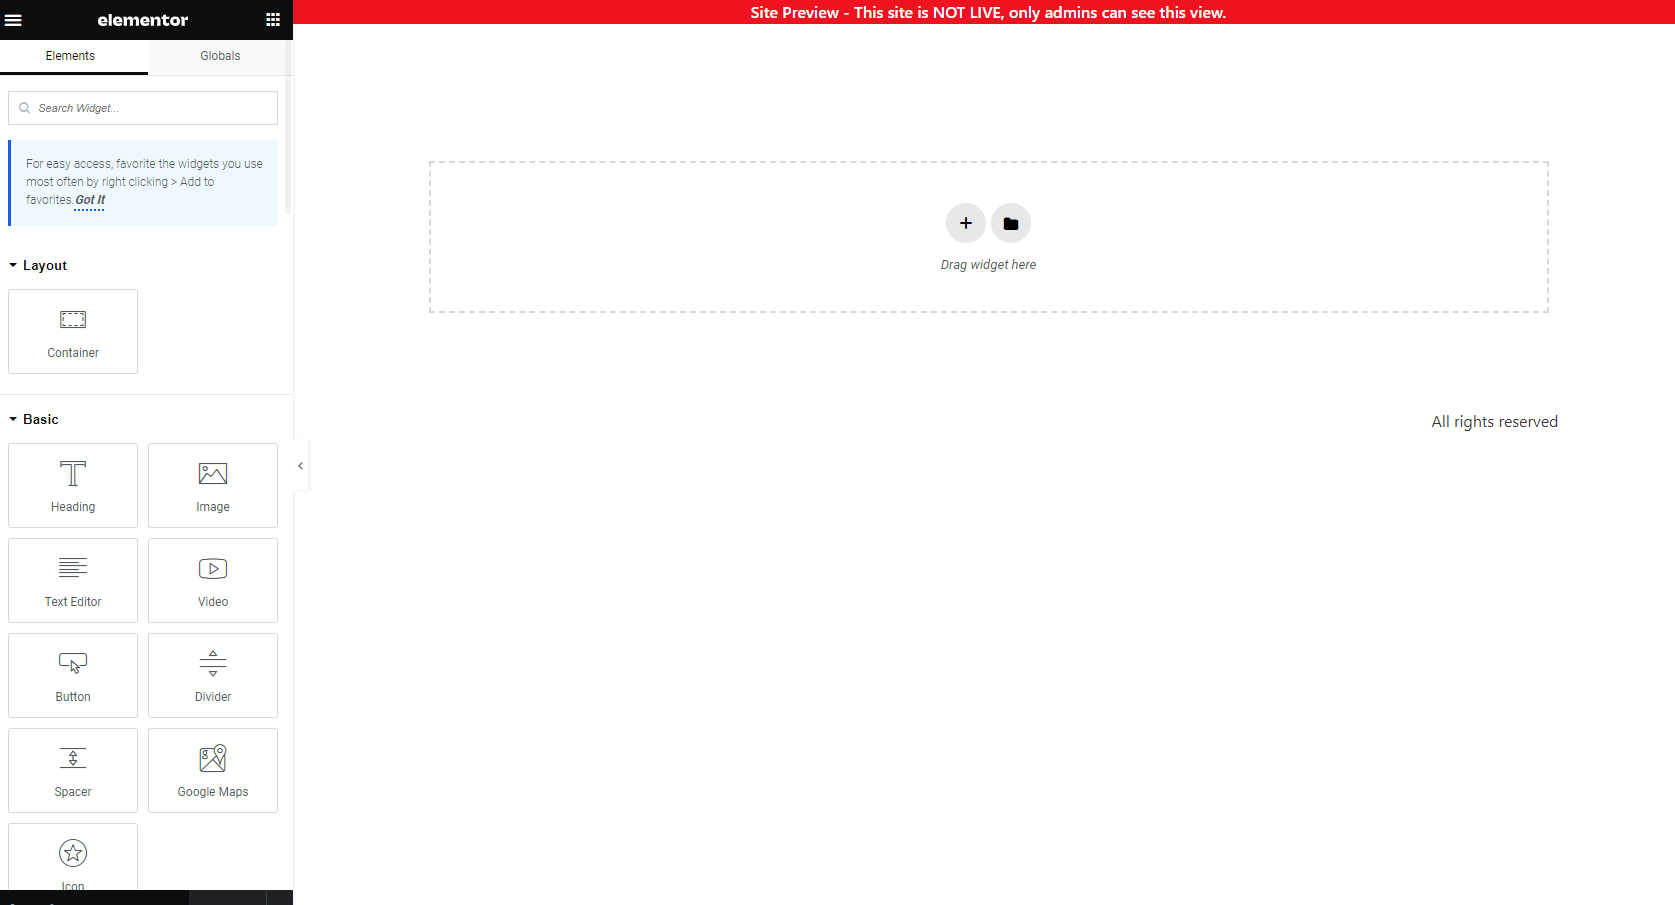
Step 2: I don’t see anything that stands out, so let’s X out of that and click the +. Then, click the two columns. What we’re going to do first is create an opt-in page.
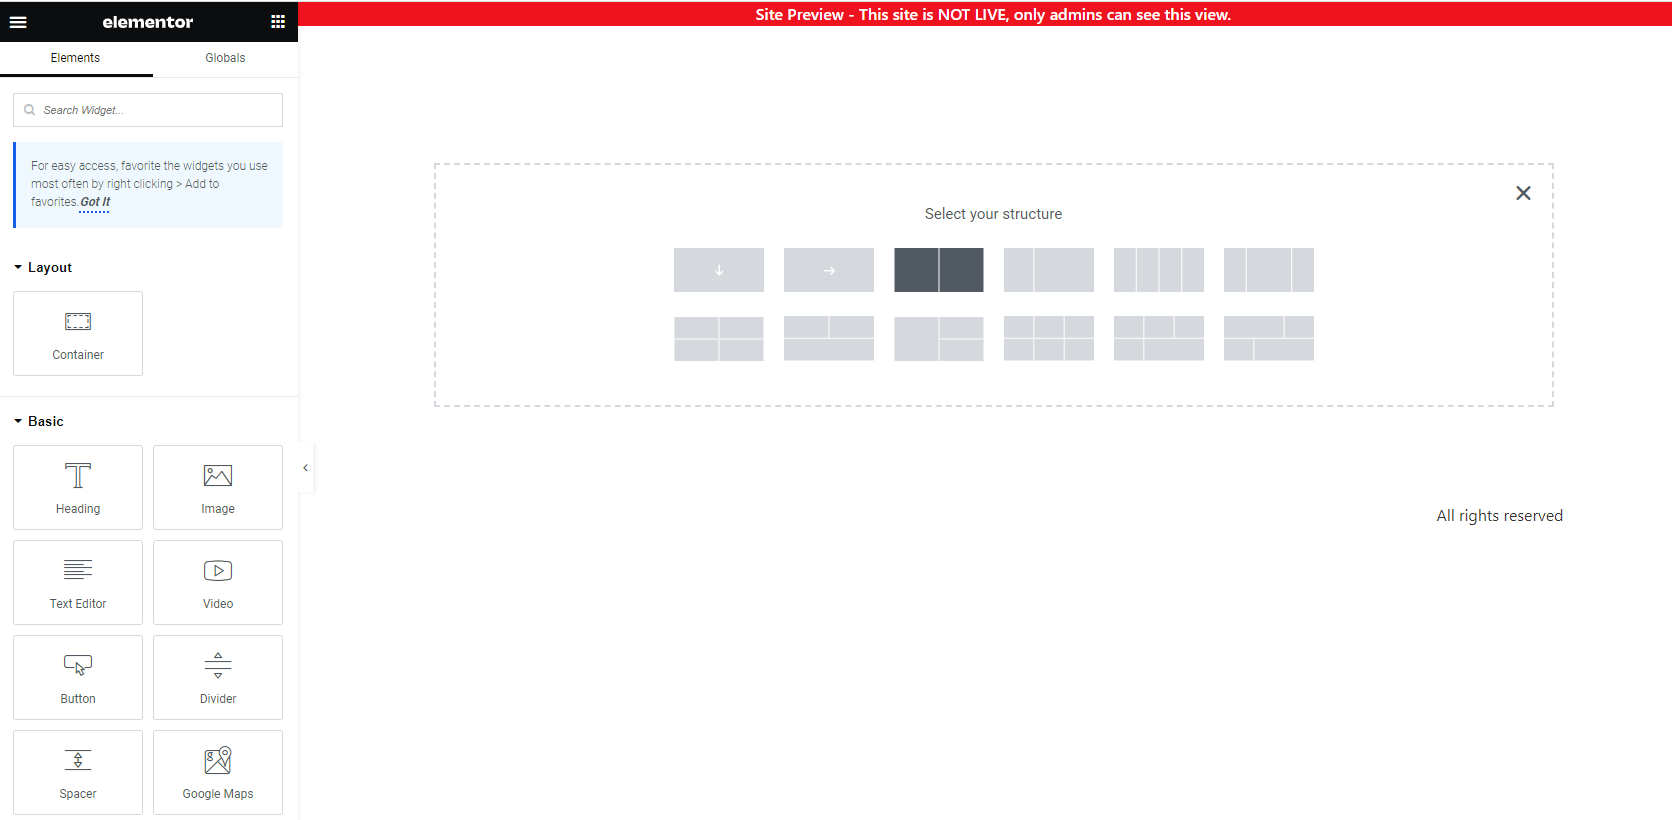
So, that should give you two columns.
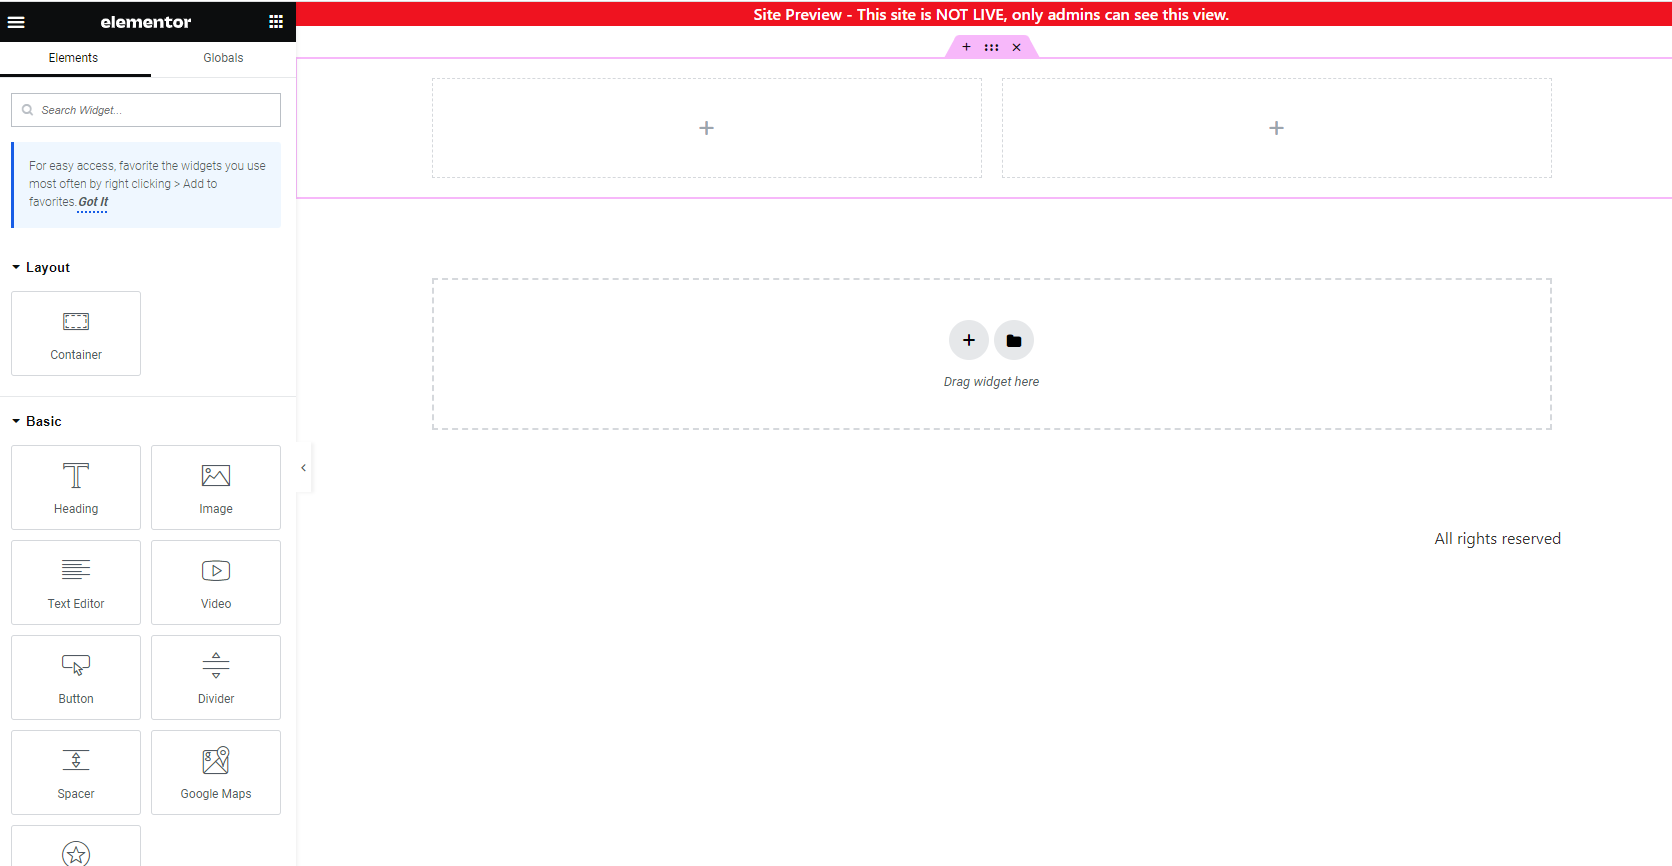
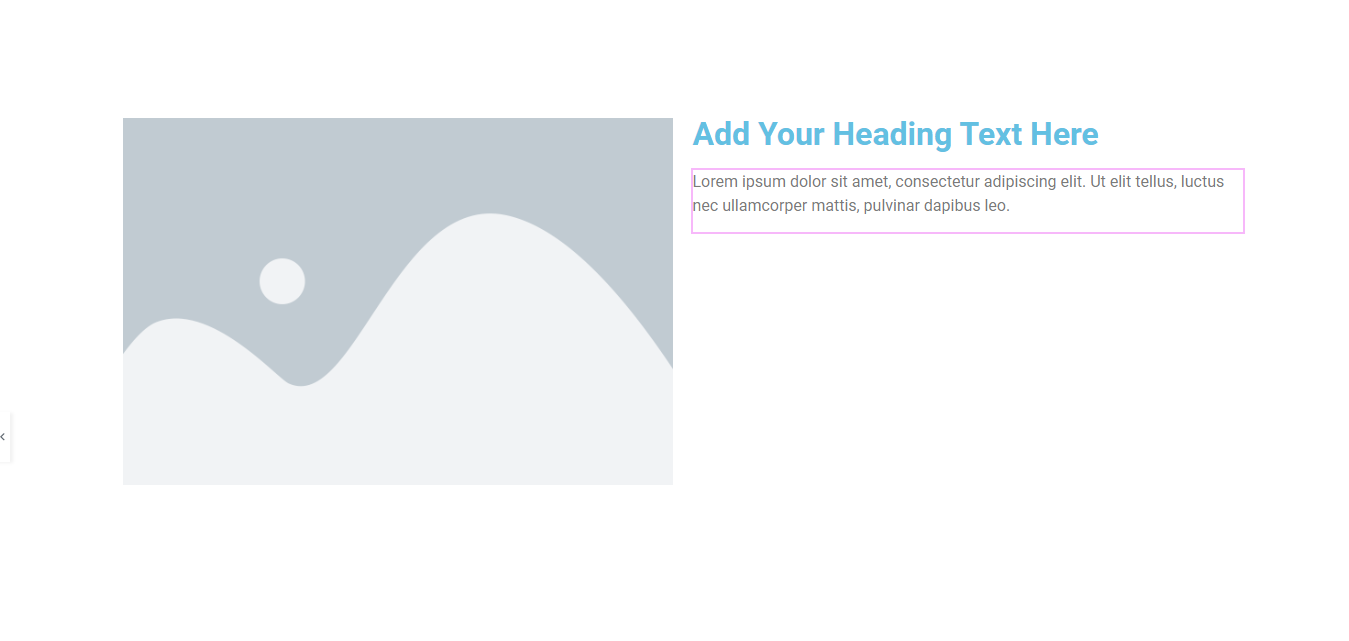
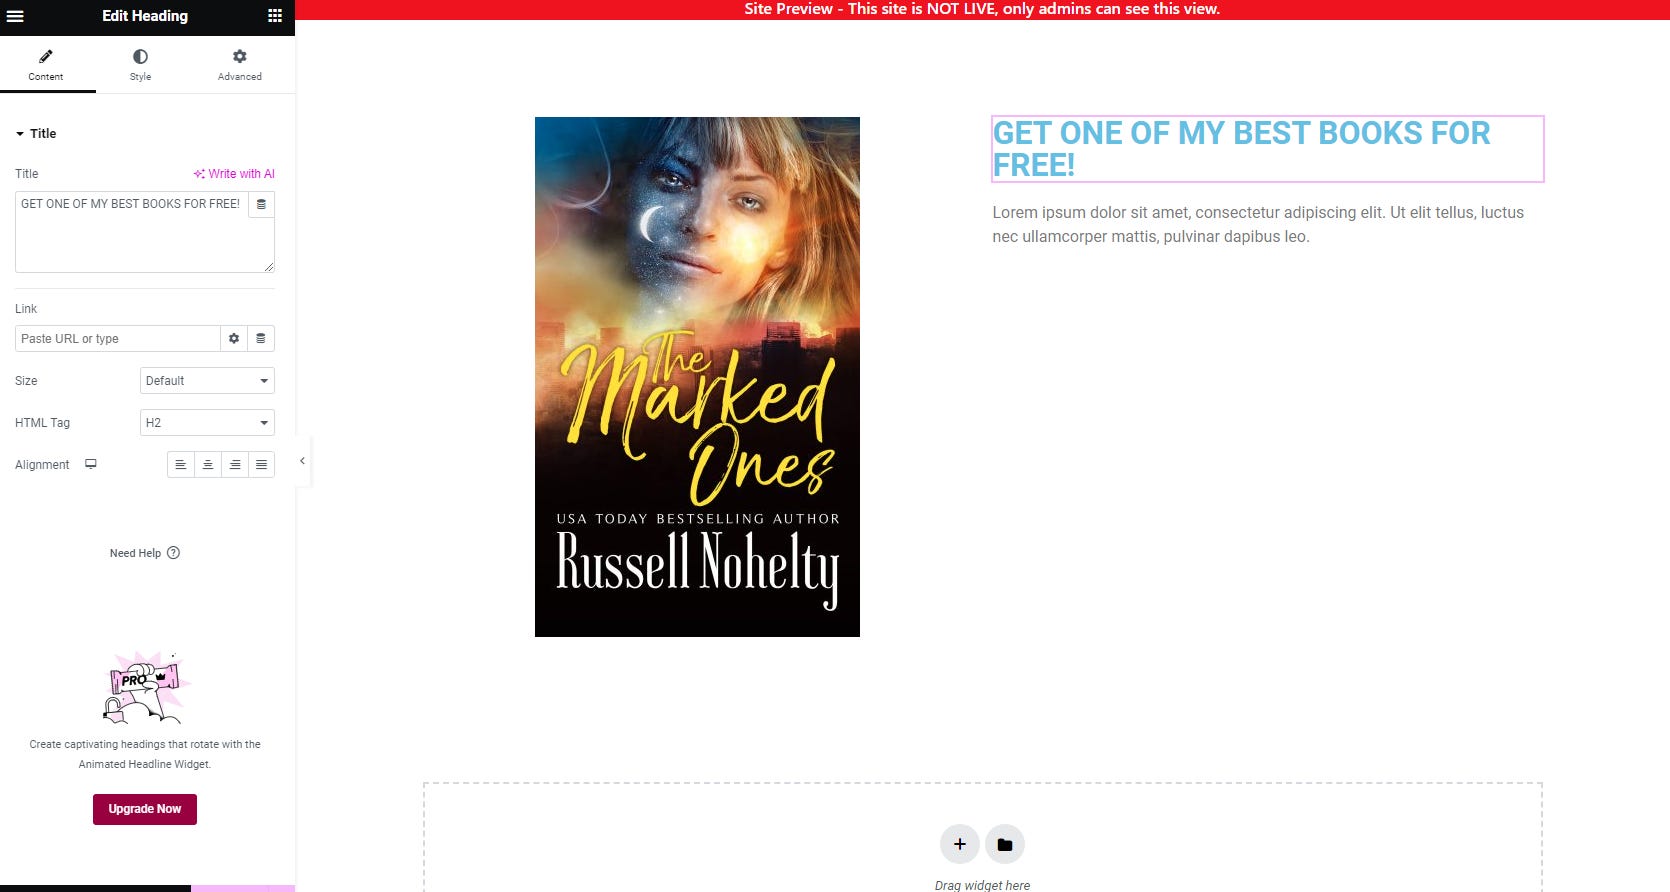
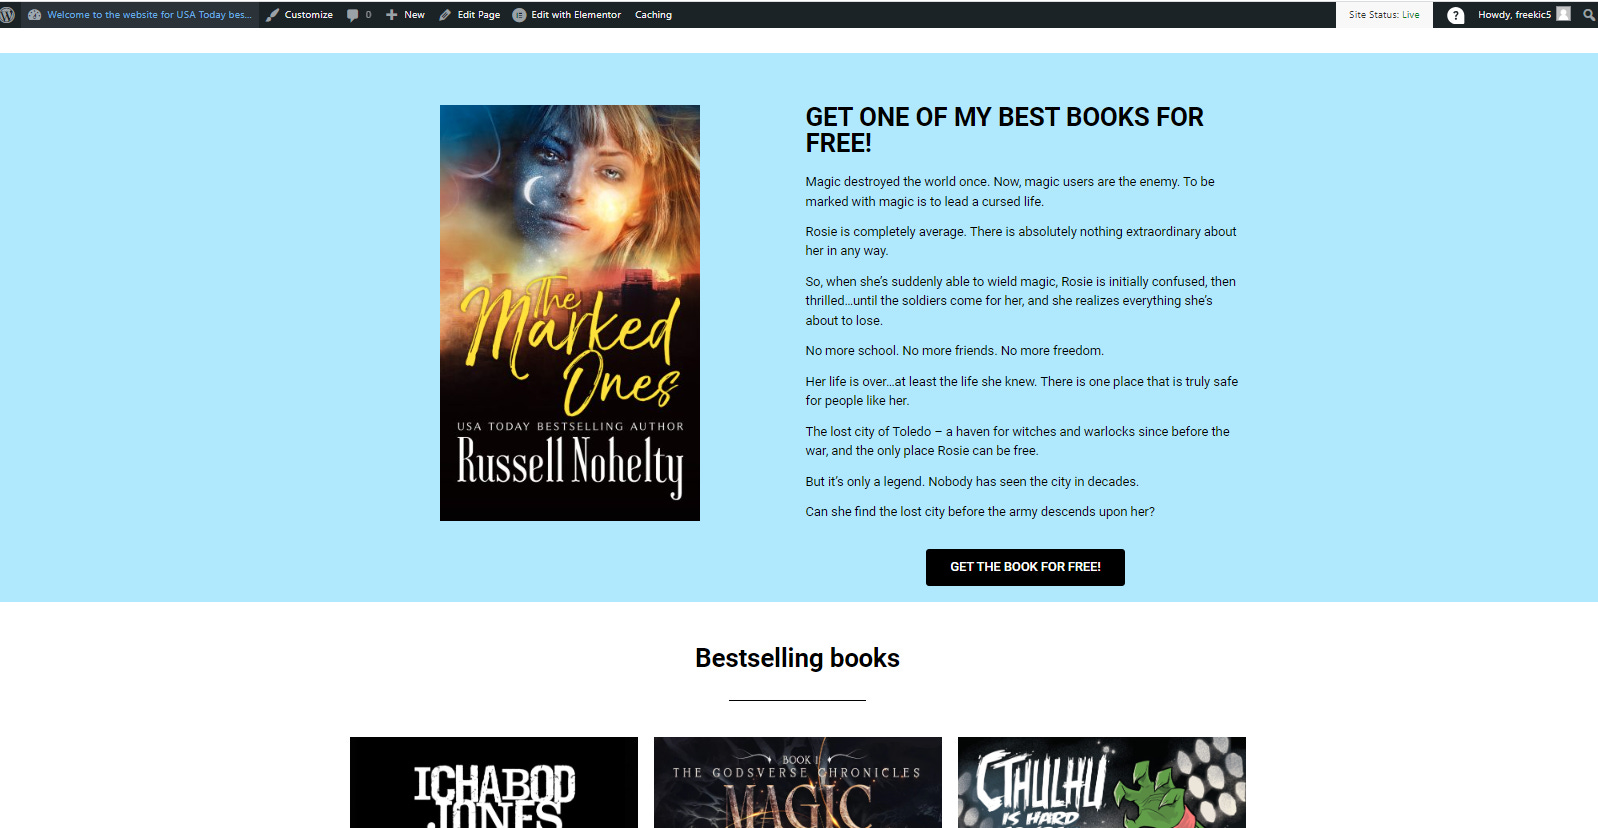
Step 3: Drag a Spacer, an Image, and another Spacer into the left column, and then Heading, Text Editor, and Button into the right side. If you ever need to get to the elements again, then you can just lick the nine boxes next to the word Elementor in the top left. In the end, it should look like this. It should look something like this when it’s done.
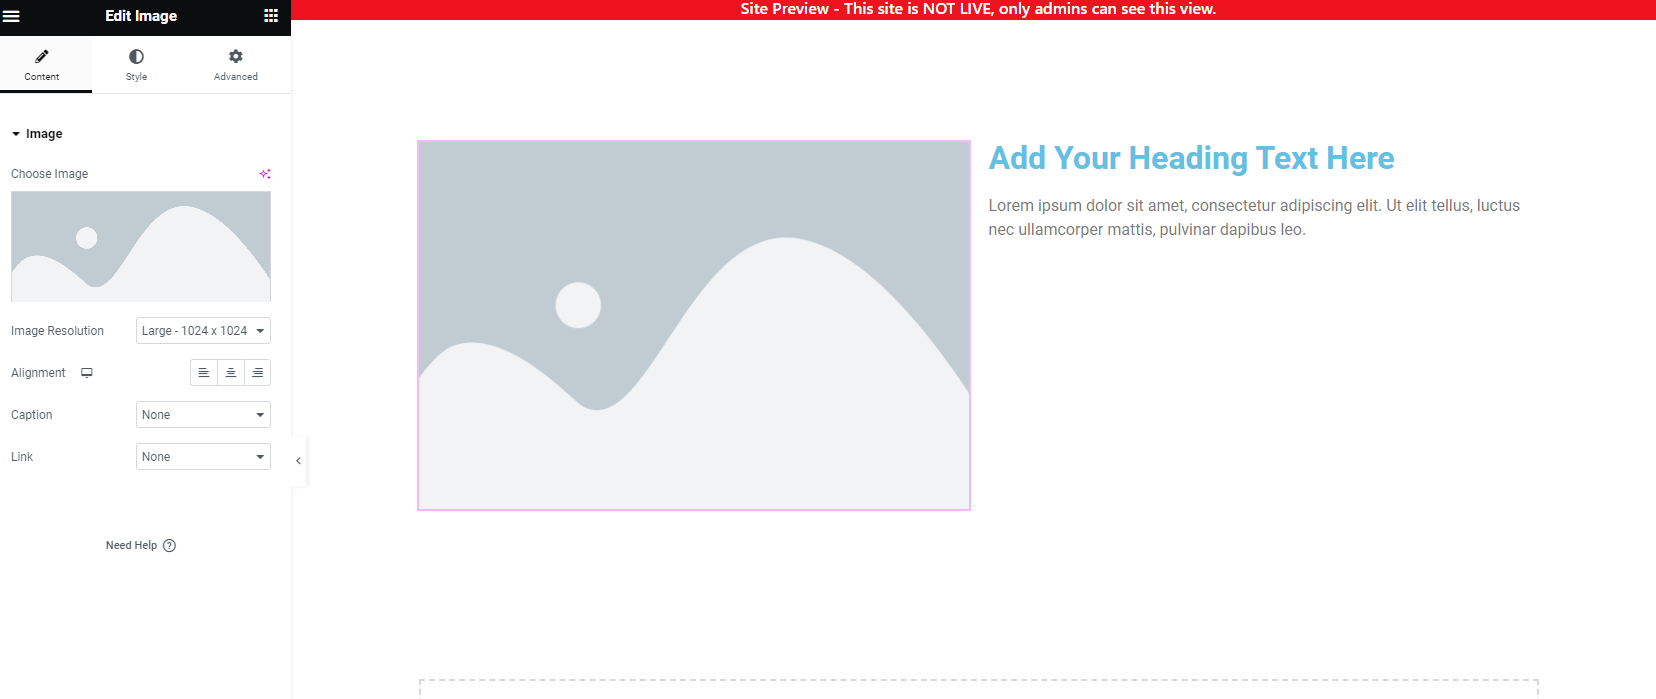
Step 4: Click on the gray image. Settings should pop up on the left like this.
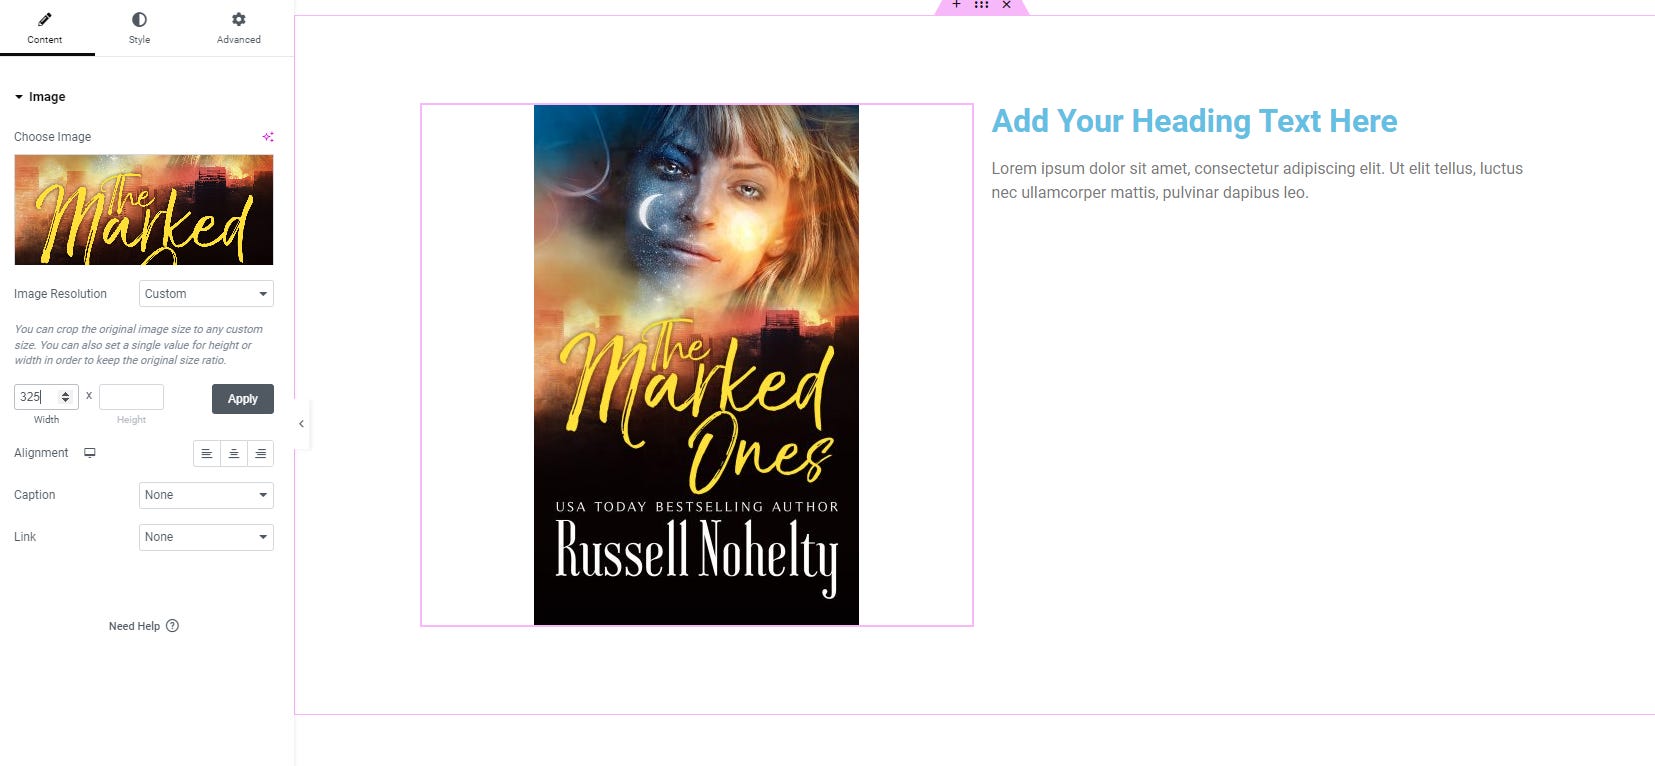
Click on the gray Choose Image box, and drag in the image for your freebie. When you’ve done that, choose custom image resolution, and set the width to 325 (ish).
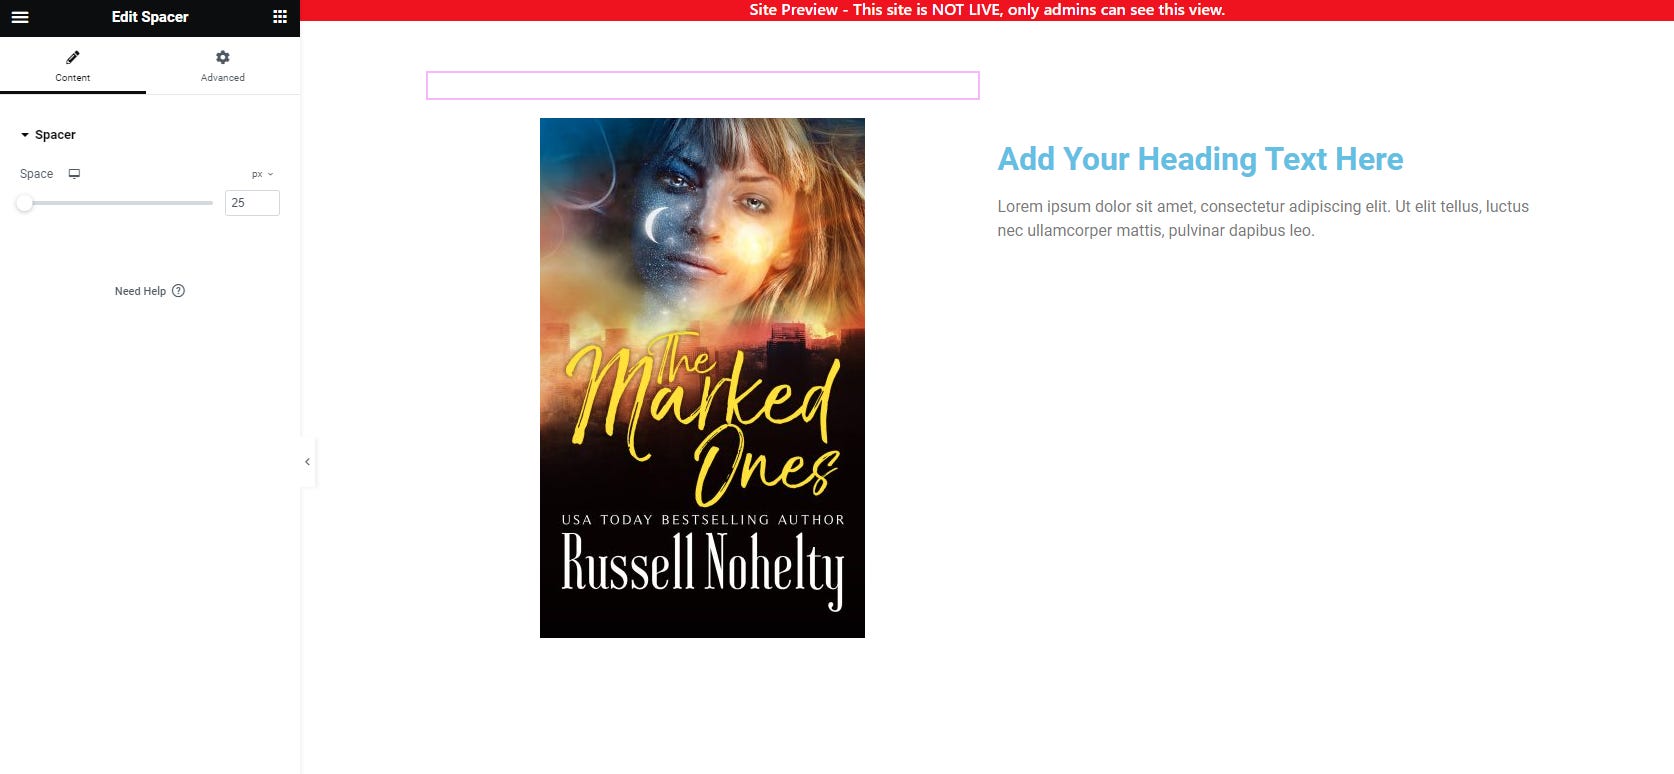
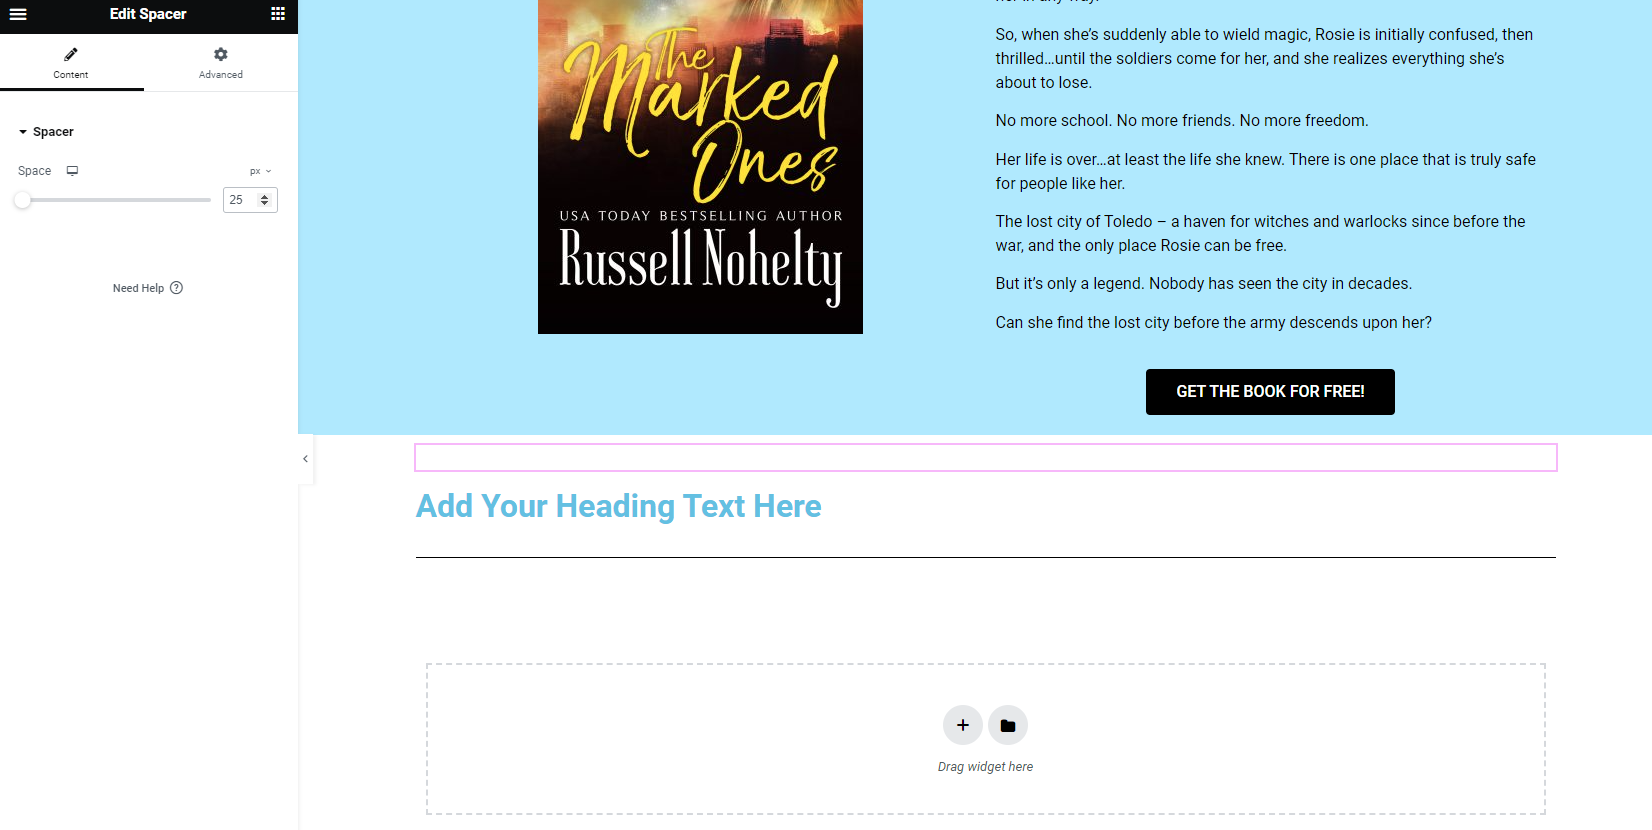
Step 5: Click on the spacer above the image and change the height to 25 instead of 50. Do this with all three of your spacers in the same manner.
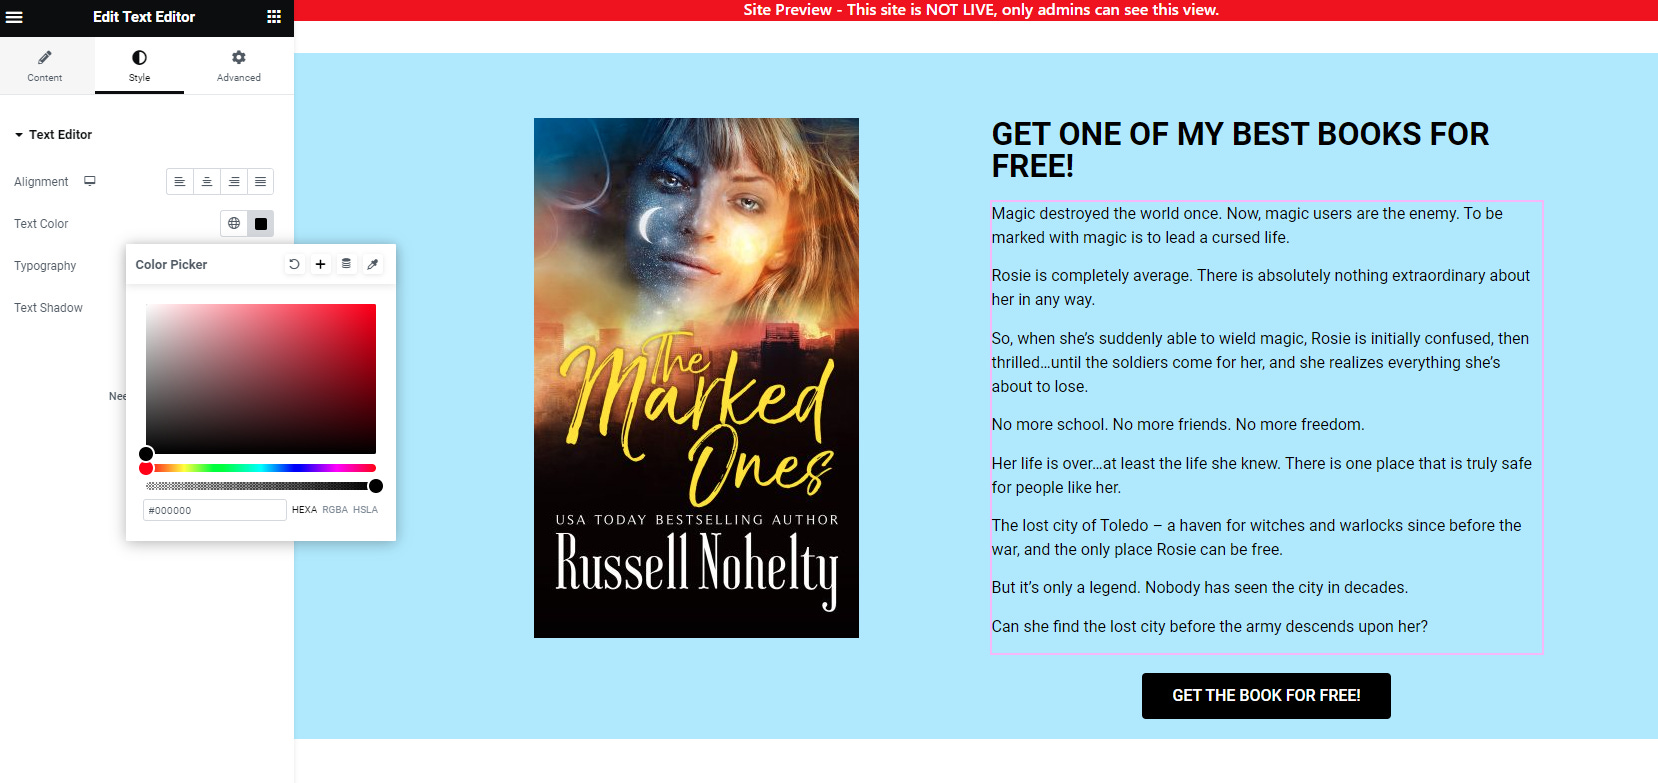
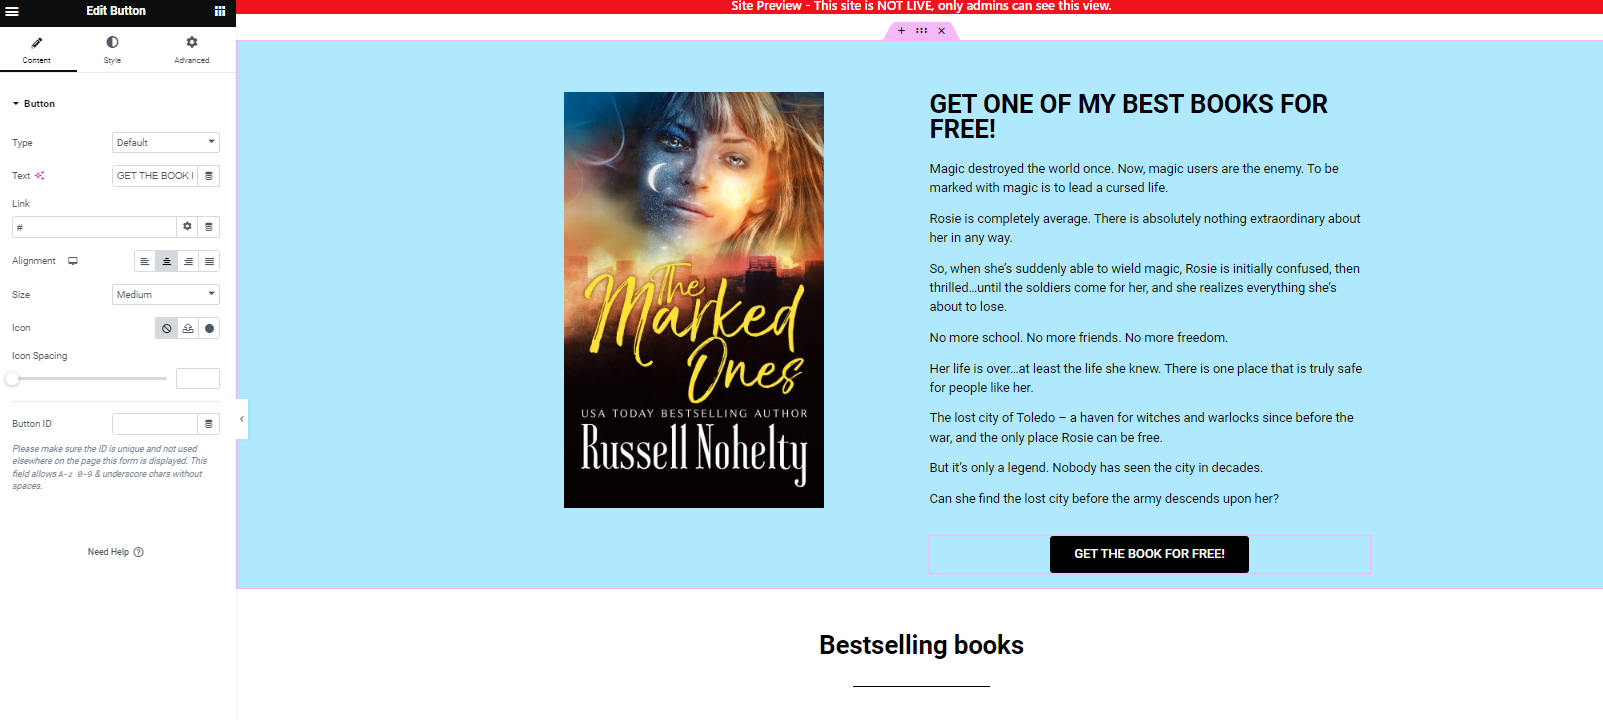
Step 6: Click on the Heading, and add something flashy like GET ONE OF MY BEST BOOKS FOR FREE! Even if you’re not an author, a free ebook is one of the better, cheaper, and more successful things you can offer.
Then click the Style section at the top.
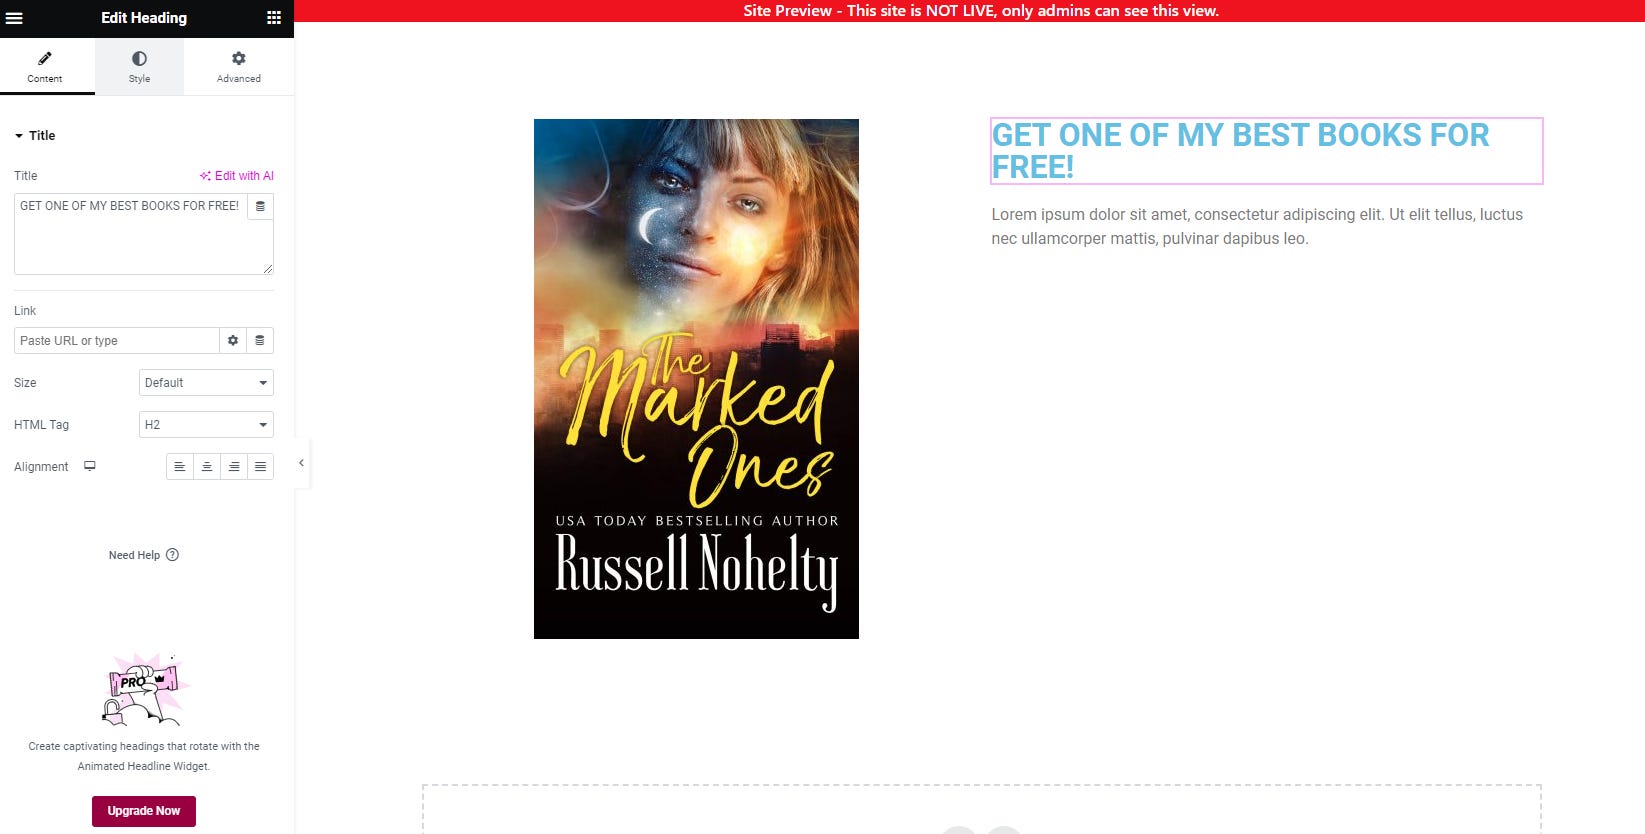
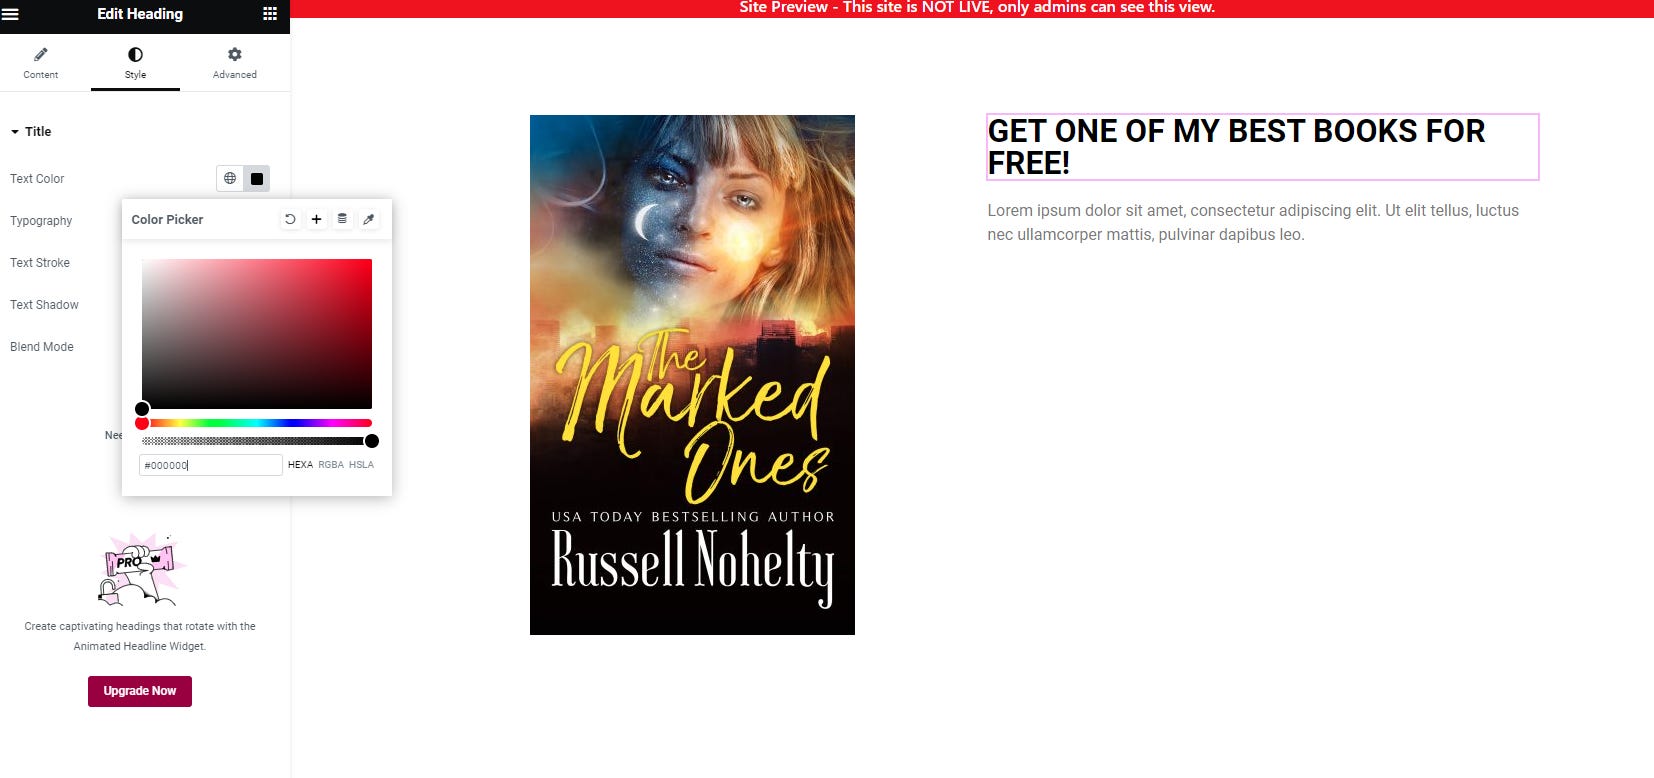
We’re going to change the text color to black.
Step 7: Now click on the text box and drop in a hooky blurb that make people want to get it. You might have to massage it to look good next to your image, but it should look something like this.

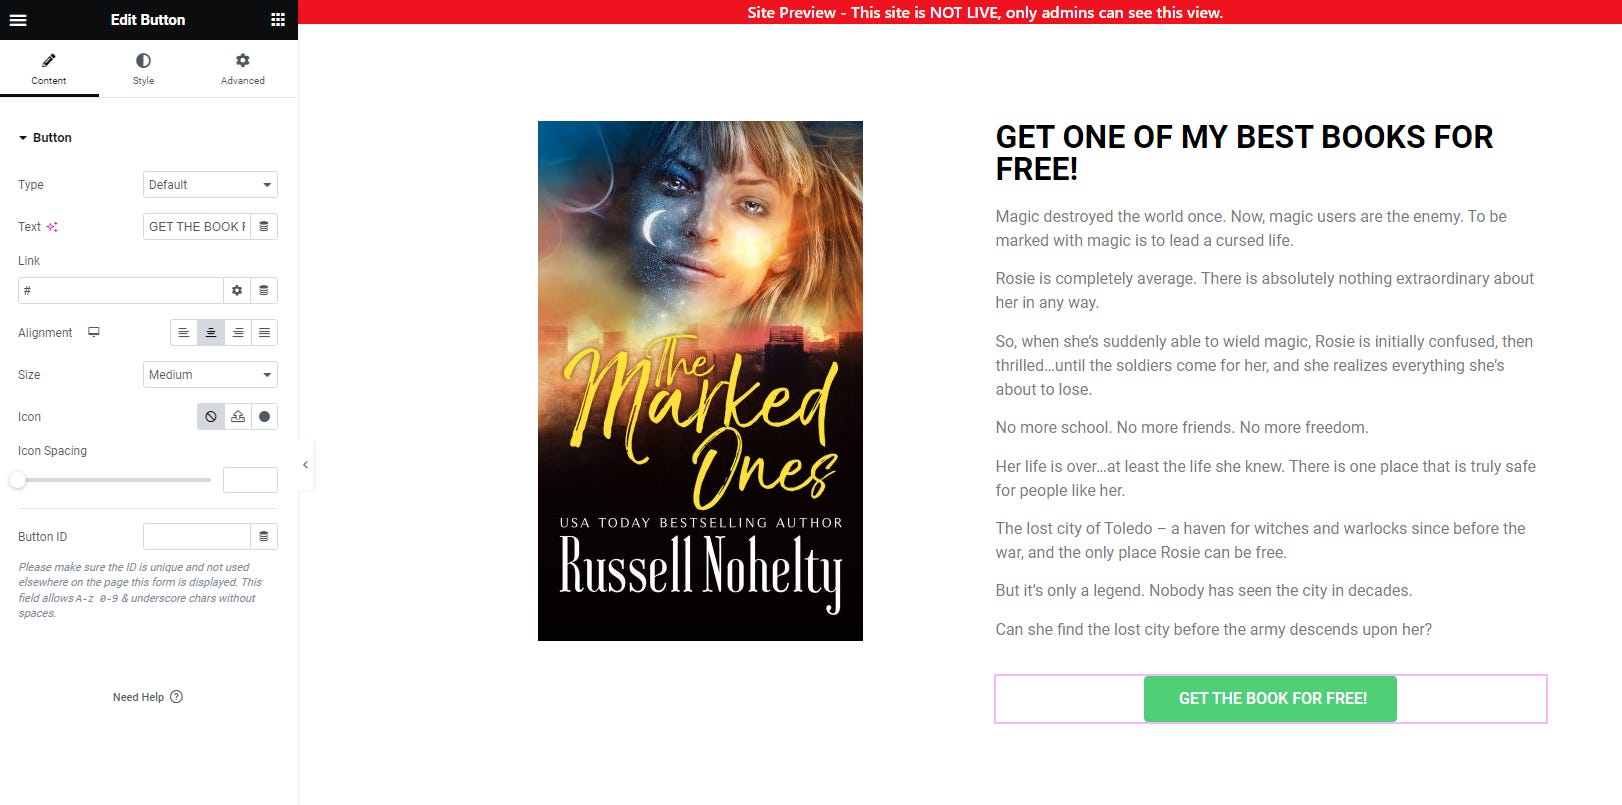
Step 8: Now, drag a button below your text box.
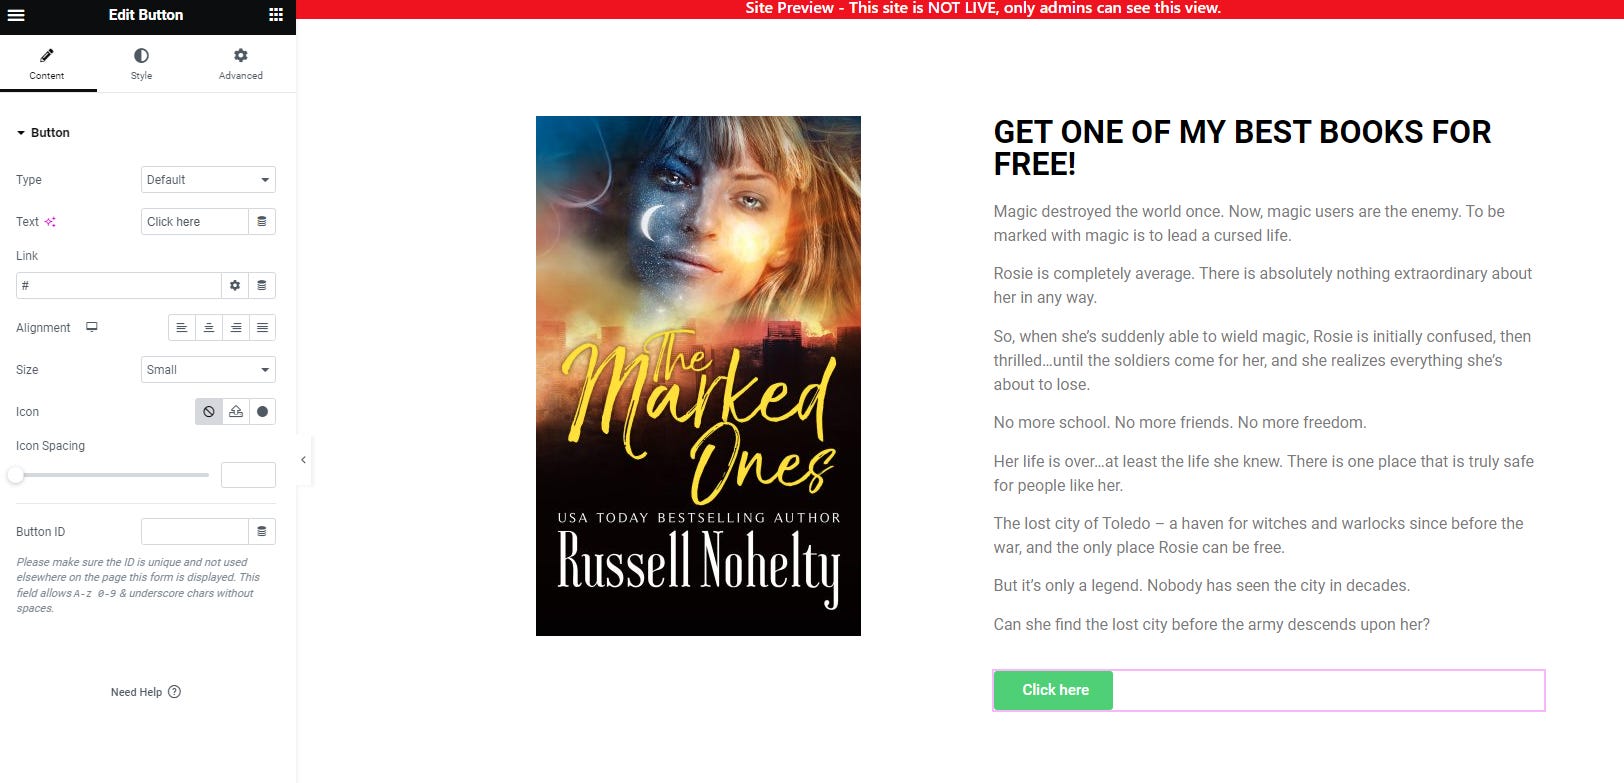
Change the text to something flashy like GET THE BOOK FOR FREE! and center it. Also, change the size to medium.
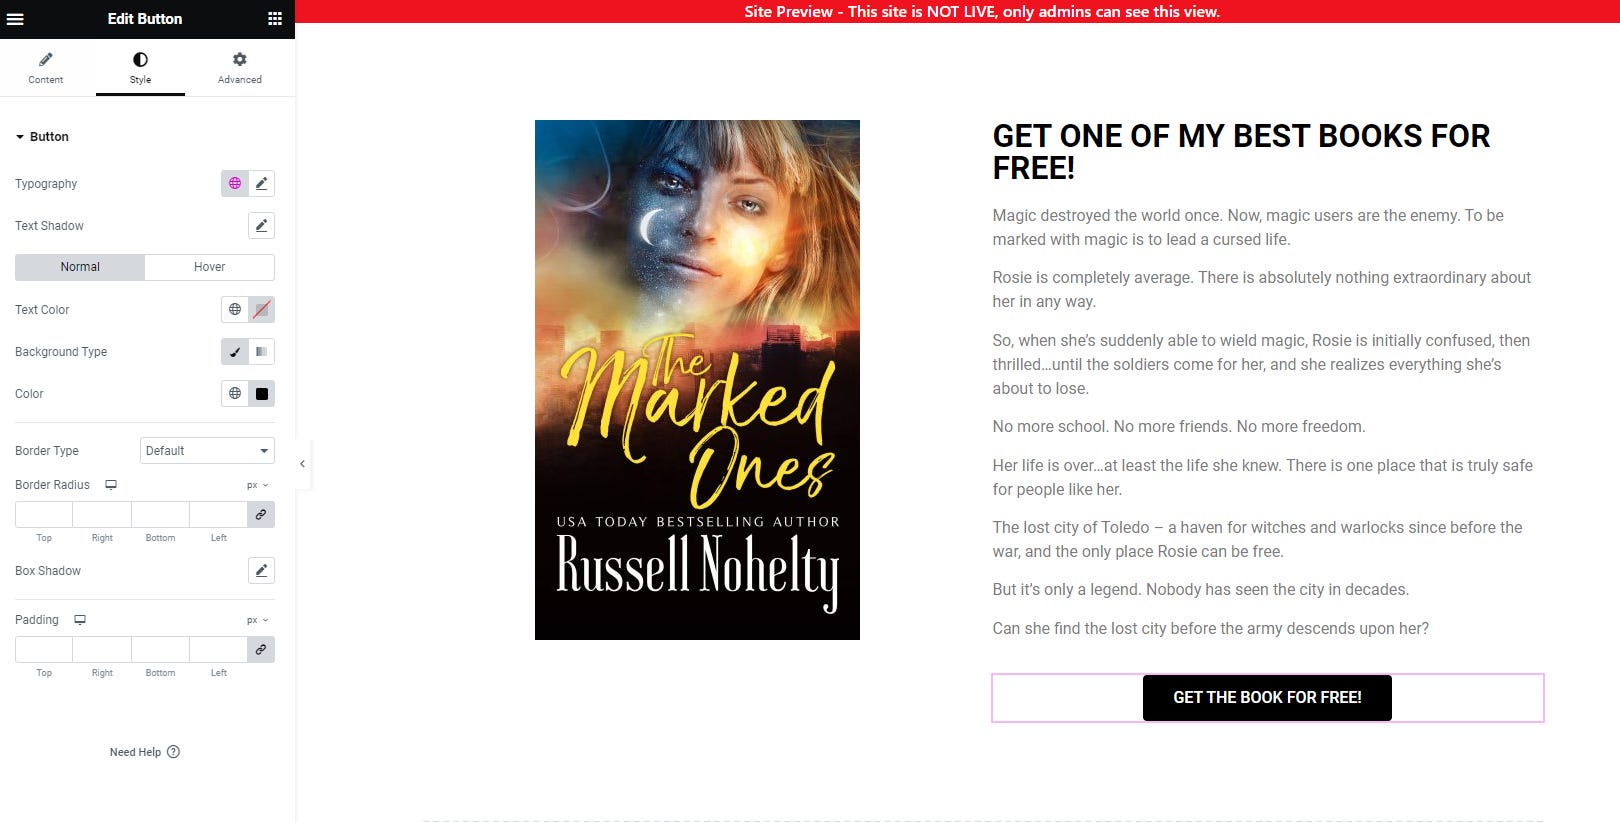
Go into style and change the color to black.
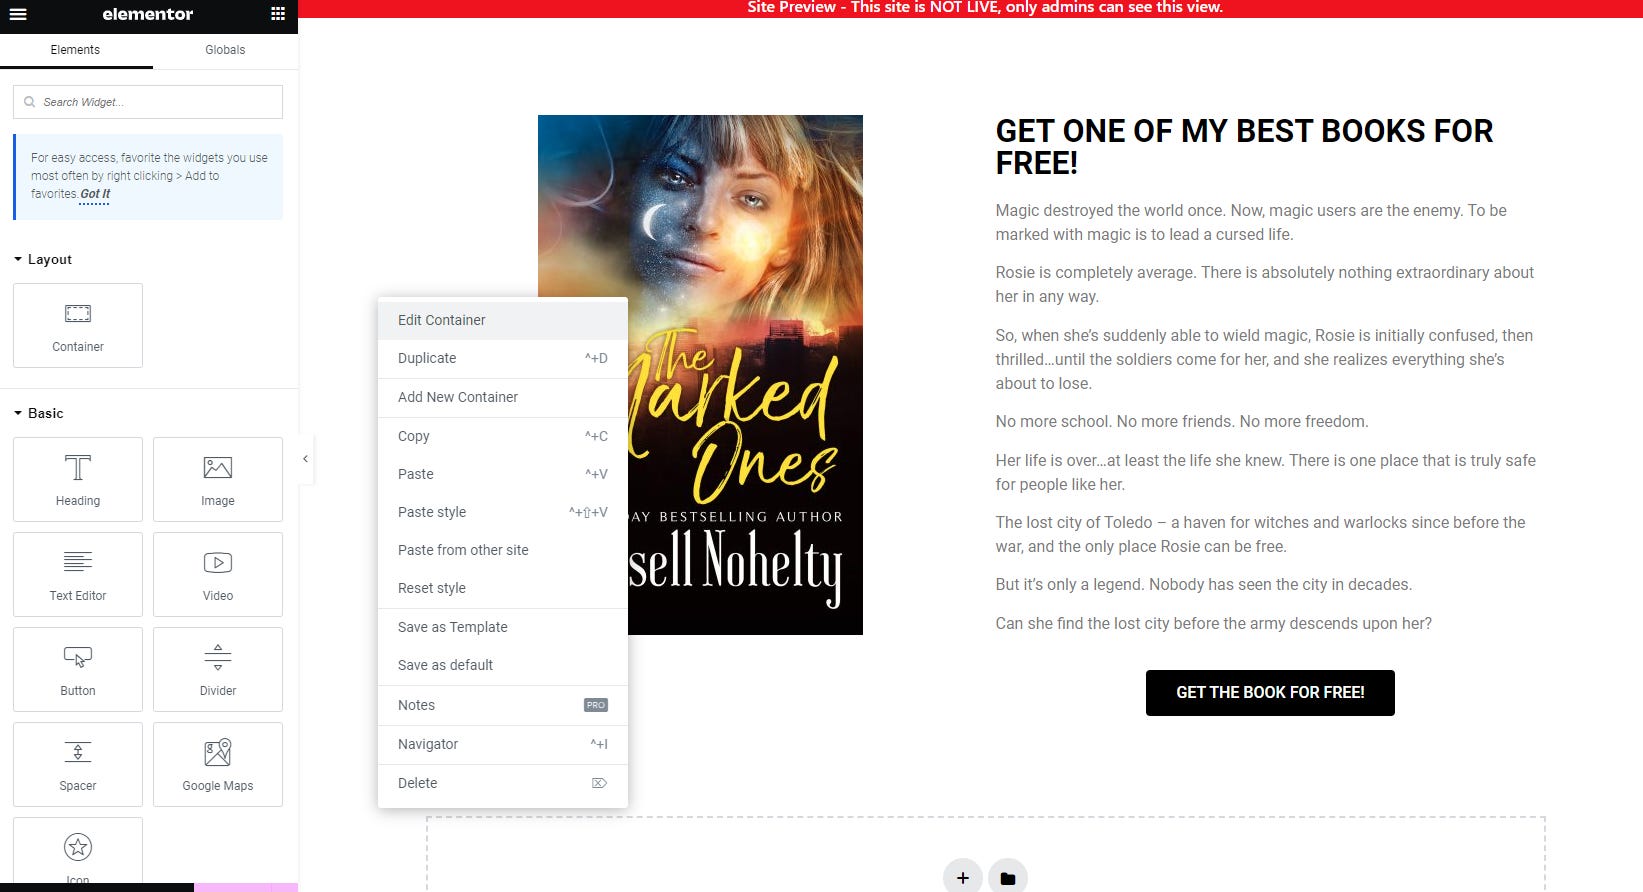
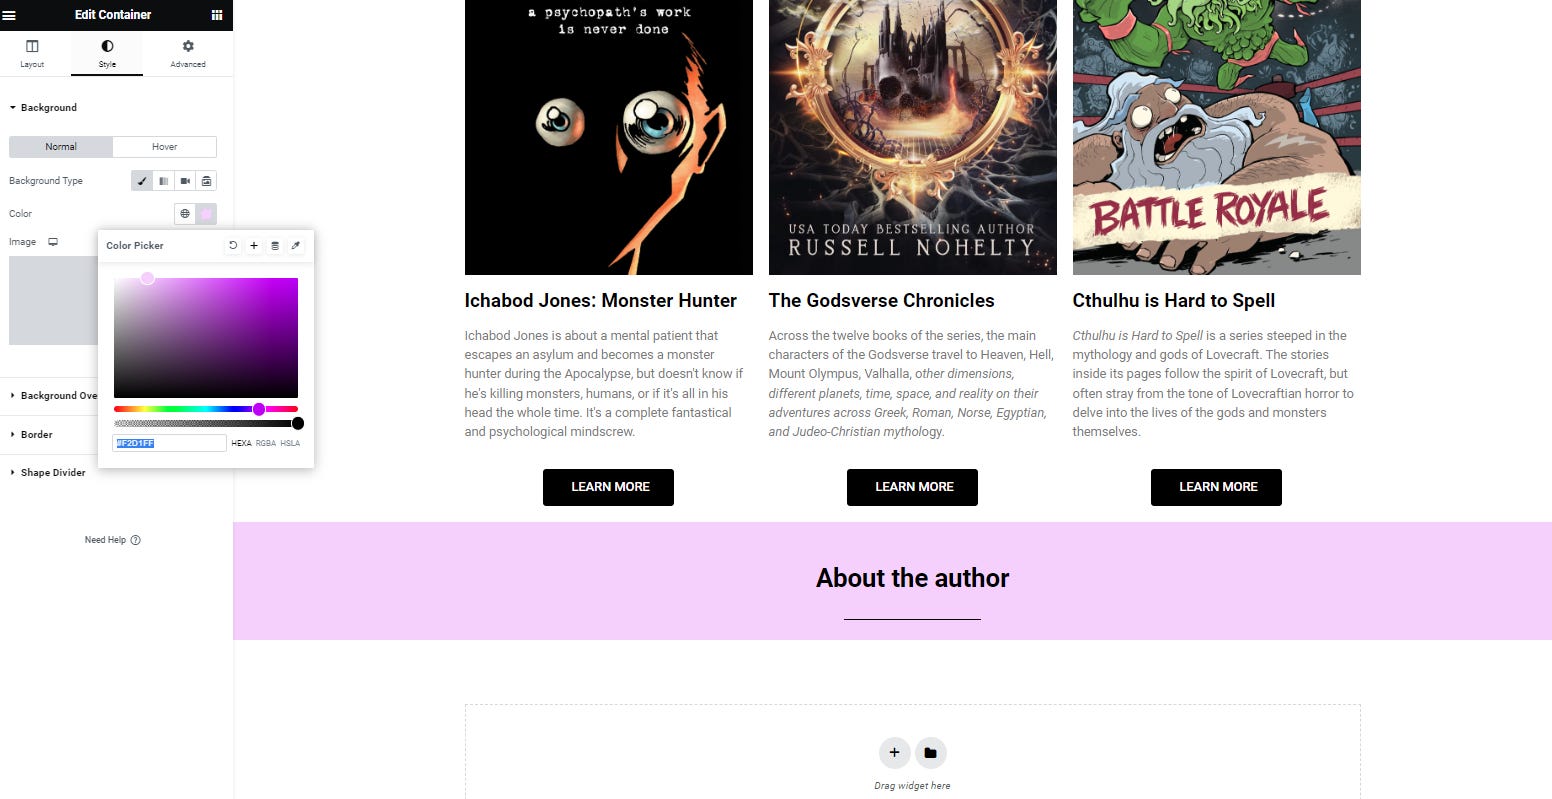
Step 9: Right-click next to the image on the left and choose Edit Container. If you don’t see it, then click a bit further to the left.
In the Style menu, click on the paintbrush in the background settings and change the color to something that looks nice.
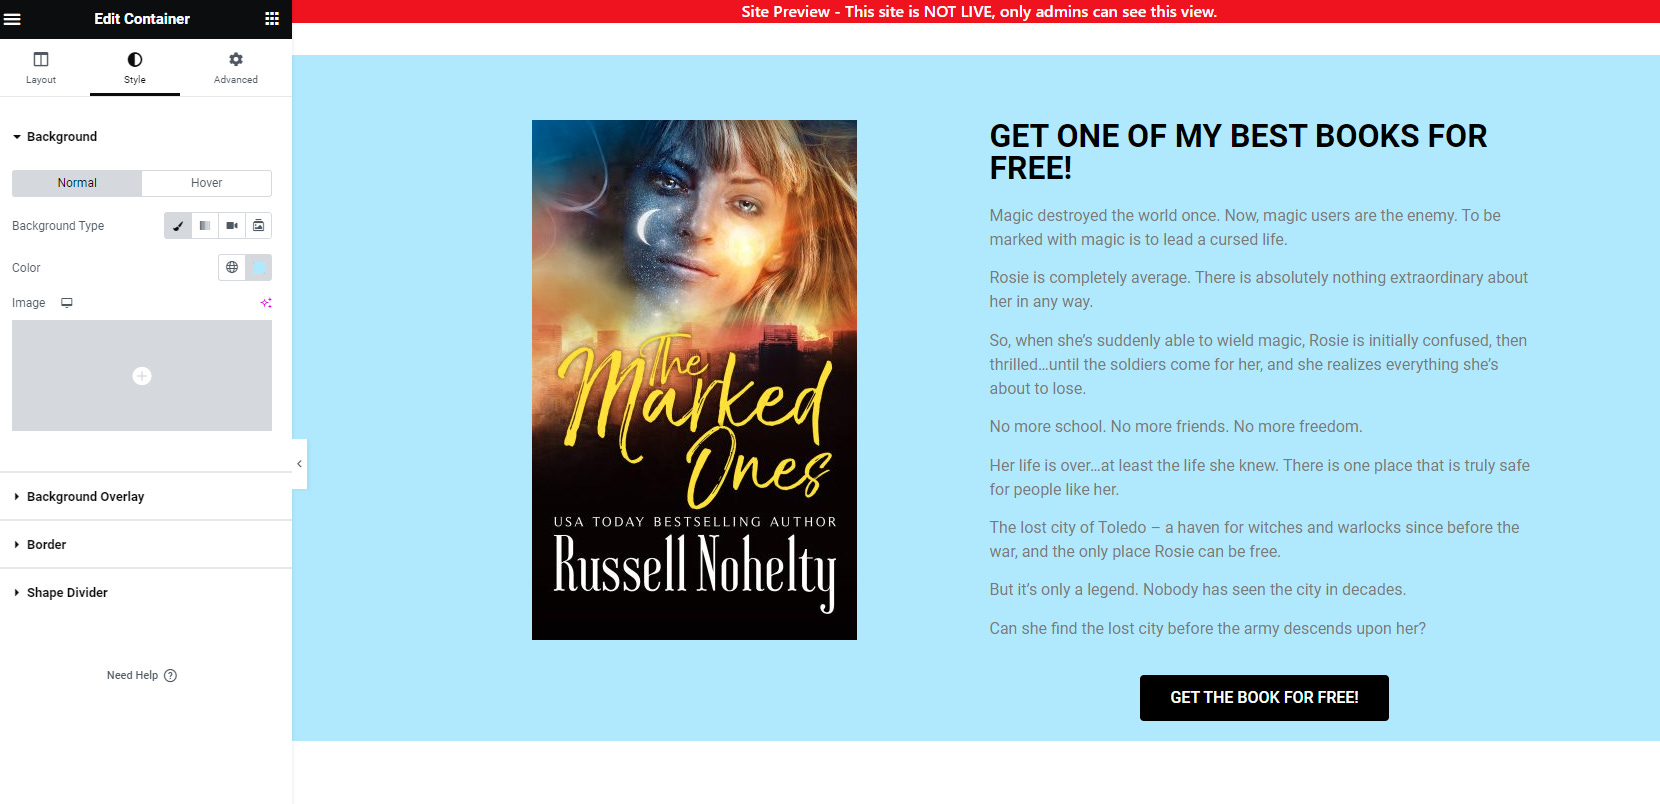
You might need to change some of the other colors to make it look right. For instance, I had to go and change the text color to black by clicking the text and going into the style menu, but you should now have an opt-in box.
We’ll worry about integrations in the next bit. For now, we just want it to look pretty.
Section B: Bestsellers
Now, we’ll make a section for your bestselling products, with links to find them. We’ll specifically be talking about books, but you can put anything here.
Step 1: Create a new container box with a single down column.
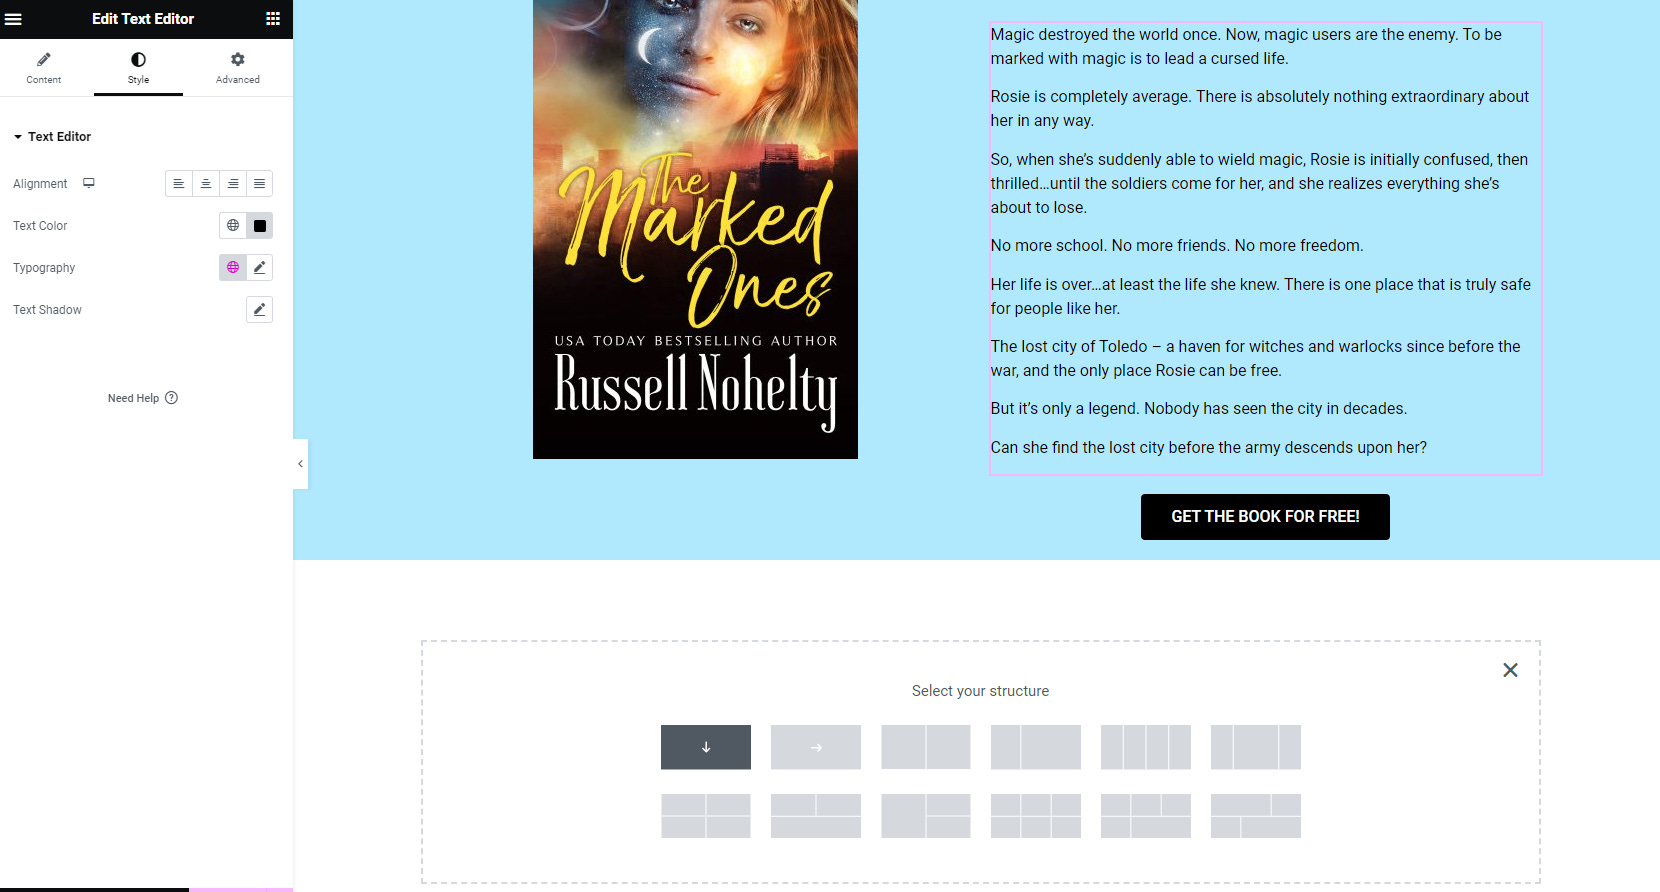
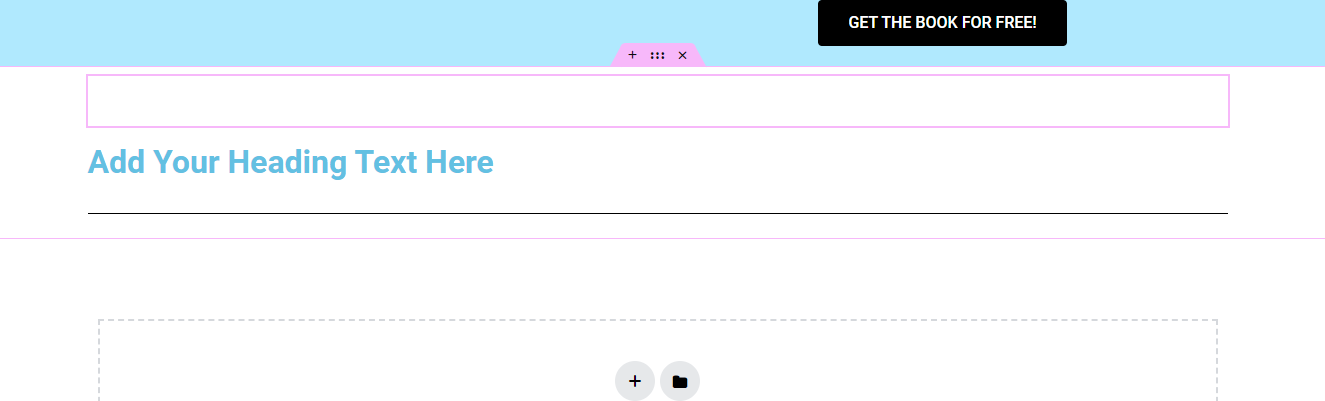
Then, fill it with a Spacer, a Heading, and a Divider.
Step 2: Turn down the Spacer to 25.
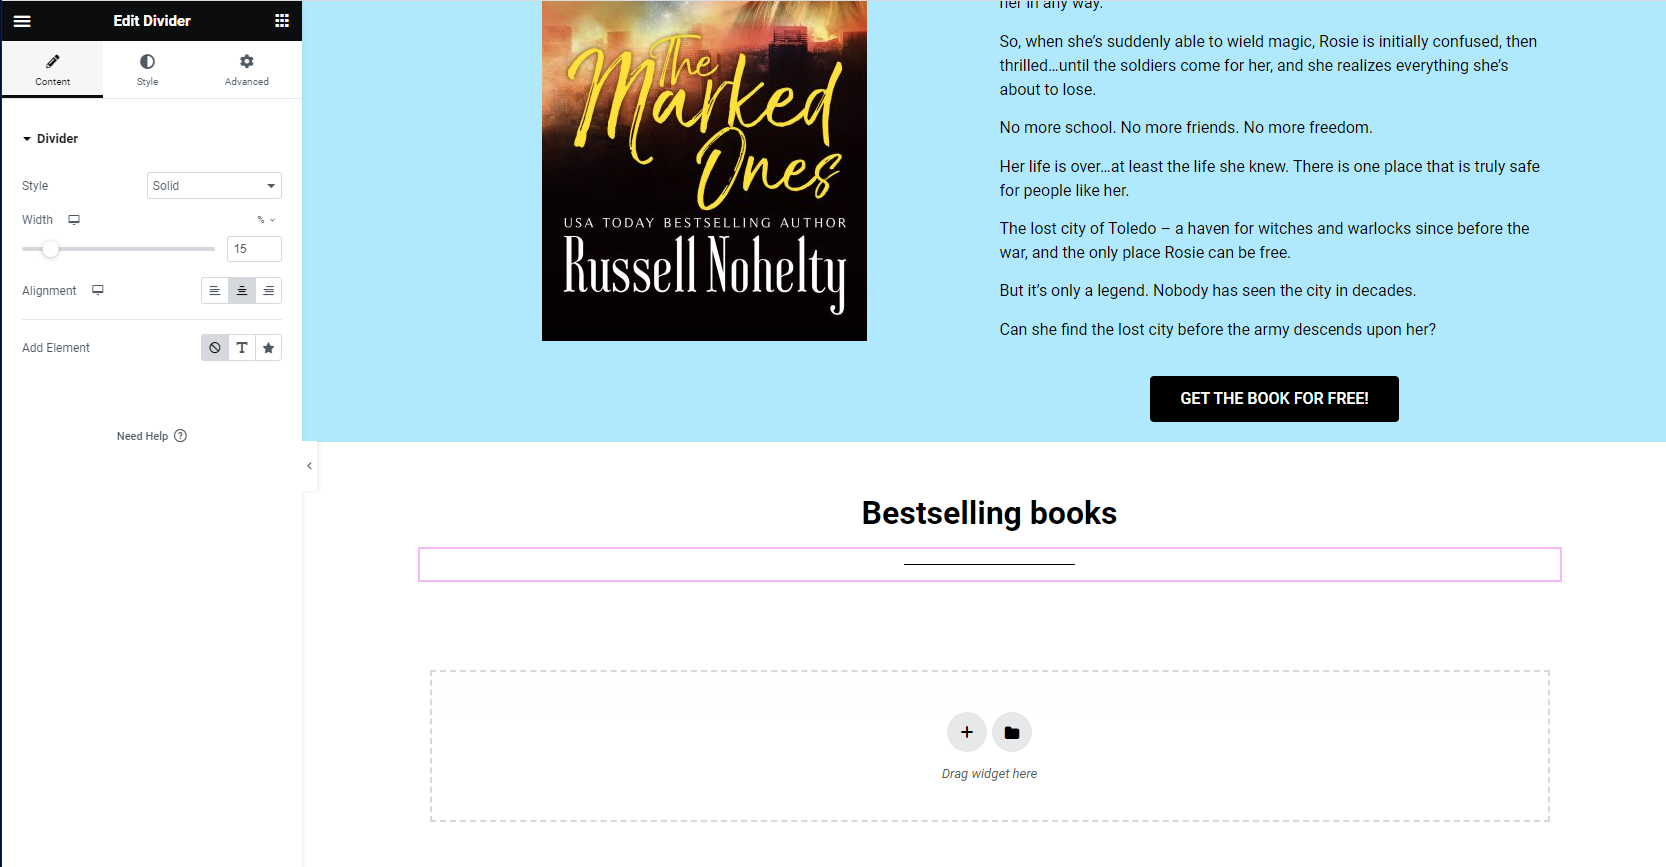
Step 2: Center the Heading and change the text to Bestsellers. Then, turn the color black in the style settings.
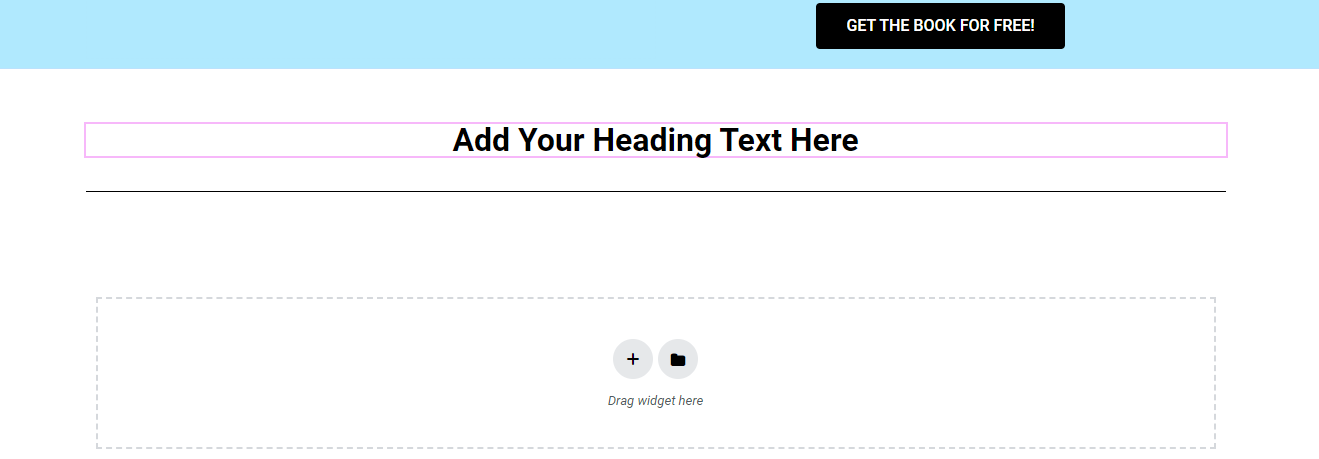
Step 3: Center the Divider and turn the width down to 15.
Step 4: Create another container with two columns.

Step 5: Fill both with an Image, Heading, Text Editor, and Button.
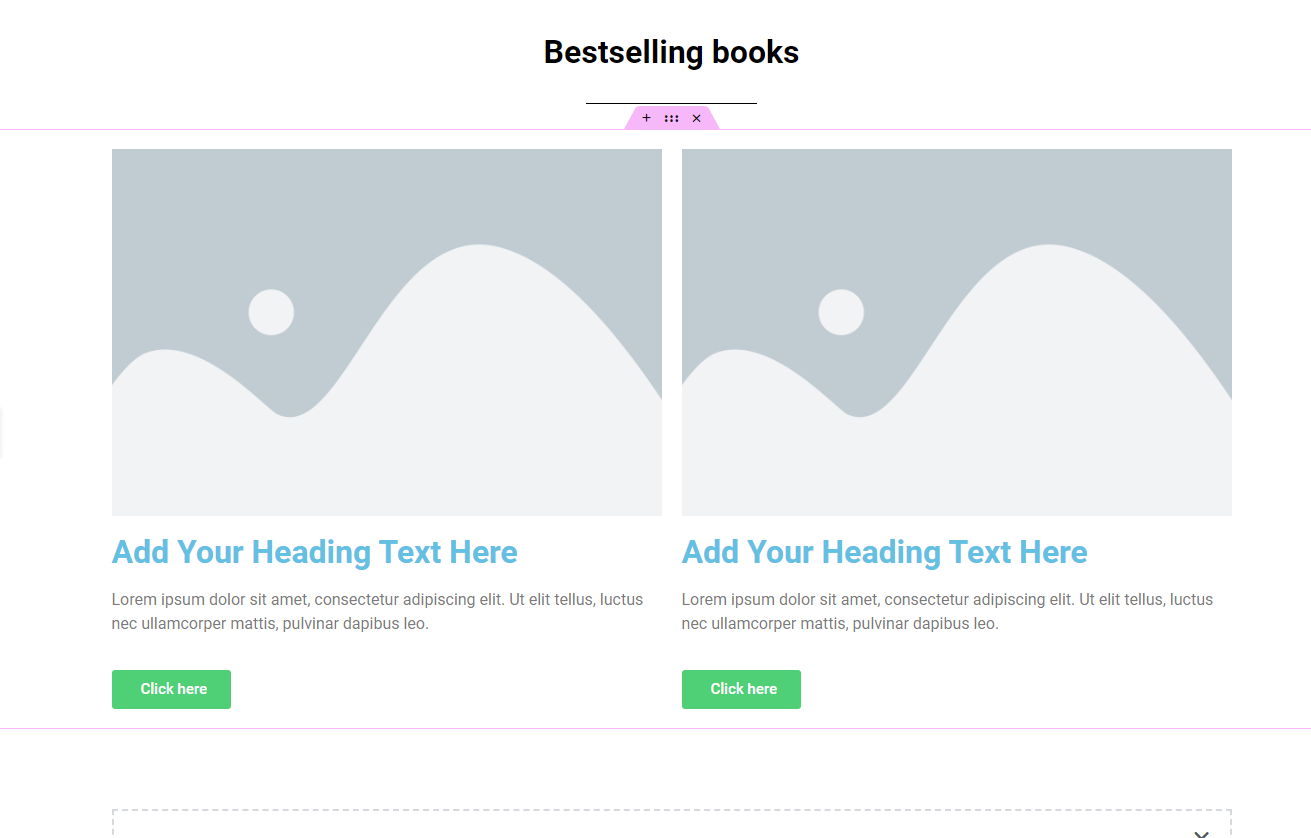
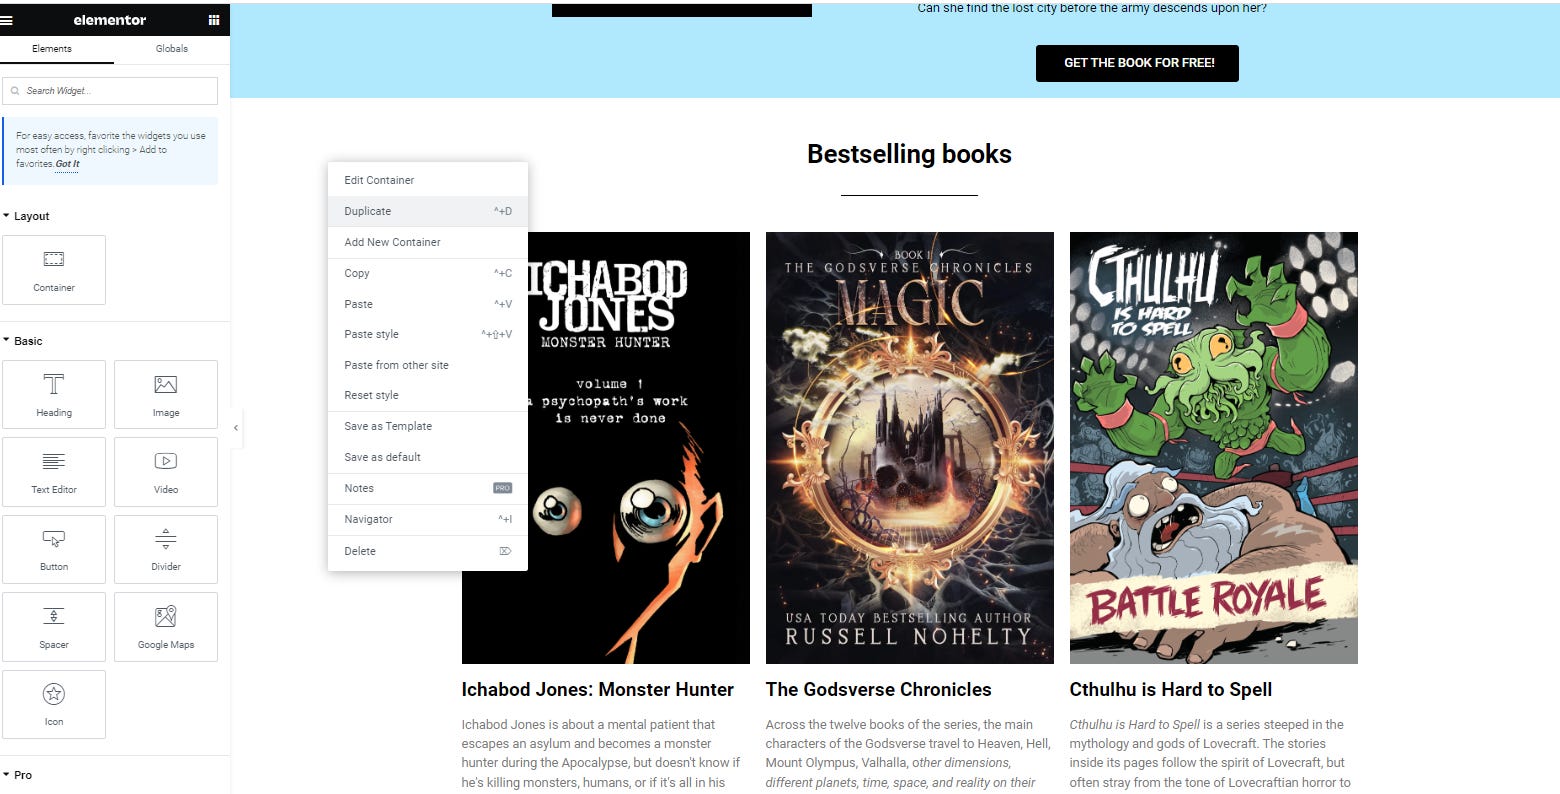
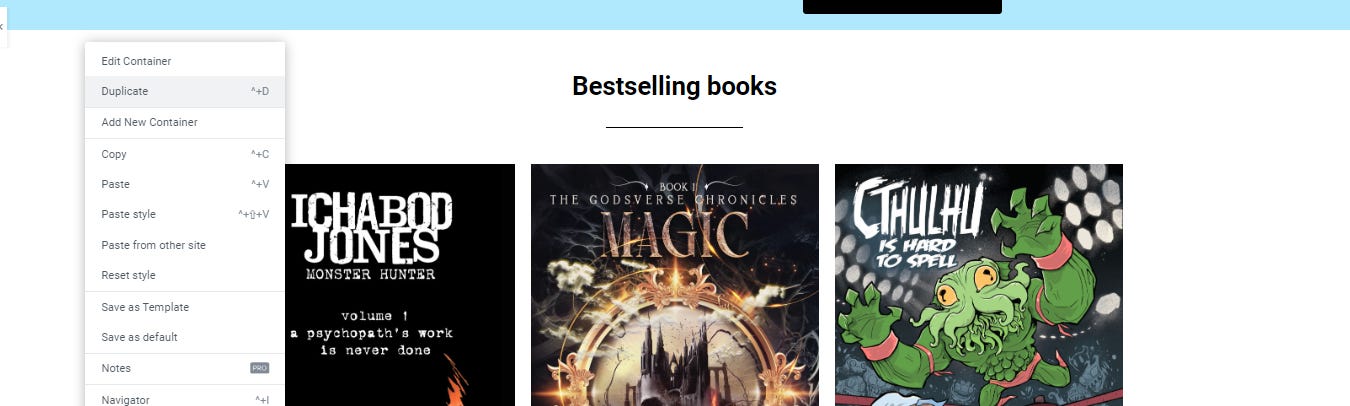
Step 6: Now, I really want three columns, so the easiest way to get a third column is to hover at the top left of the image until you see a gray box.
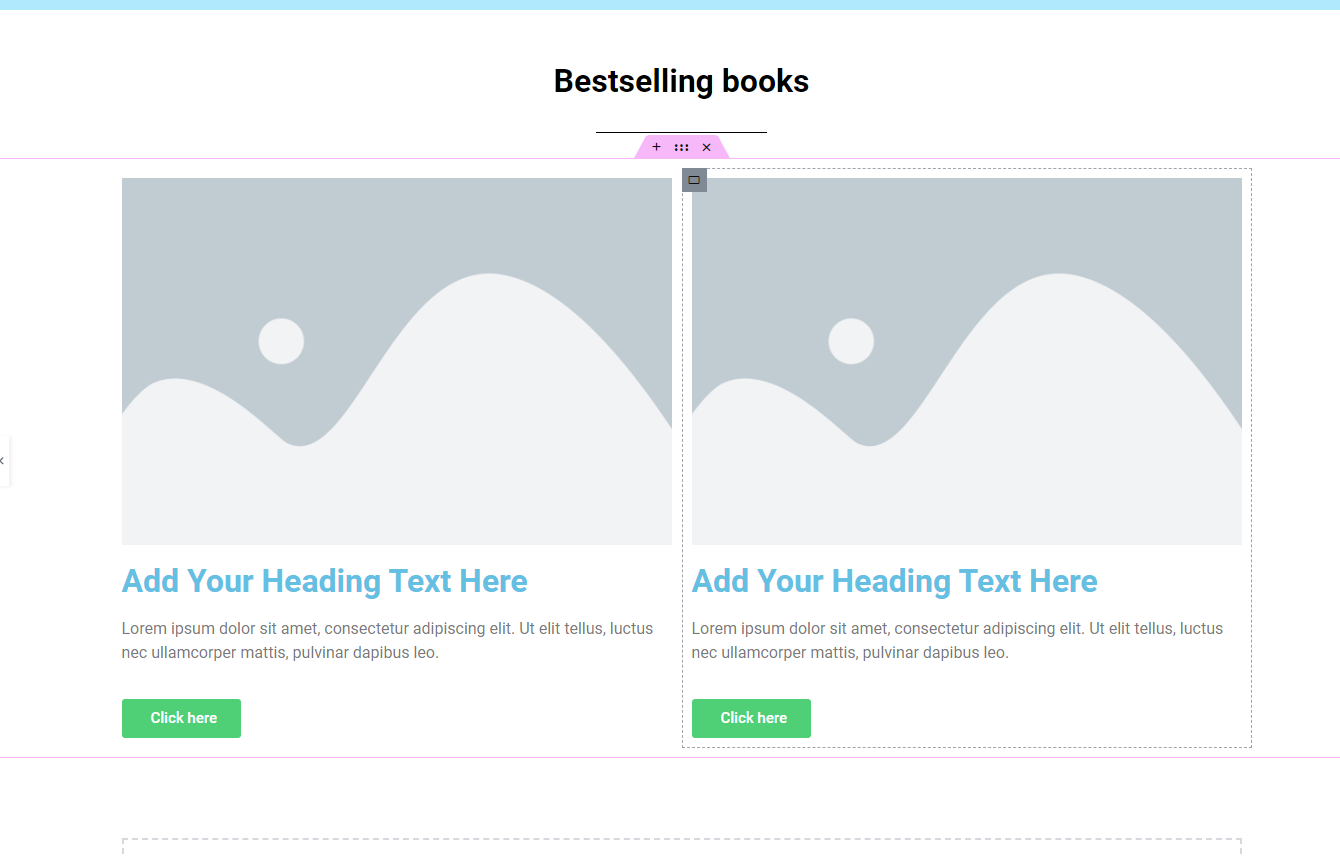
Then, right-click and Duplicate.
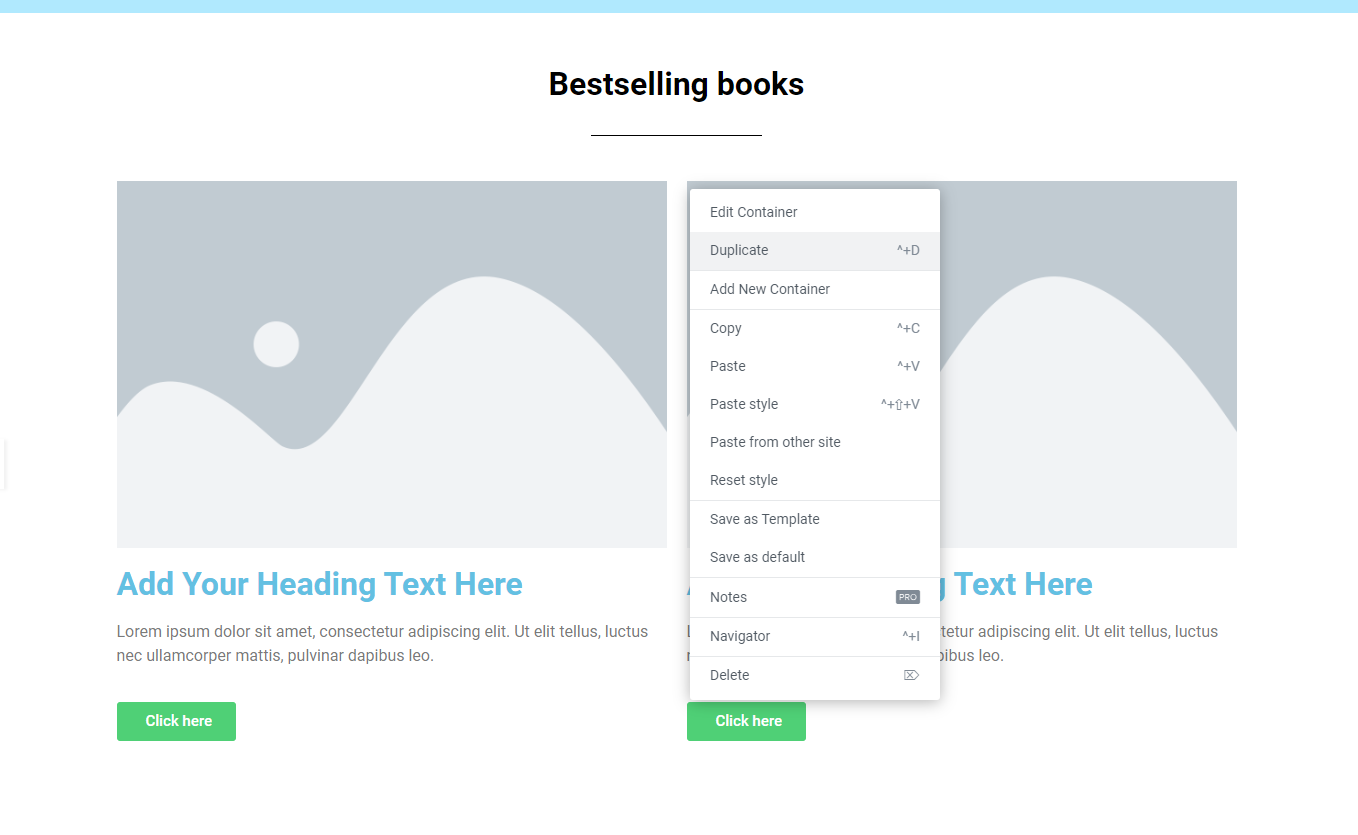
And there you have it.
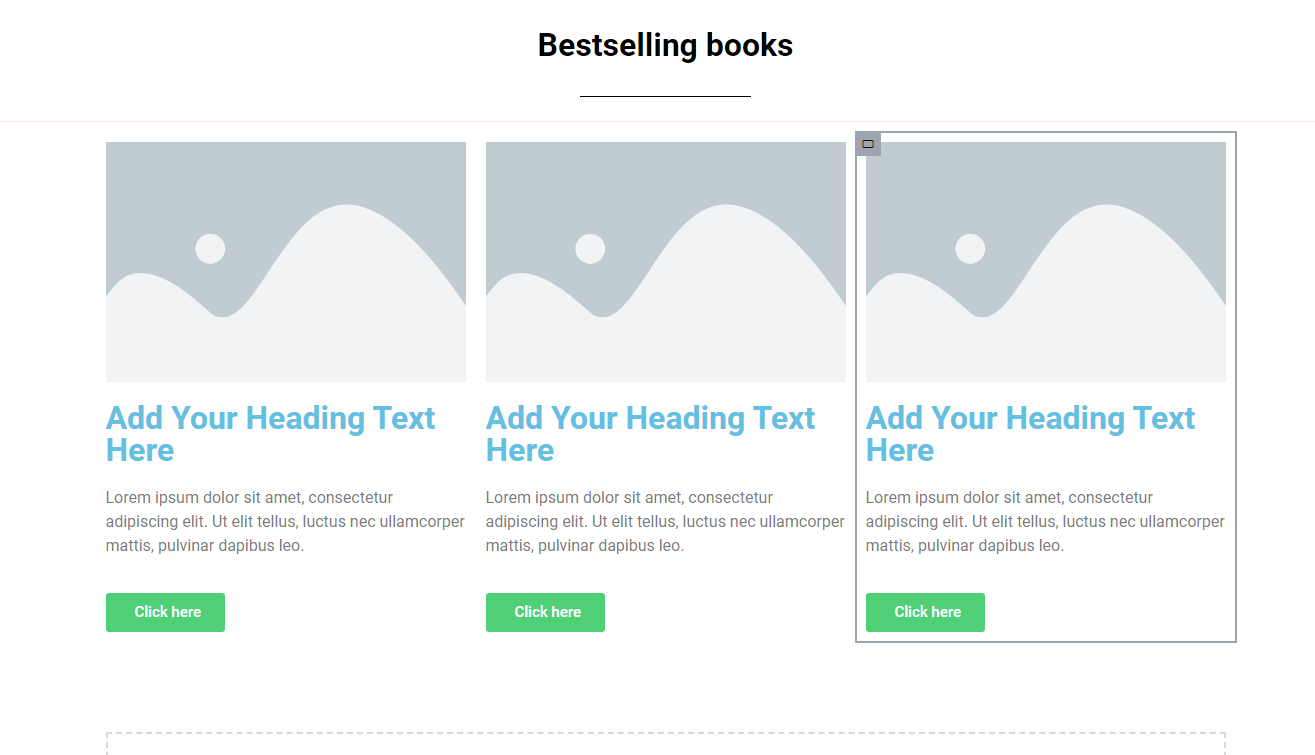
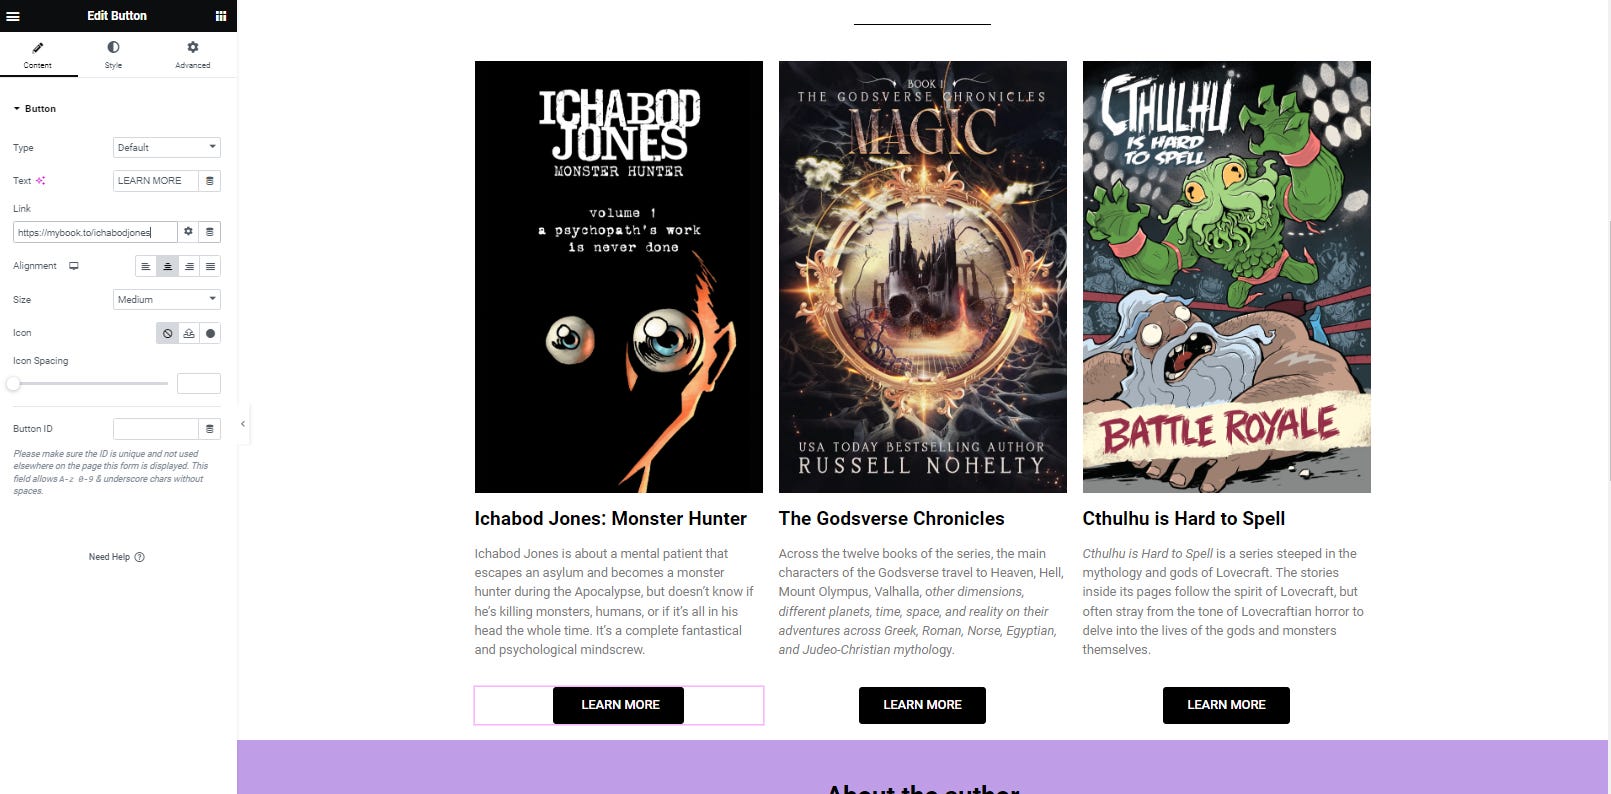
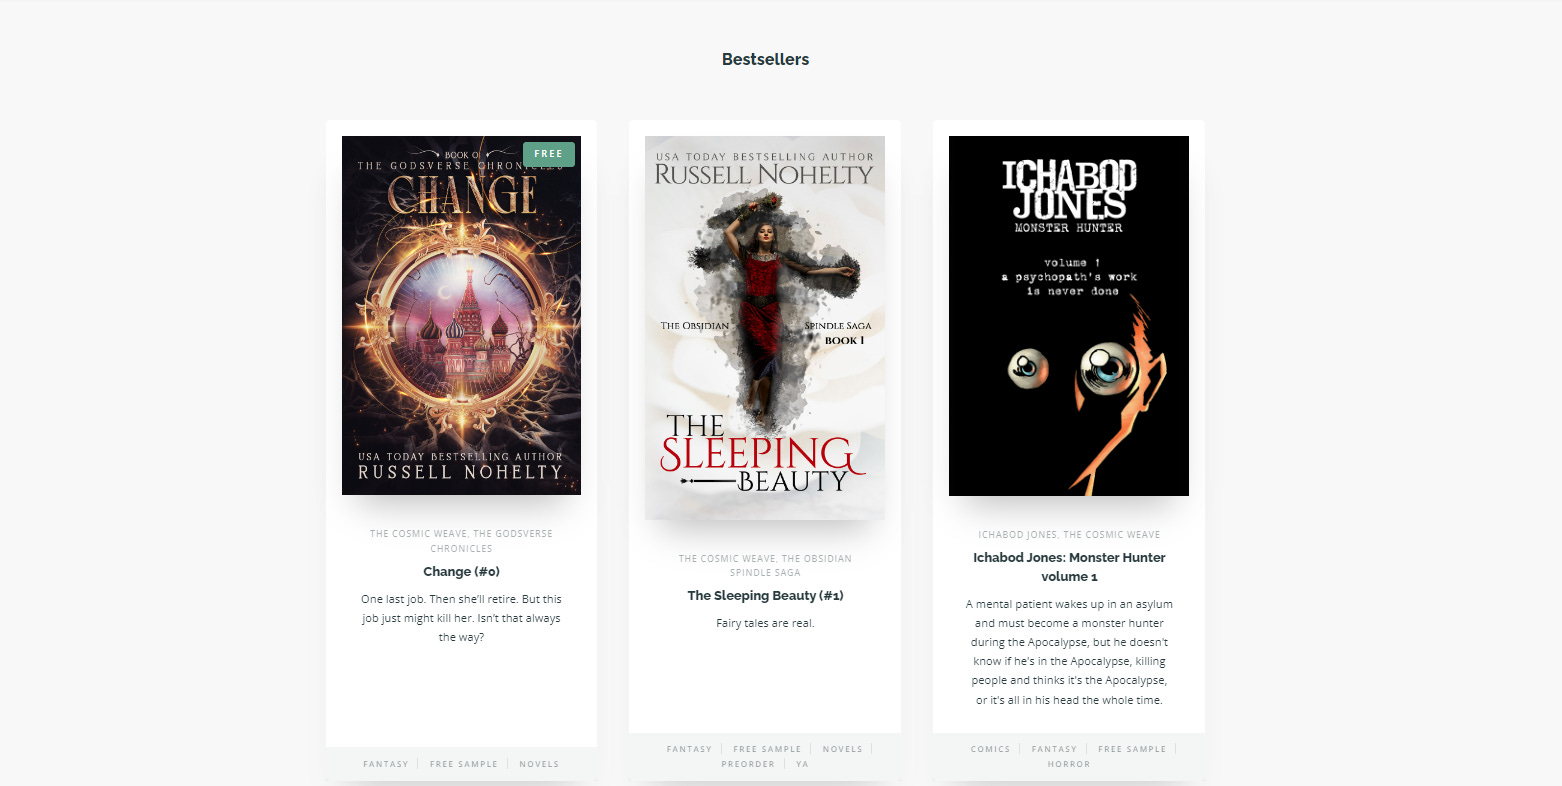
Step 7: Now, I want you to fill all this information in like we did above, but instead just use the logline, not your whole blurb. After you’re done, it should look something like this.
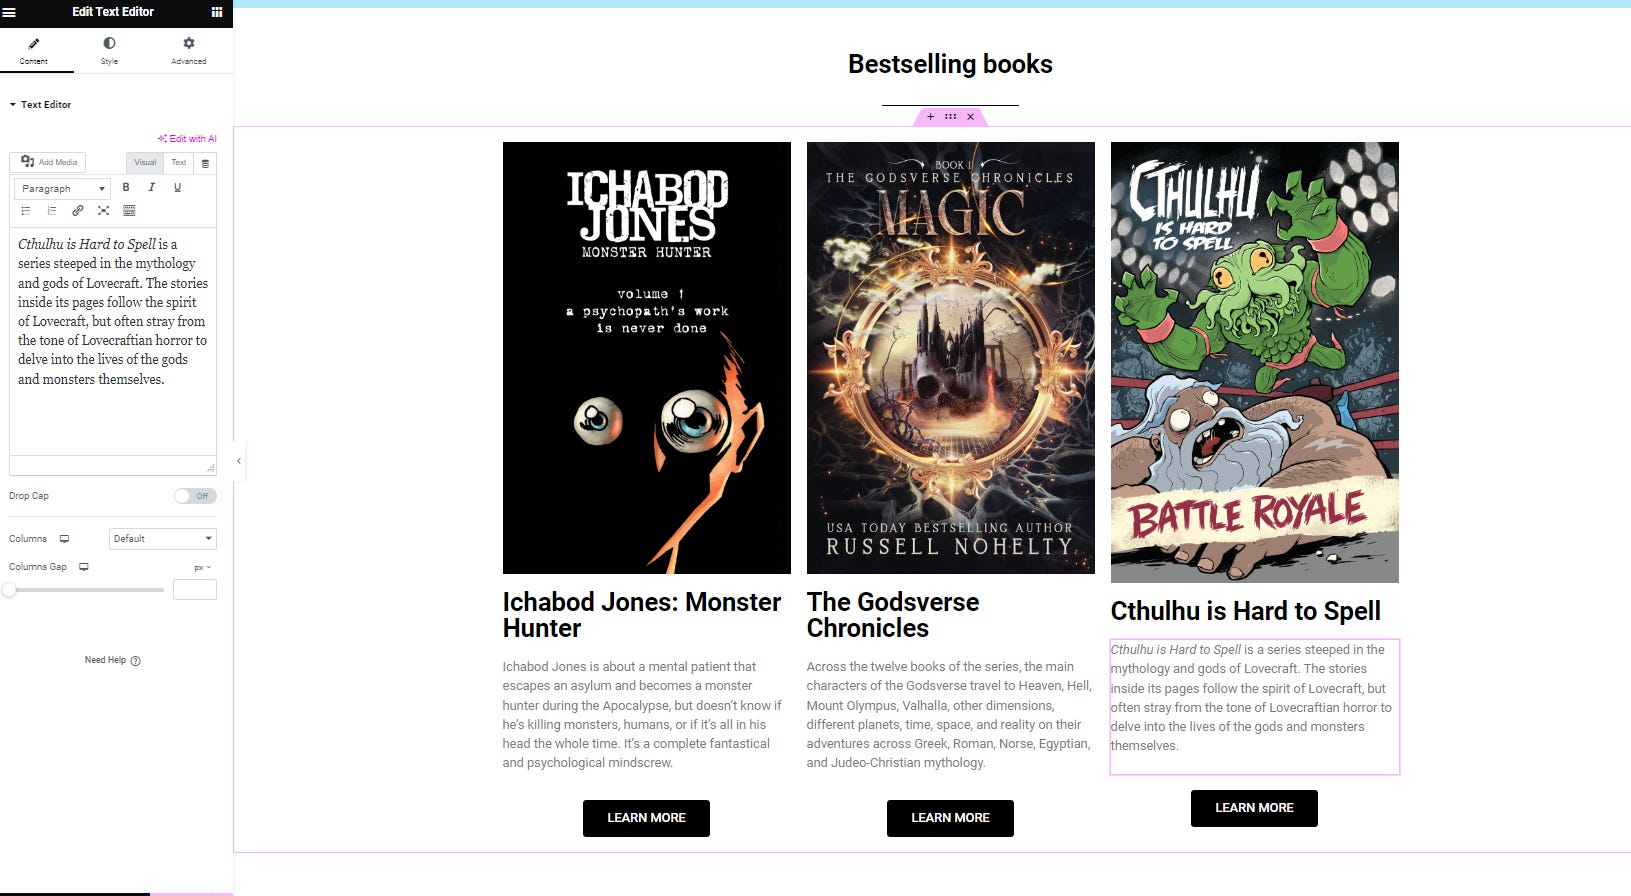
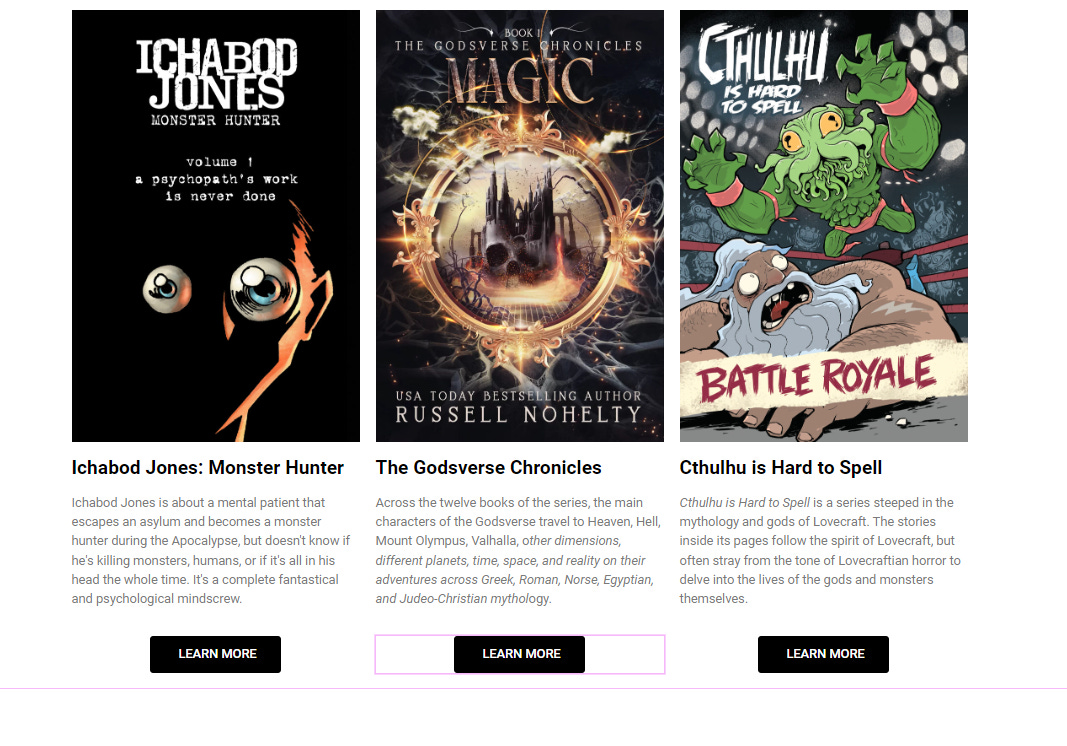
You might notice that your columns don’t line up. You might have to resize or crop imagery to make it all work, but when it’s all done, it should look like this. I chose to change my headings to H4 instead of H2 to make them fit on one line, and cropped the Cthulhu cover to fit evenly.
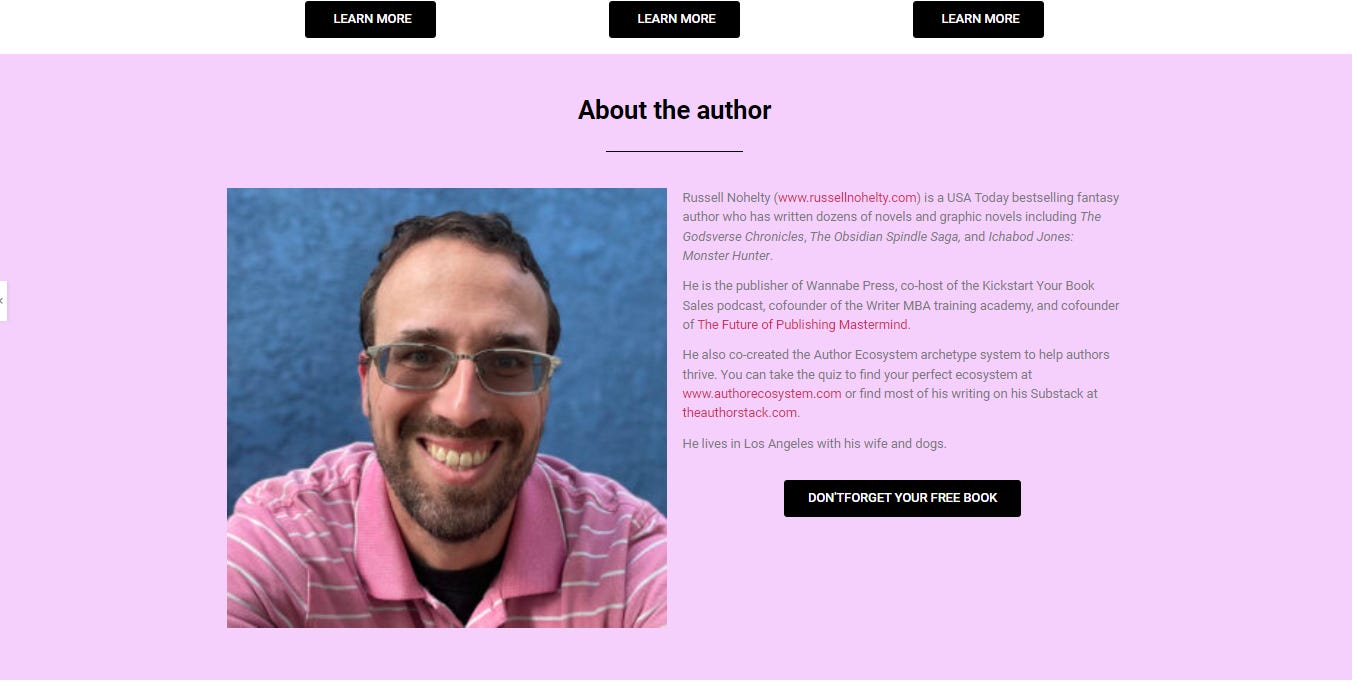
Section C: About you
Now, we’ll create a section to talk about you.
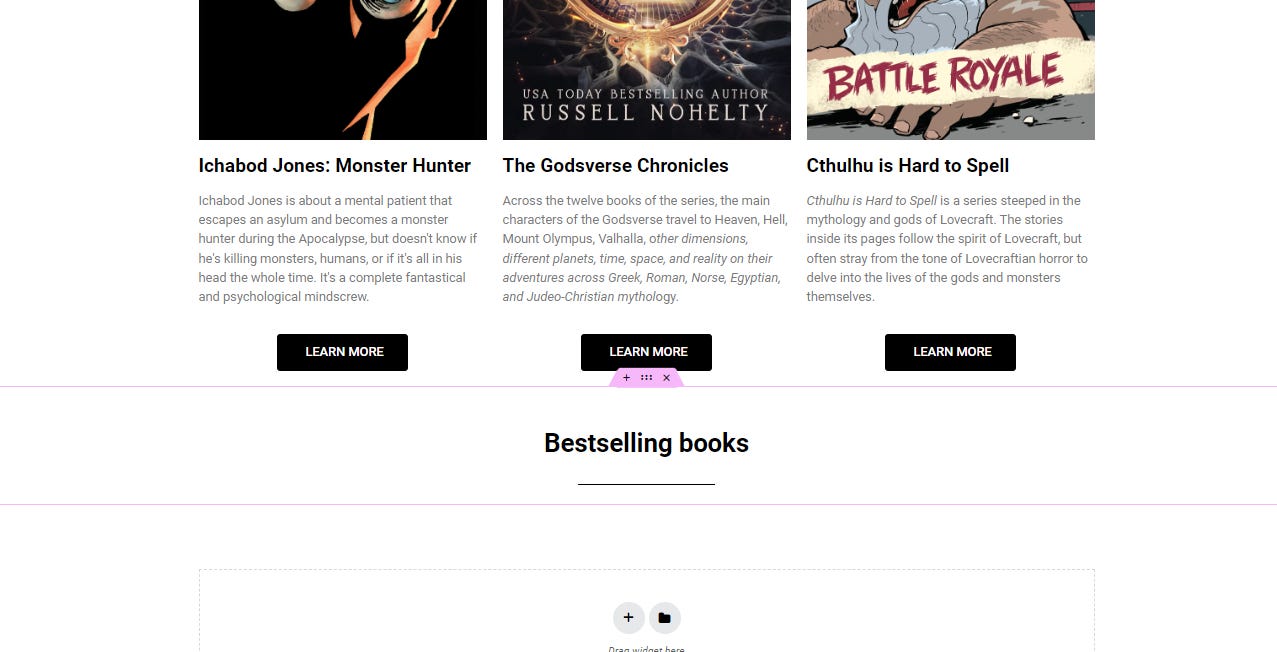
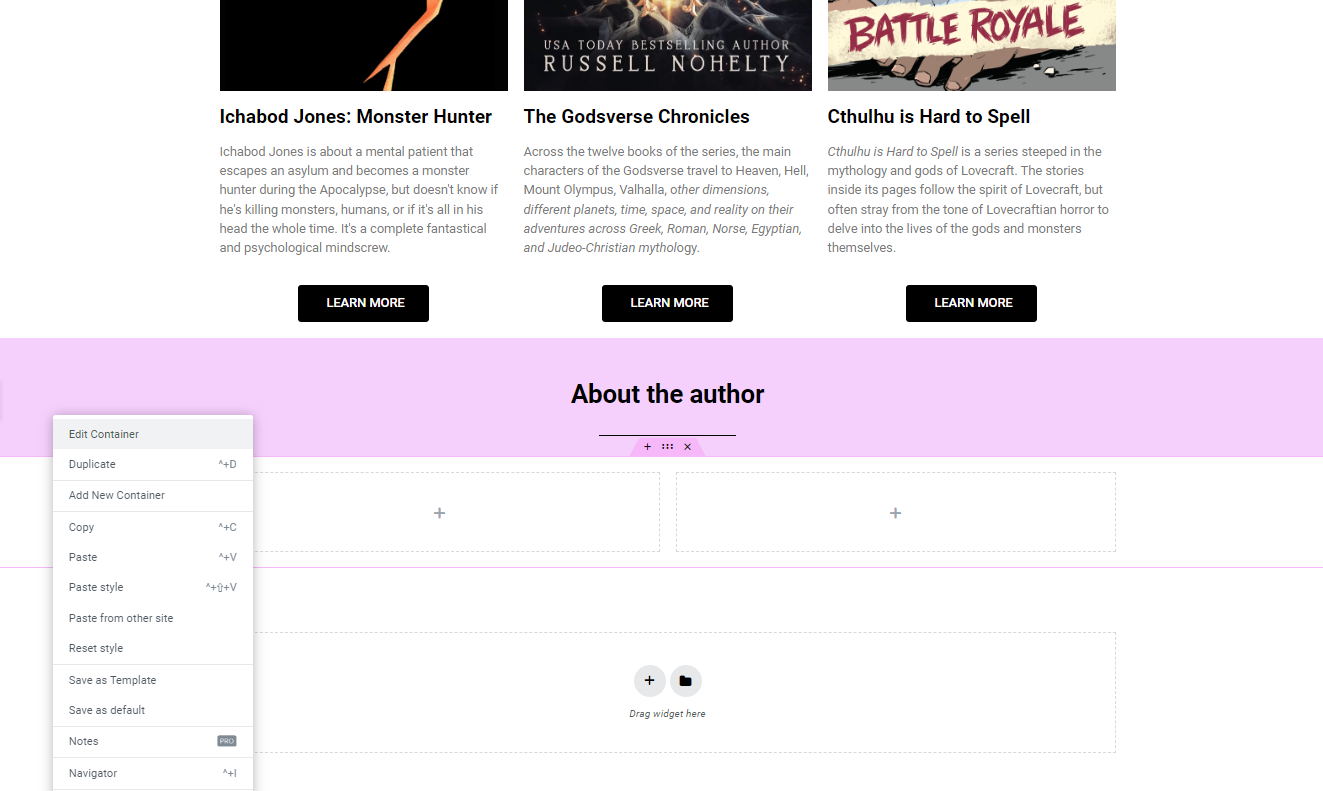
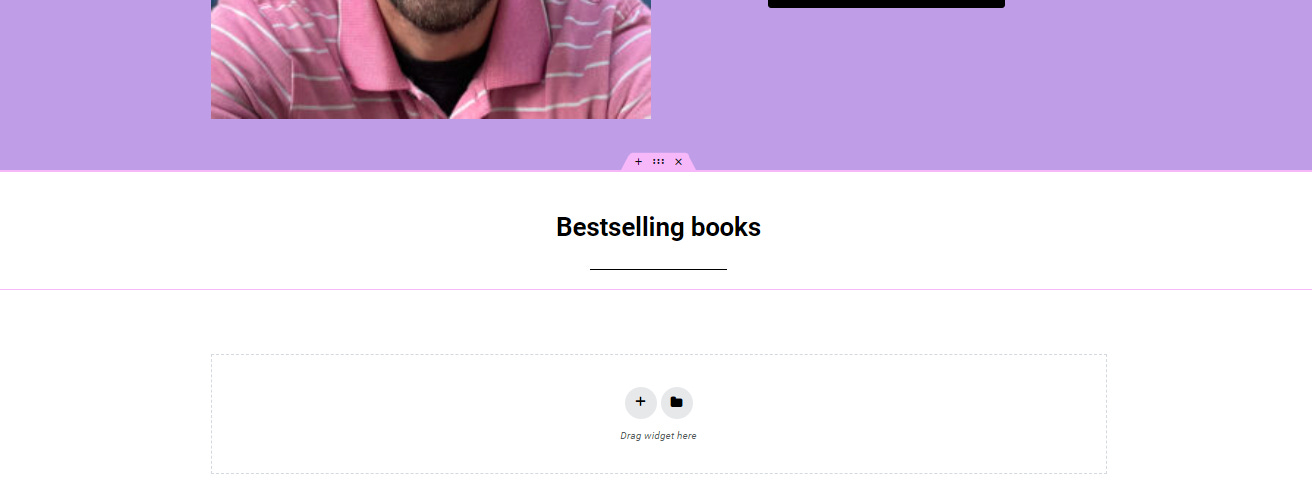
Step 1: Go up to the section that says Bestsellers, right-click and duplicate.
Step 2: Tap on the six dots in the center of the pink tab to drag it.

Then, drag it below the following section.
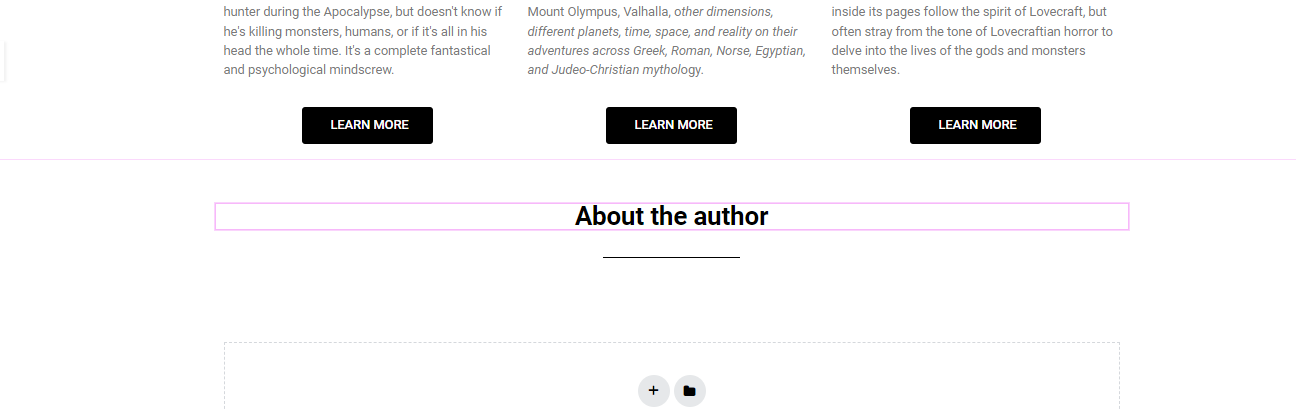
Step 3: Now, change it to say “About the X”, wherein X is the type of work you do.
Step 4: Right-click and Edit Container.
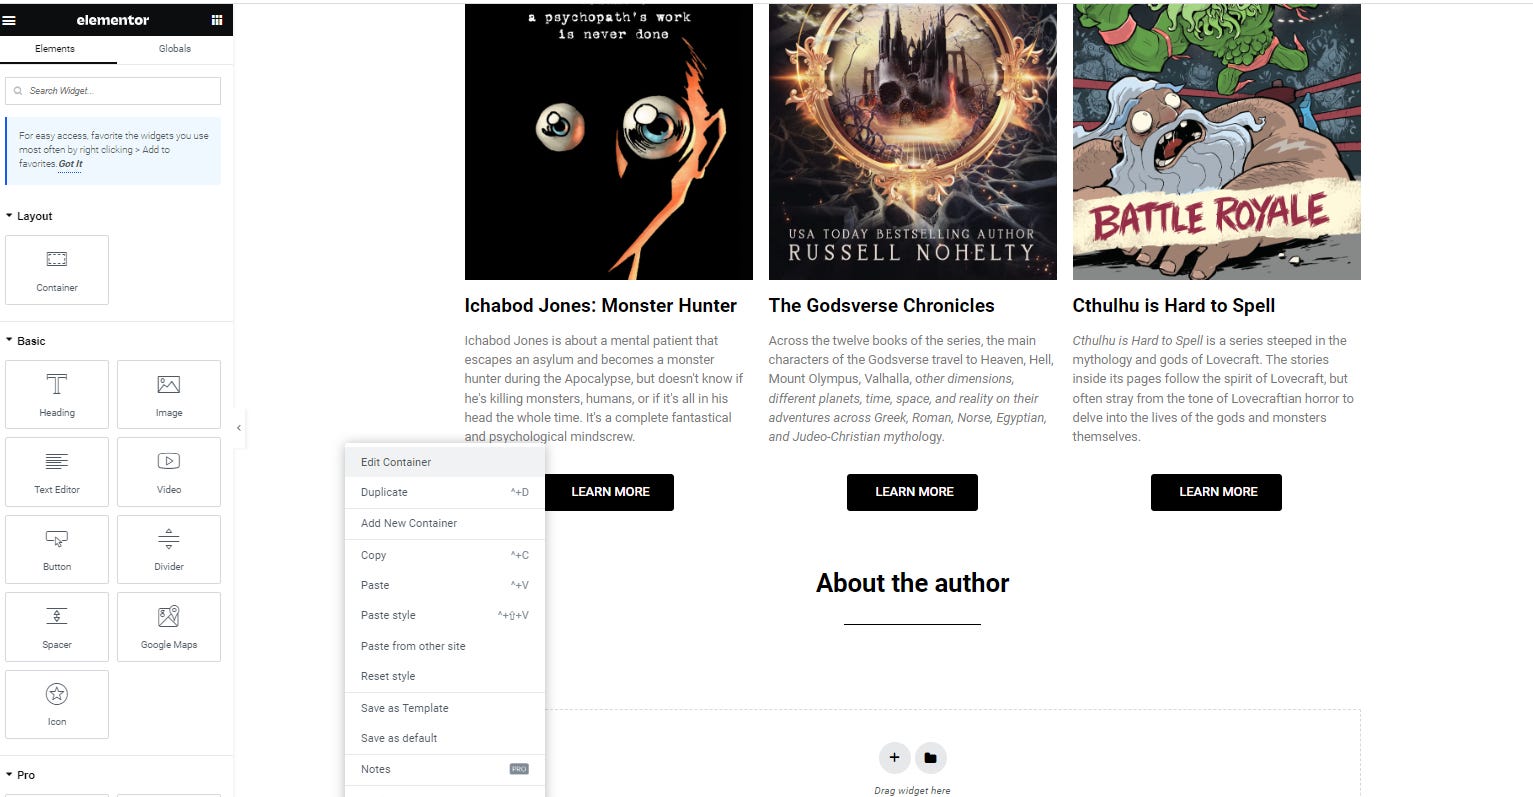
Go to style and choose a new color. I like separating every other section with a new color.
Highlight the six-digit hex code at the bottom of the color box and copy it.
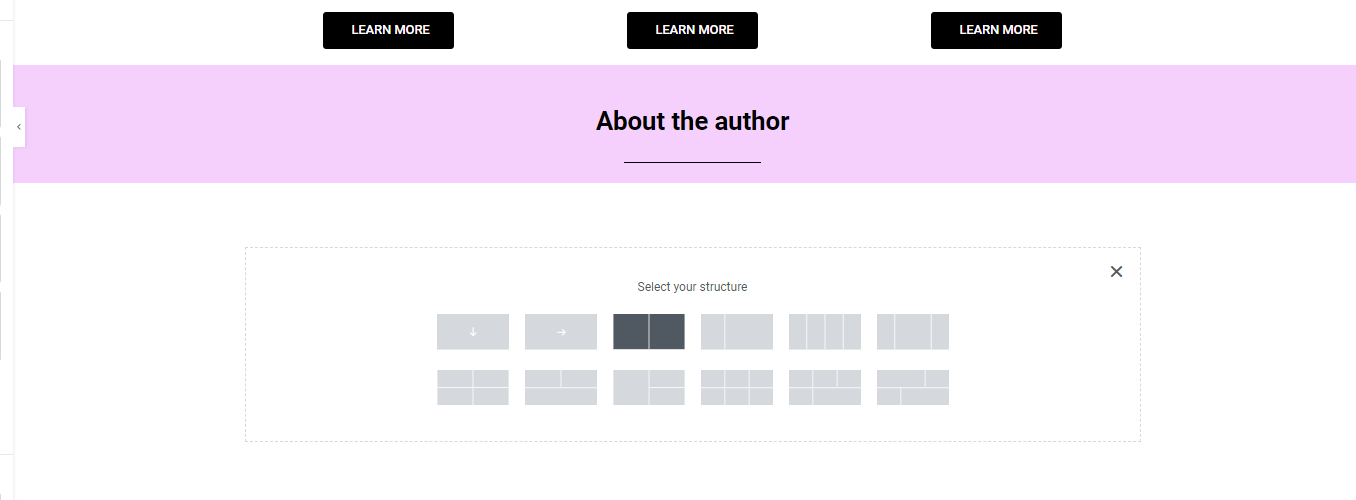
Step 5: Create a new container with two columns.
Step 6: Right-click and Edit Container.
Paste the hex code from the previous section into the color picker.
Step 7: Fill the left side with Image and Spacer and the right side with Text Editor and Button
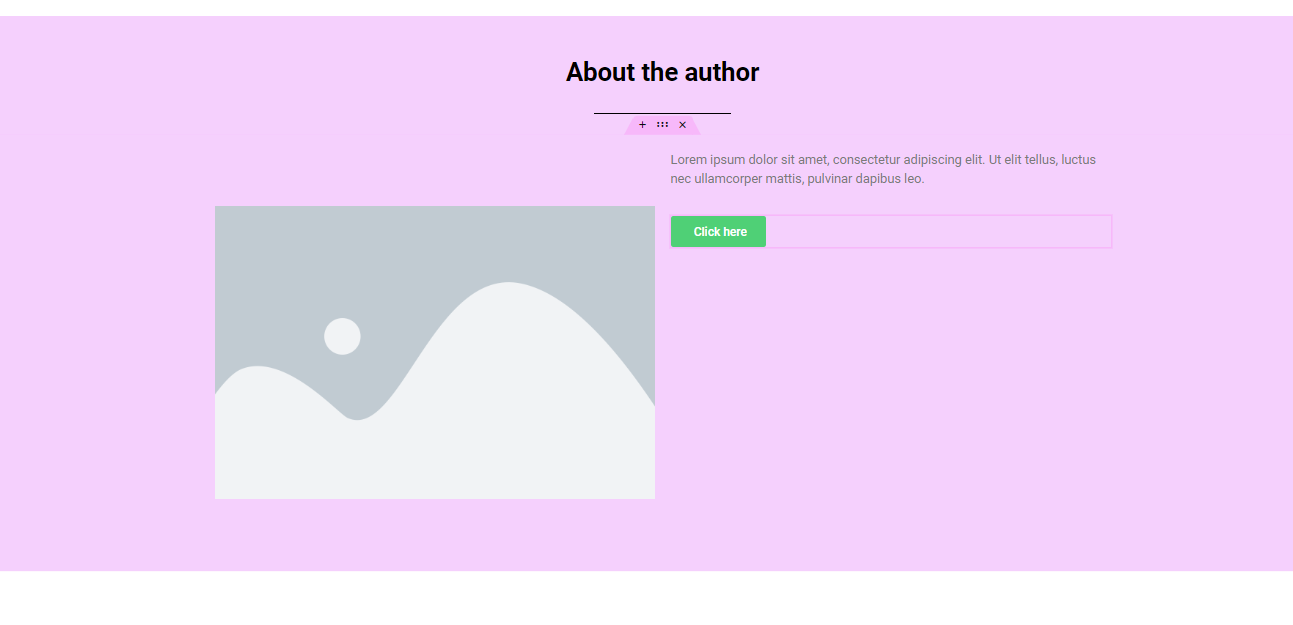
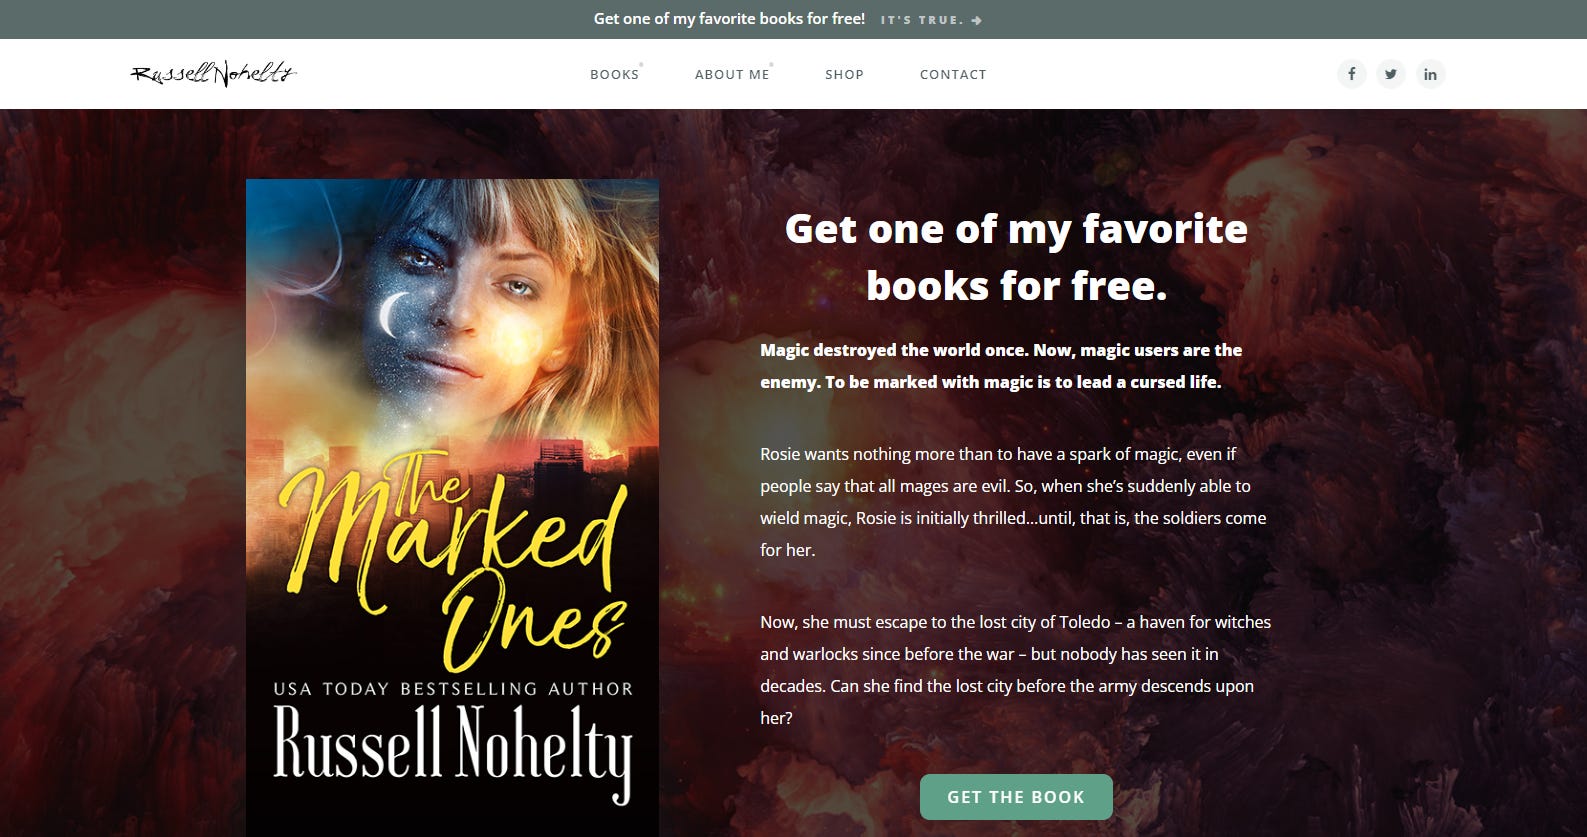
Step 8: Format the left side with spacing at 25, and fill the image with a square headshot. Fill the right with your bio, and format the button like the others. Here’s how mine looks after all that.
Step 9: I don’t like the color of my hyperlinks, so I’m going to change them. If you want to do so, too. Head to the three lines in the top right, and click site settings.
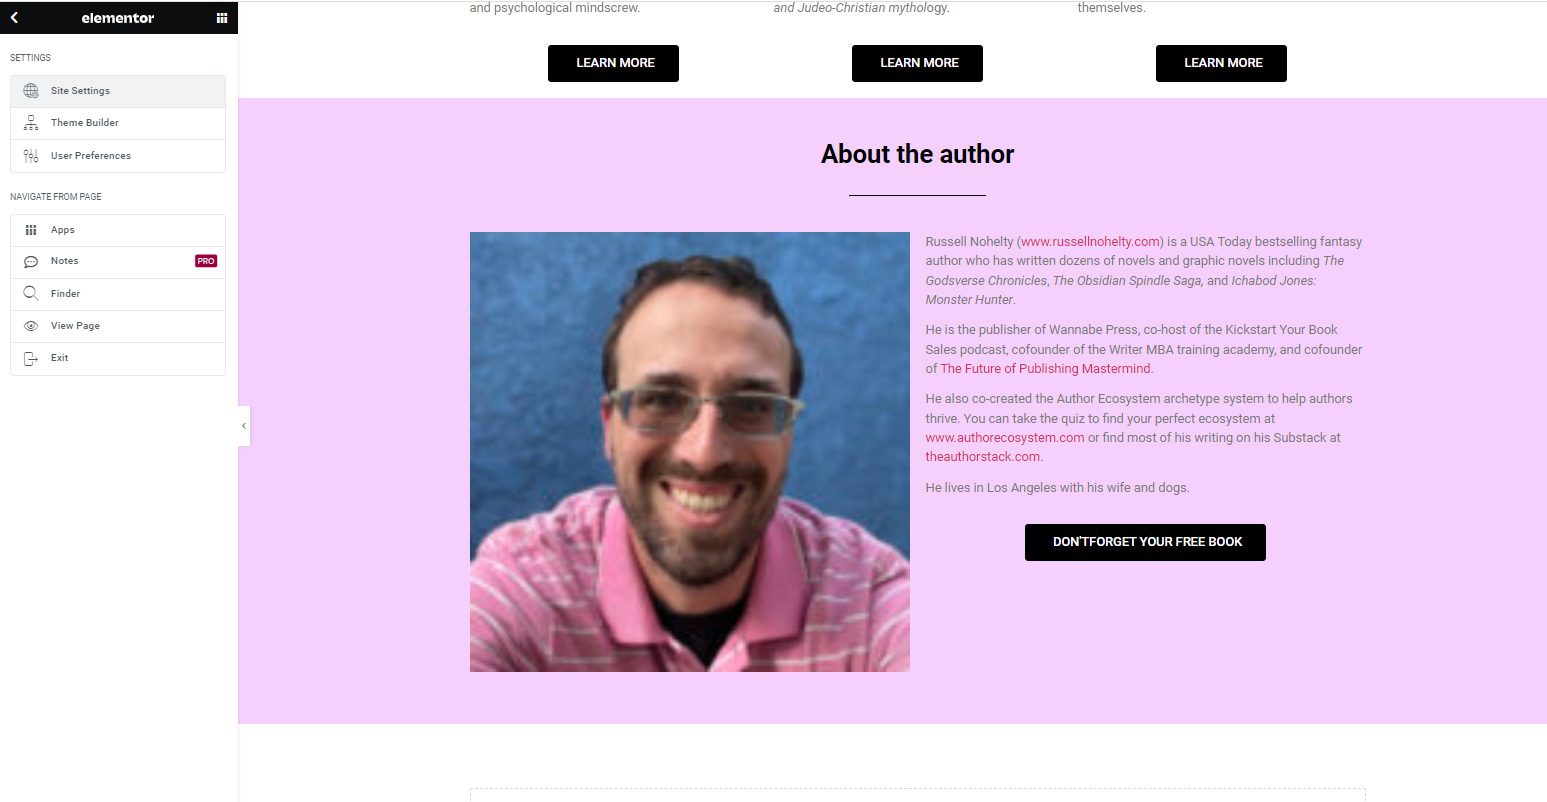
Then click Typography
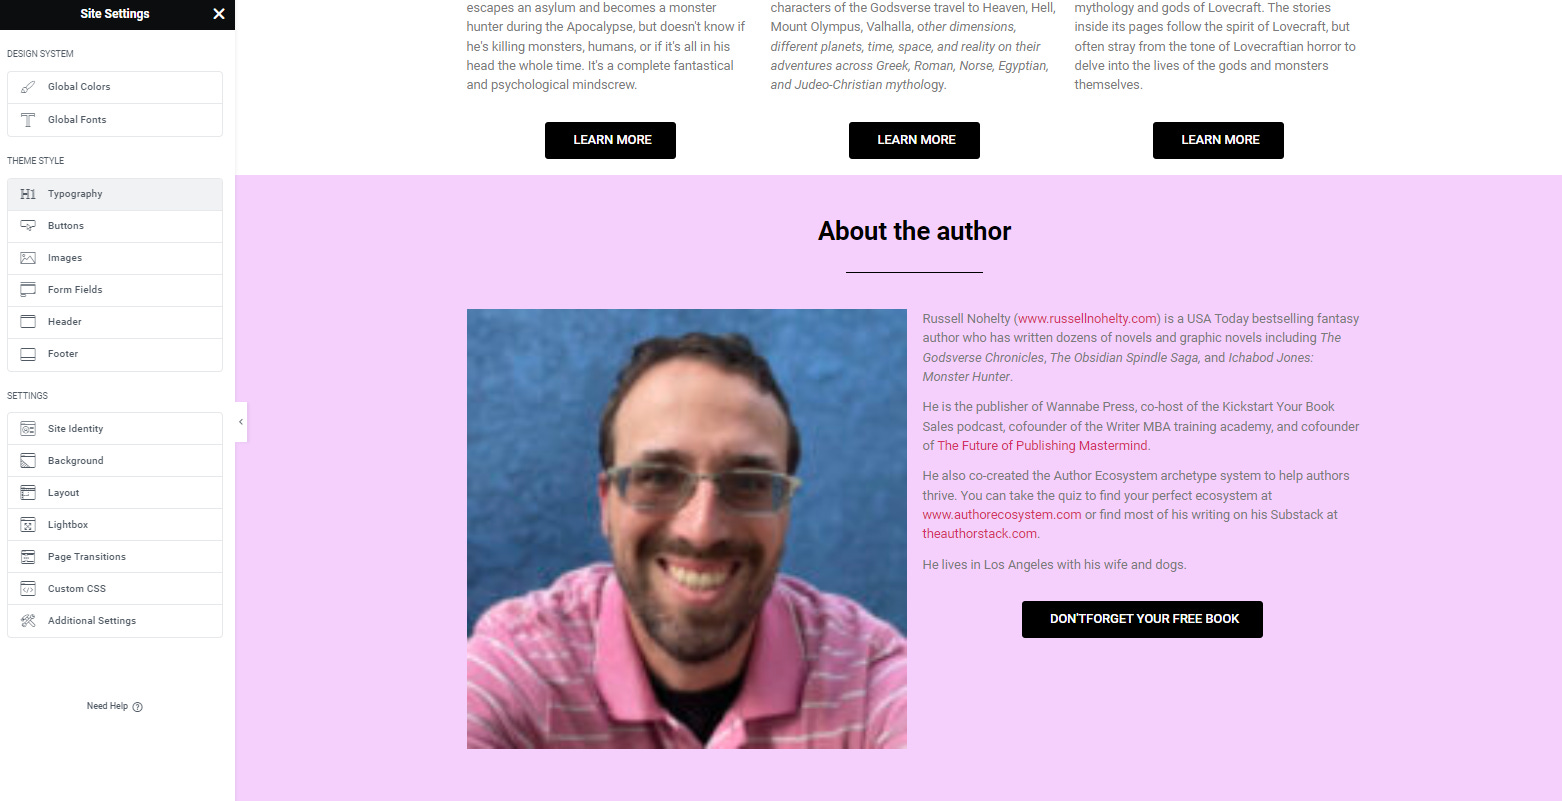
Here you can change the link color, but it will change the color of all the links. I like white links, so now I have to go back and fix the container color of this section.
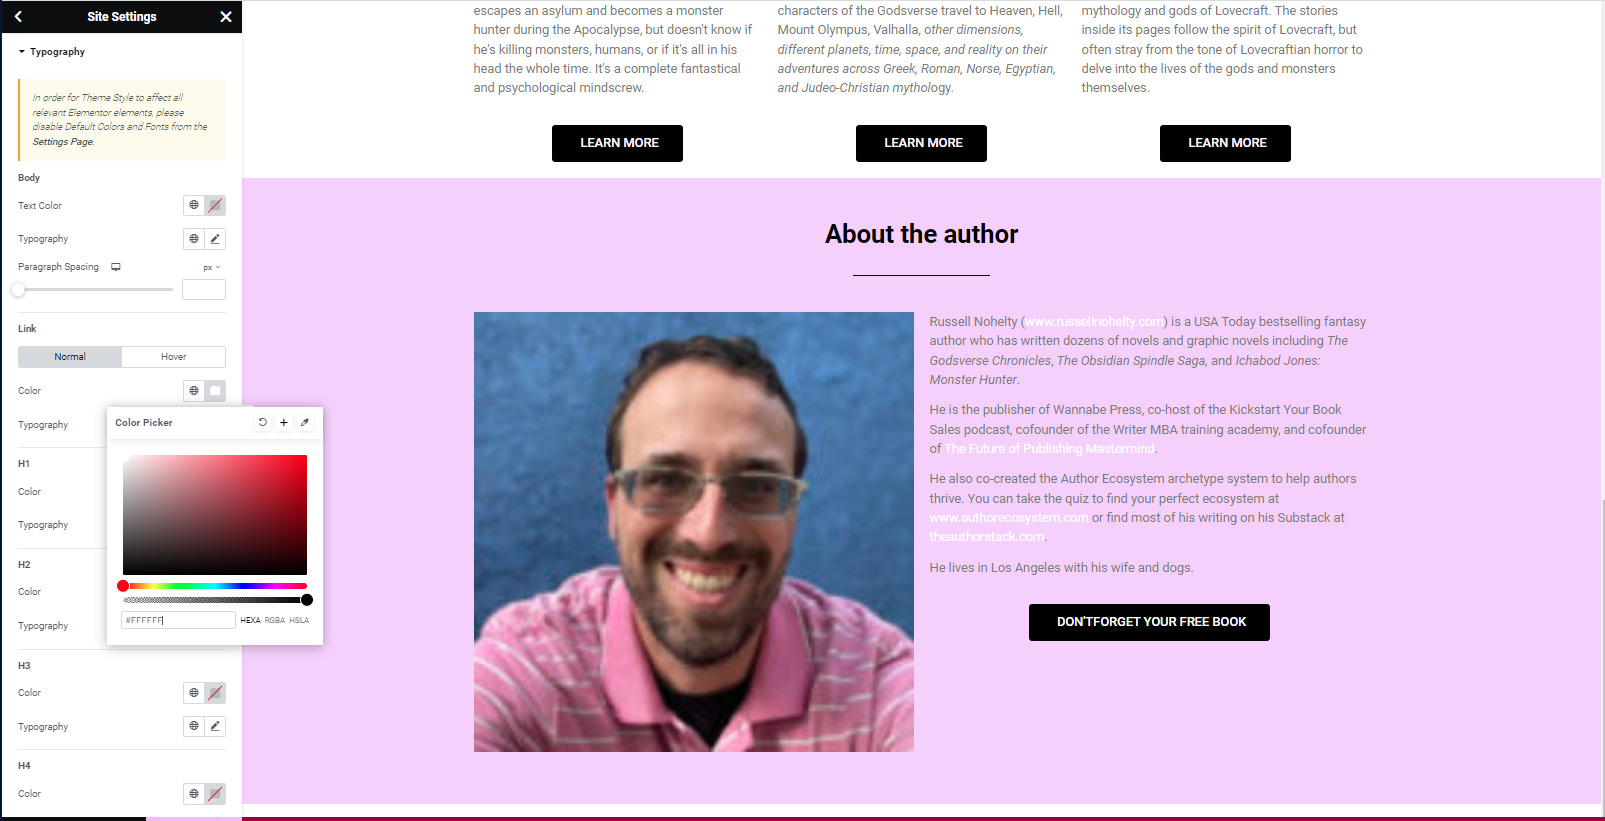
I think I found something I like now that strikes a good balance.

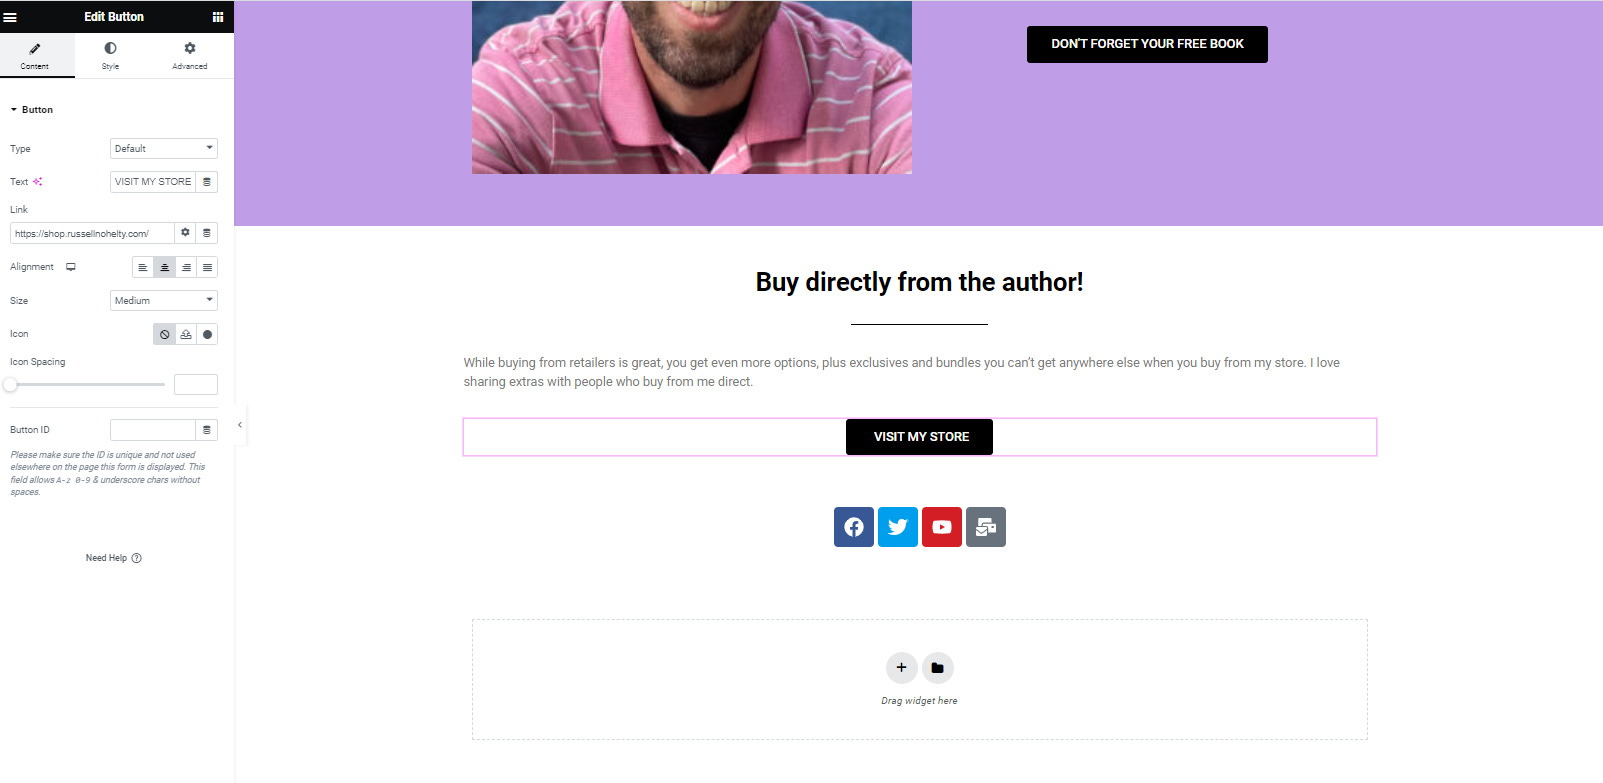
Section D: Visit my store
While it’s great to have links to retailers, it’s even better to link to your store, so that’s what we’ll do in this simple section.
Step 1: Duplicate the Bestseller section.
Drag it below the About You section.
Step 2: Add a Text editor, Button, and Spacer to the container.
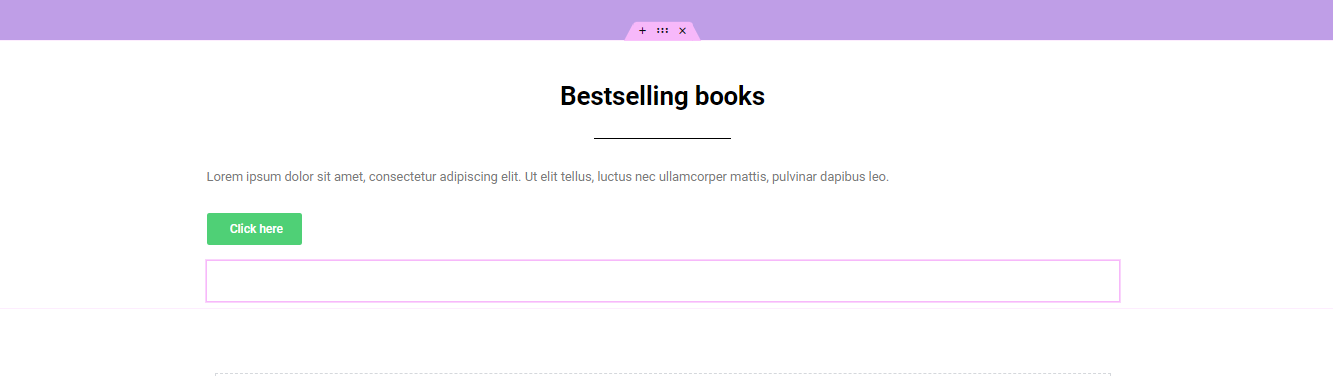
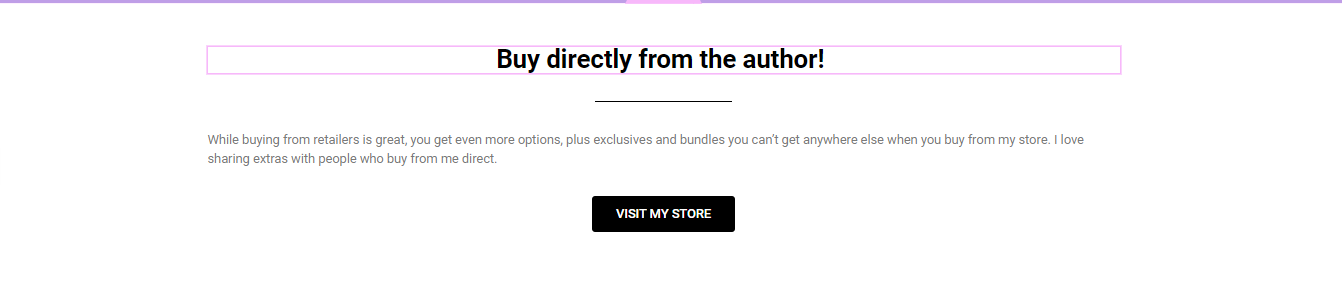
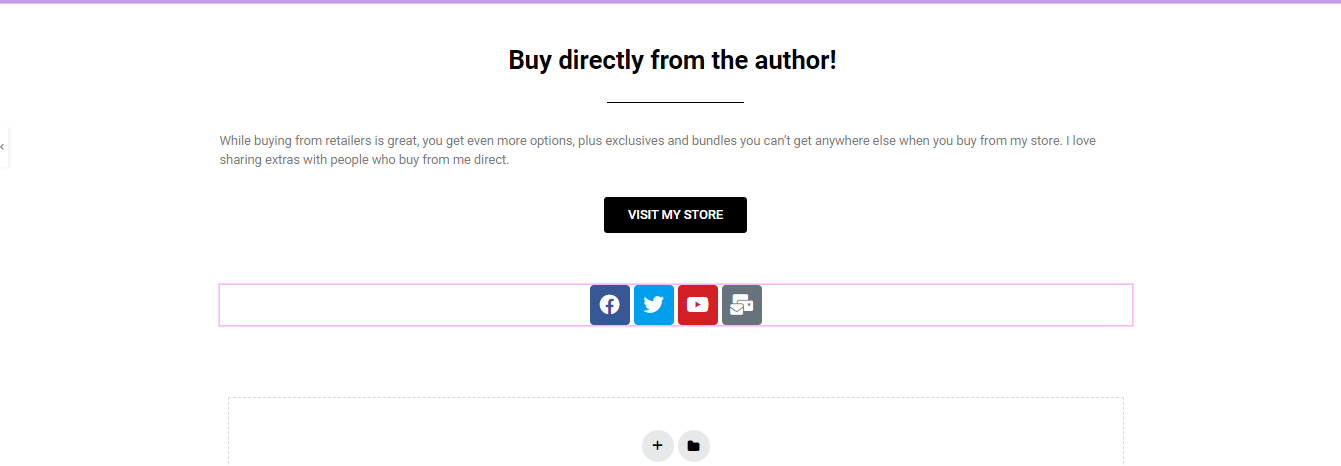
Step 3: Format the button and change the heading to say Visit my store. Then, write something in the text editor to get people to your store

.
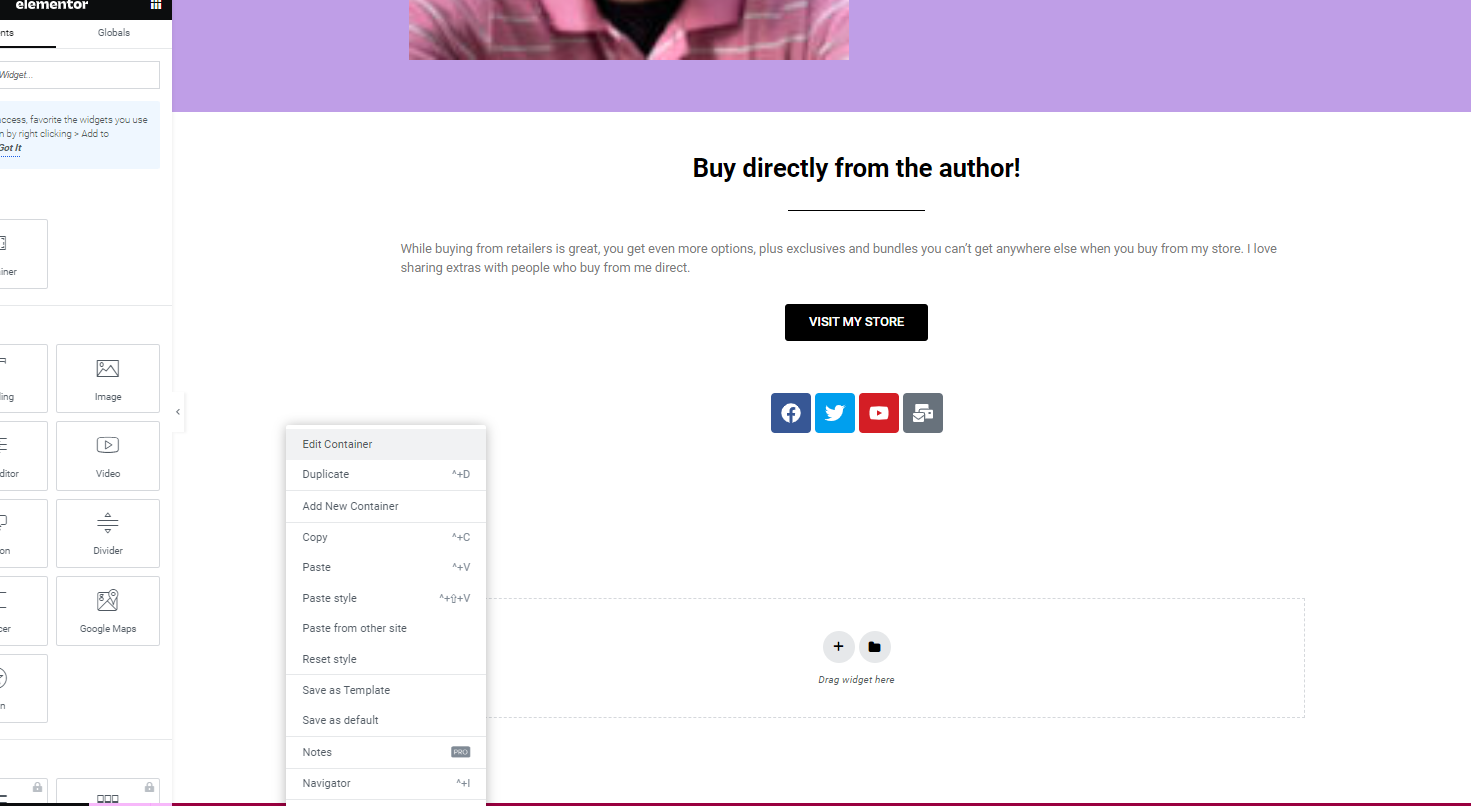
Step 4: You could add a section for contact, but I like the Social Icons. So, I’m just going to add them below and be done with it.

If you want to add more, just click the add icon in the settings.
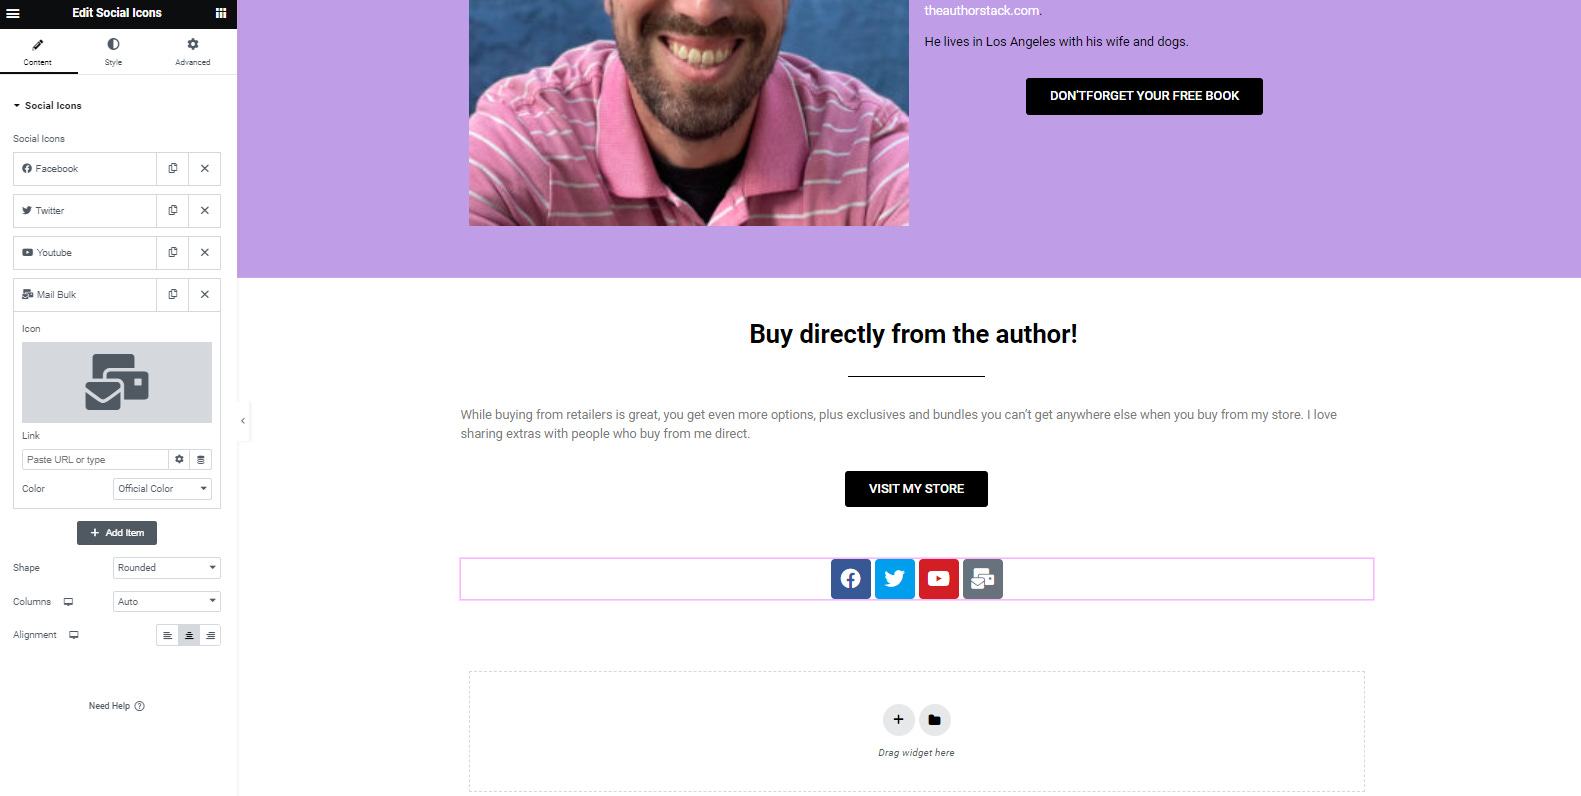
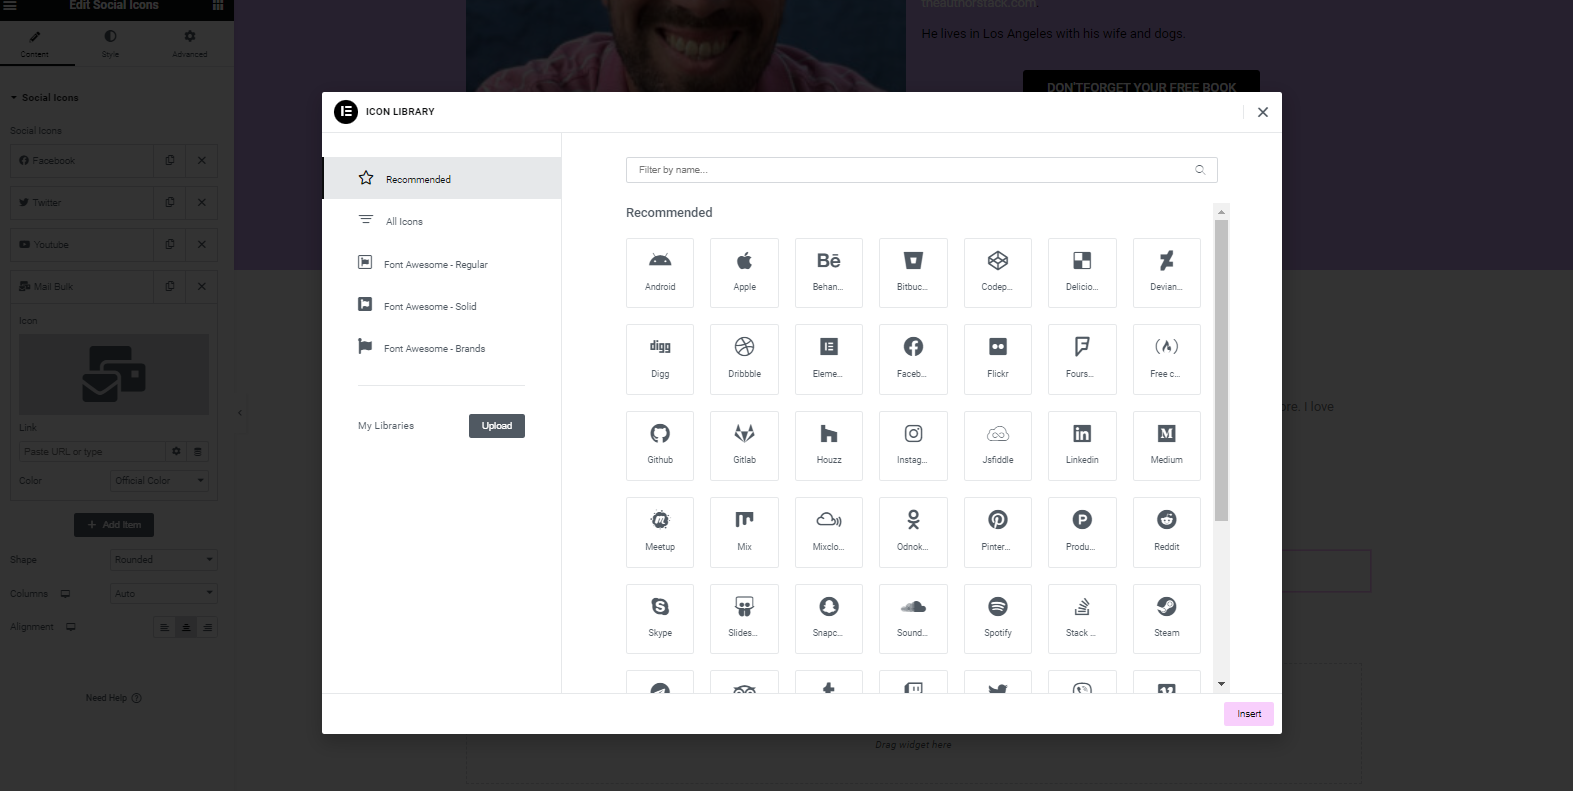
Then click on the icon to pull up the icon library.
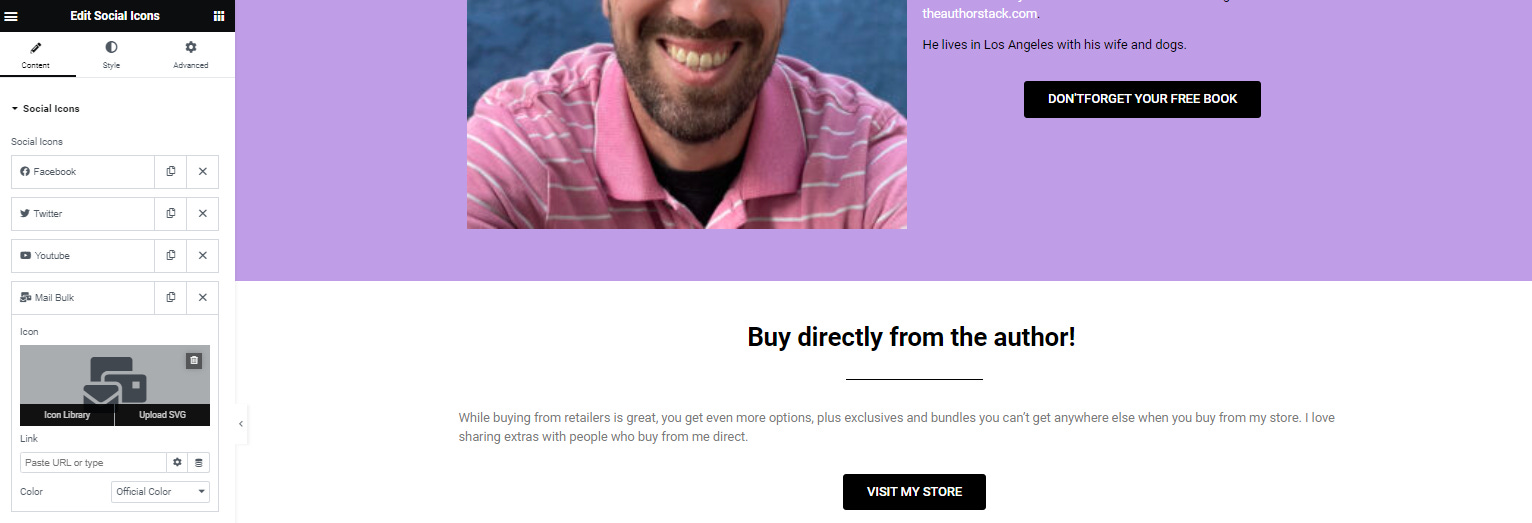
Find what you want, and then fill in the links.
You’ve done it! You made a very simple, but pretty website. Now, we just have to integrate everything and make it compliant. You’re a website designer!
PART 5: Integrations
I thought about going through this whole process of how to create opt-in boxes for every provider, but I decided that it was just too much. If you like this one, maybe I’ll do another one, but this is already too many steps.
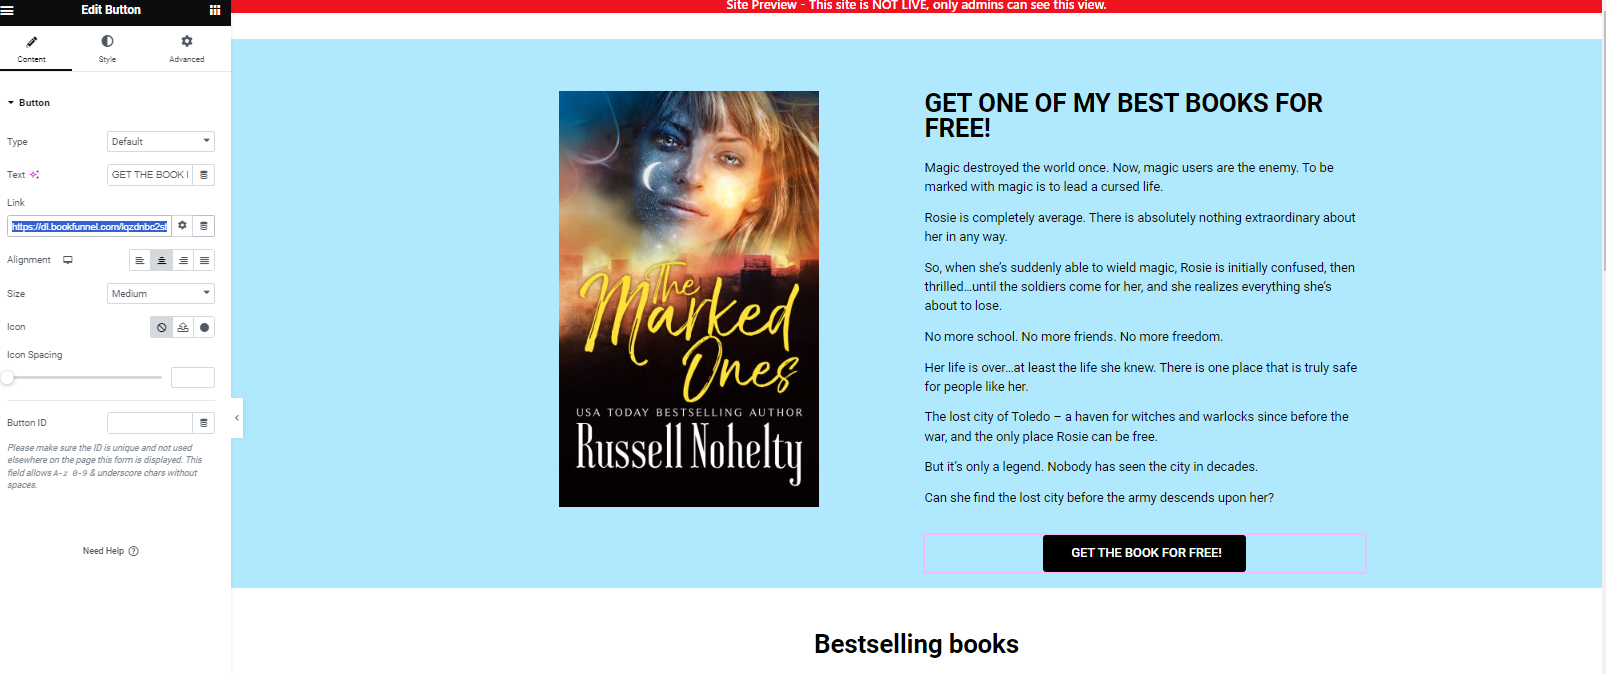
Step 1: You need to create an opt-in. You can set up free accounts on Mailchimp and several others. I use Bookfunnel, so I am going to grab the link to my freebie from there.

Step 2: On your website, go to the first button for your opt-in.
Add the link in the settings. Repeat as needed for your other opt-ins.
Step 3: Now, you’ll need a link for your bestsellers. I use Payhip because you can use a subdomain on your site, like this. I think it makes it look more professional.
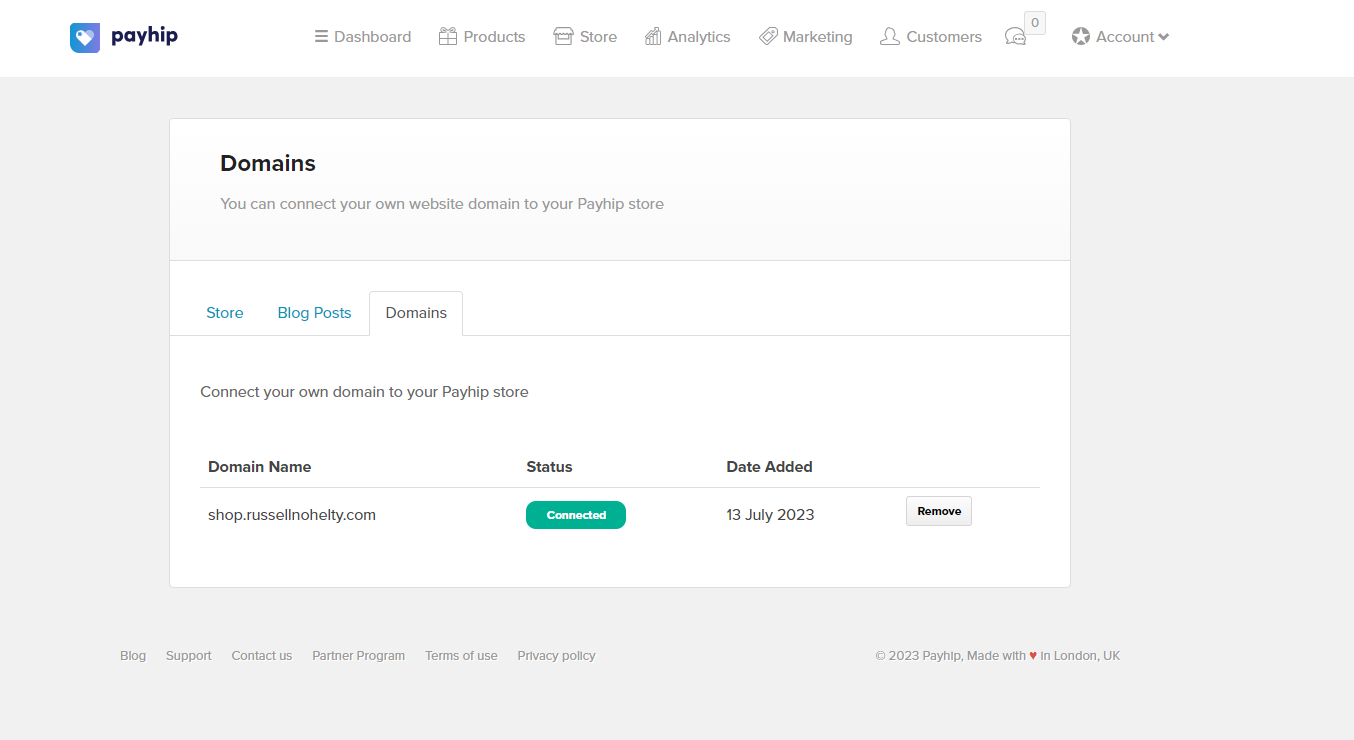
However, you can use anything, including an Etsy store. Once you have it, go to your bestseller area and put it in for the button link.
Step 4: Go to the VISIT MY STORE button and add it to the link to your webstore.
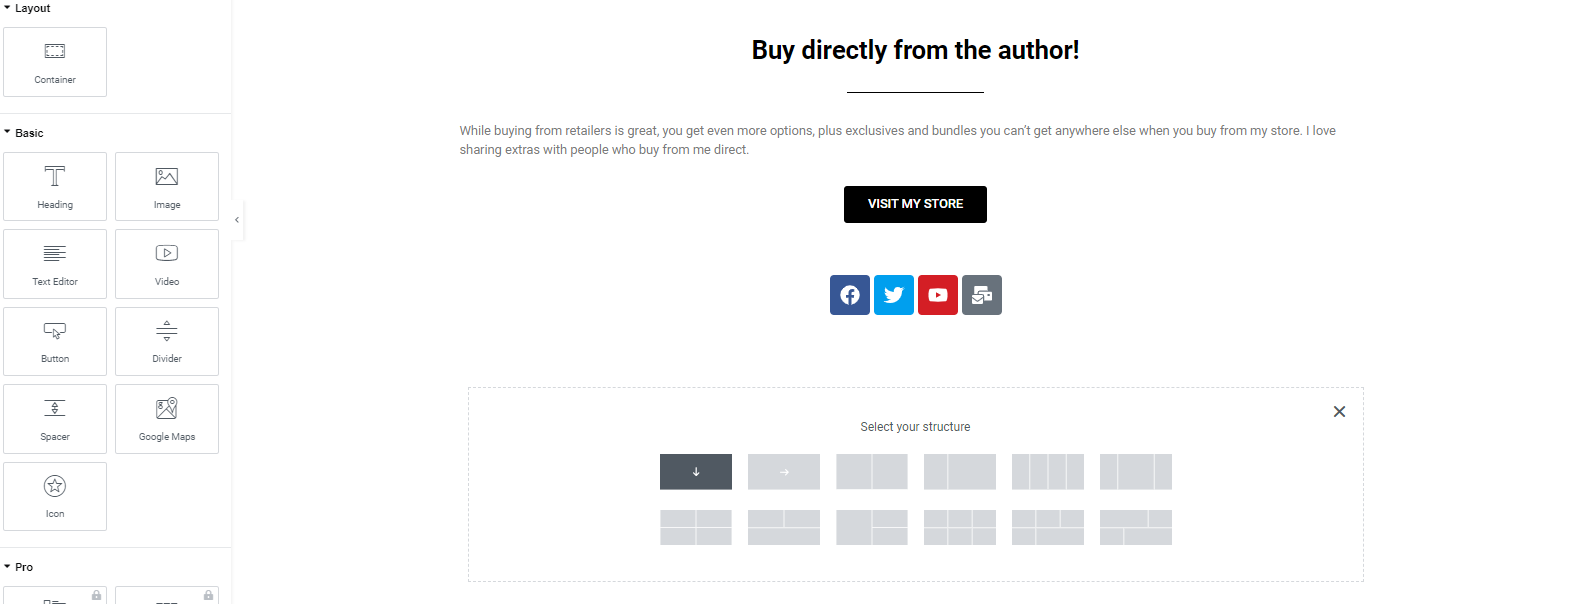
Step 5: Create a new container with one column.
Step 6: Scroll down to the Wordpress section on the elements. Toggle it on and find the Navigation menu.
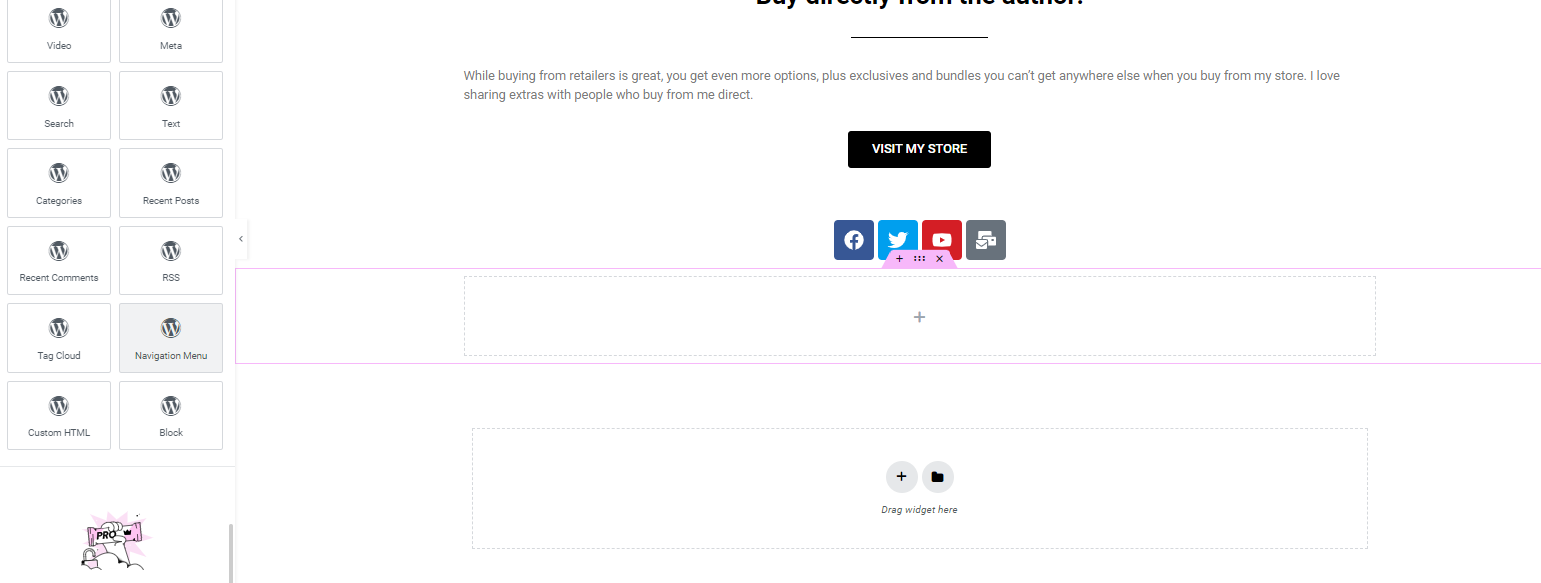
Place it in the container. Select the Footer menu.
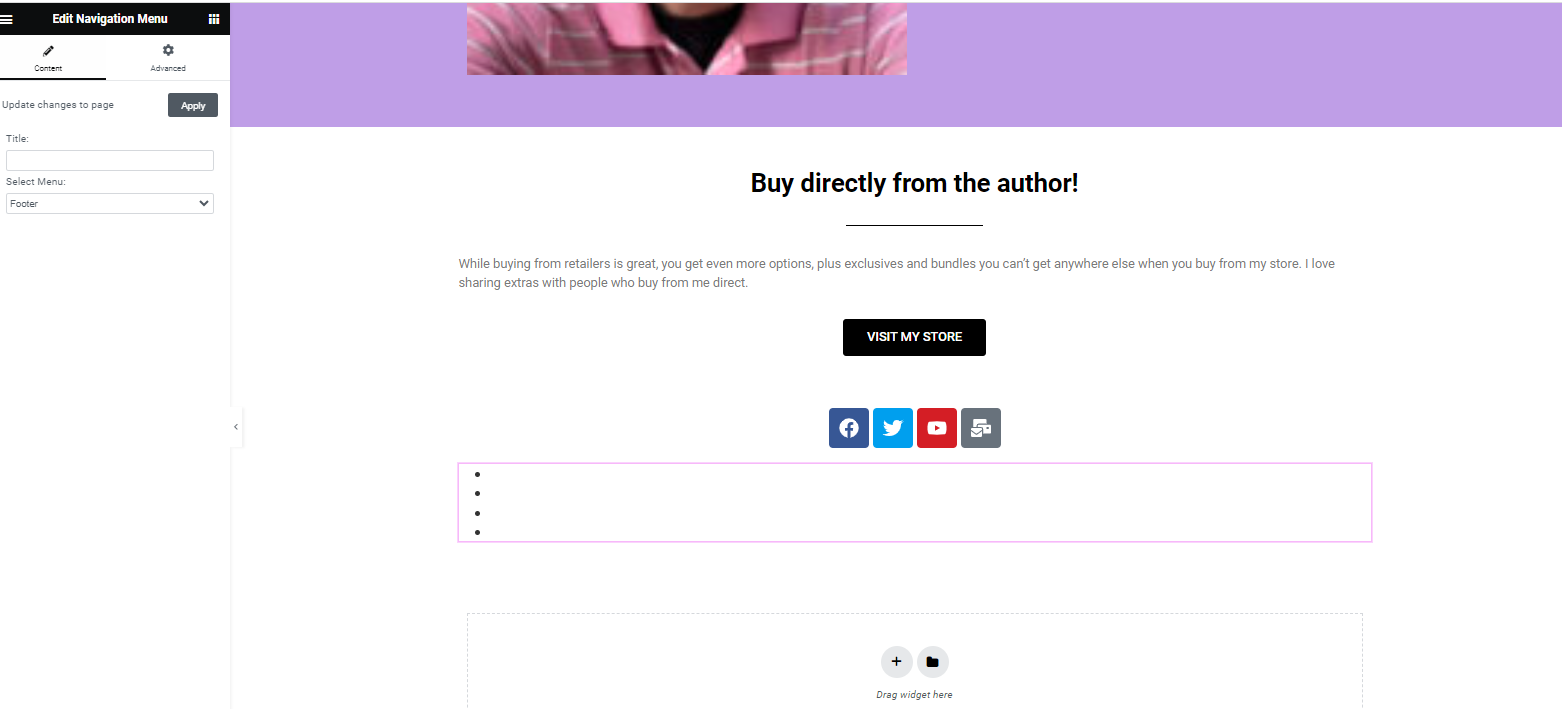
Step 7: Right-click to Edit Container.
Step 8: Change the color in the Style menu (if necessary).
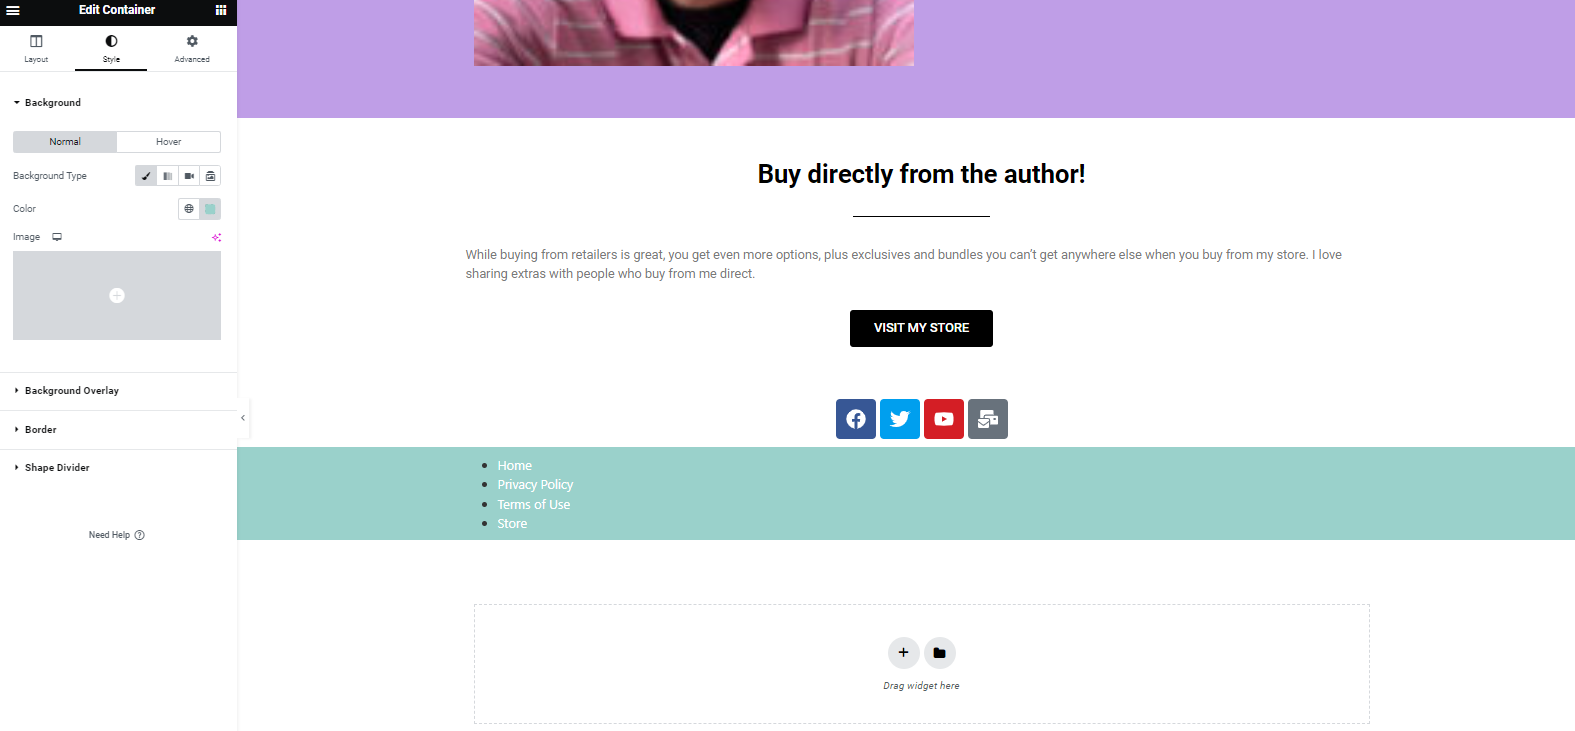
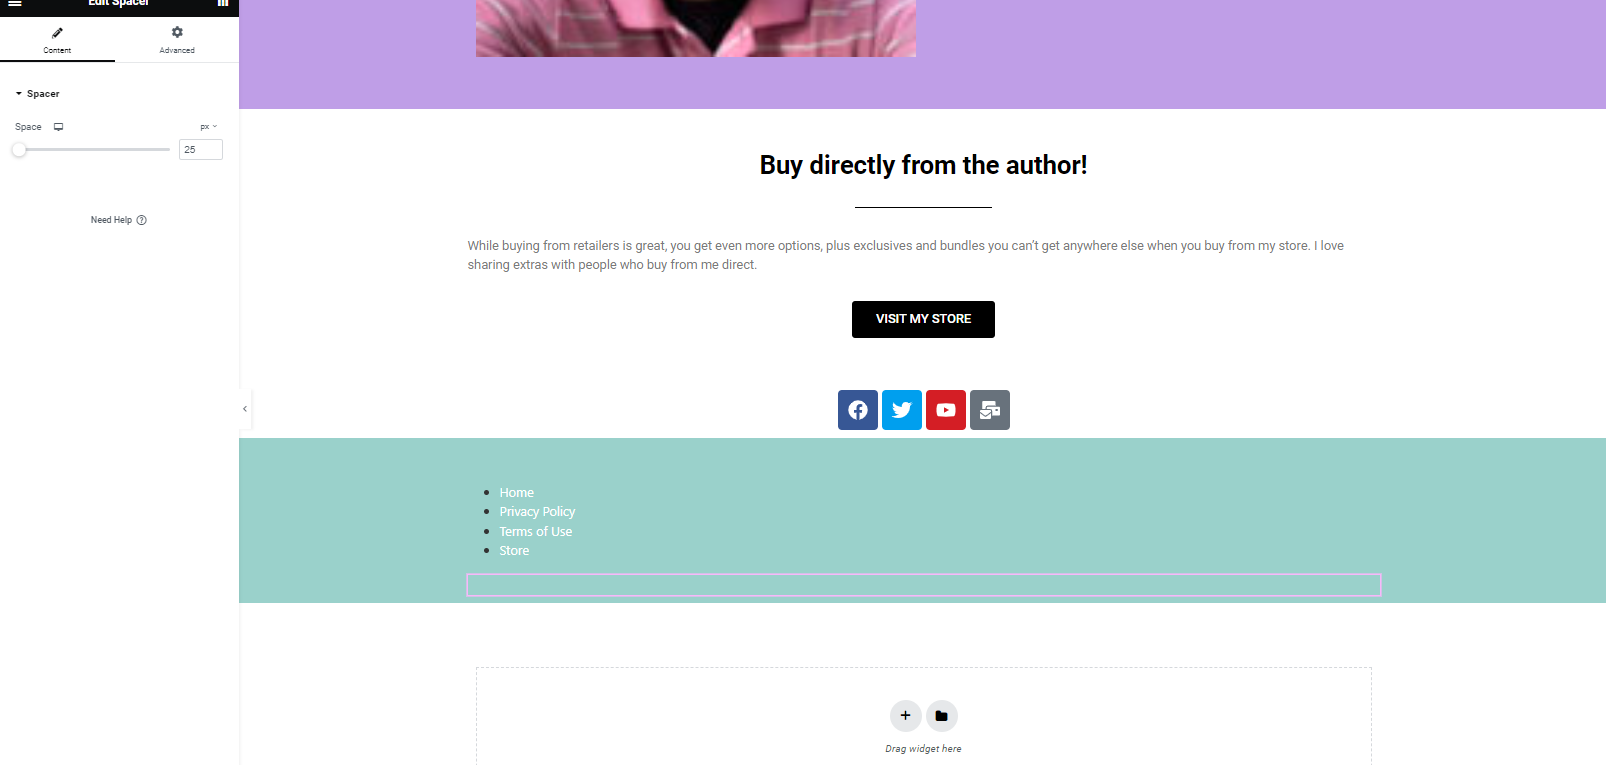
If everything looks good, then you’re done. I ended up adding a spacer to the top and bottom of the menu to make it look nicer to my eyes.
Woohoo! You’re almost ready to go live. We just have to make sure you’re compliant.
BONUS: If you want to embed a Substack form on your page, you can do it by adding an HTML block to a container, and posting the embed code you can find in the DASHBOARD>SETTINGS>IMPORT. You can find out more here.
PART 5: Compliance
There are a couple of things you need to be compliant with regulations; Terms and Conditions, Privacy Policy, and Cookie Consent are essential components.
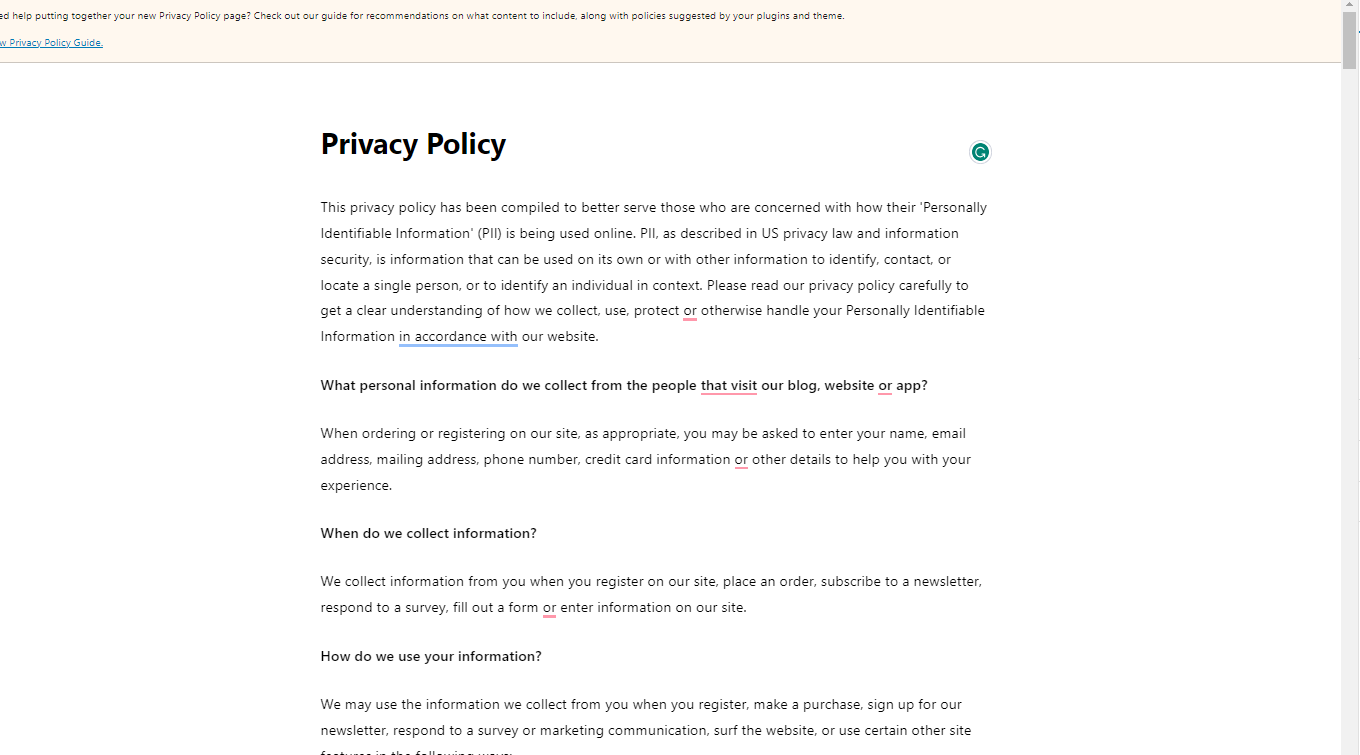
Step 1: There are a lot of places you can get a free privacy policy generator, so I won’t go into the steps. Once you have one, go back to your Pages tab on the dashboard. If you don’t already have a draft privacy policy page, make a new one and edit it.
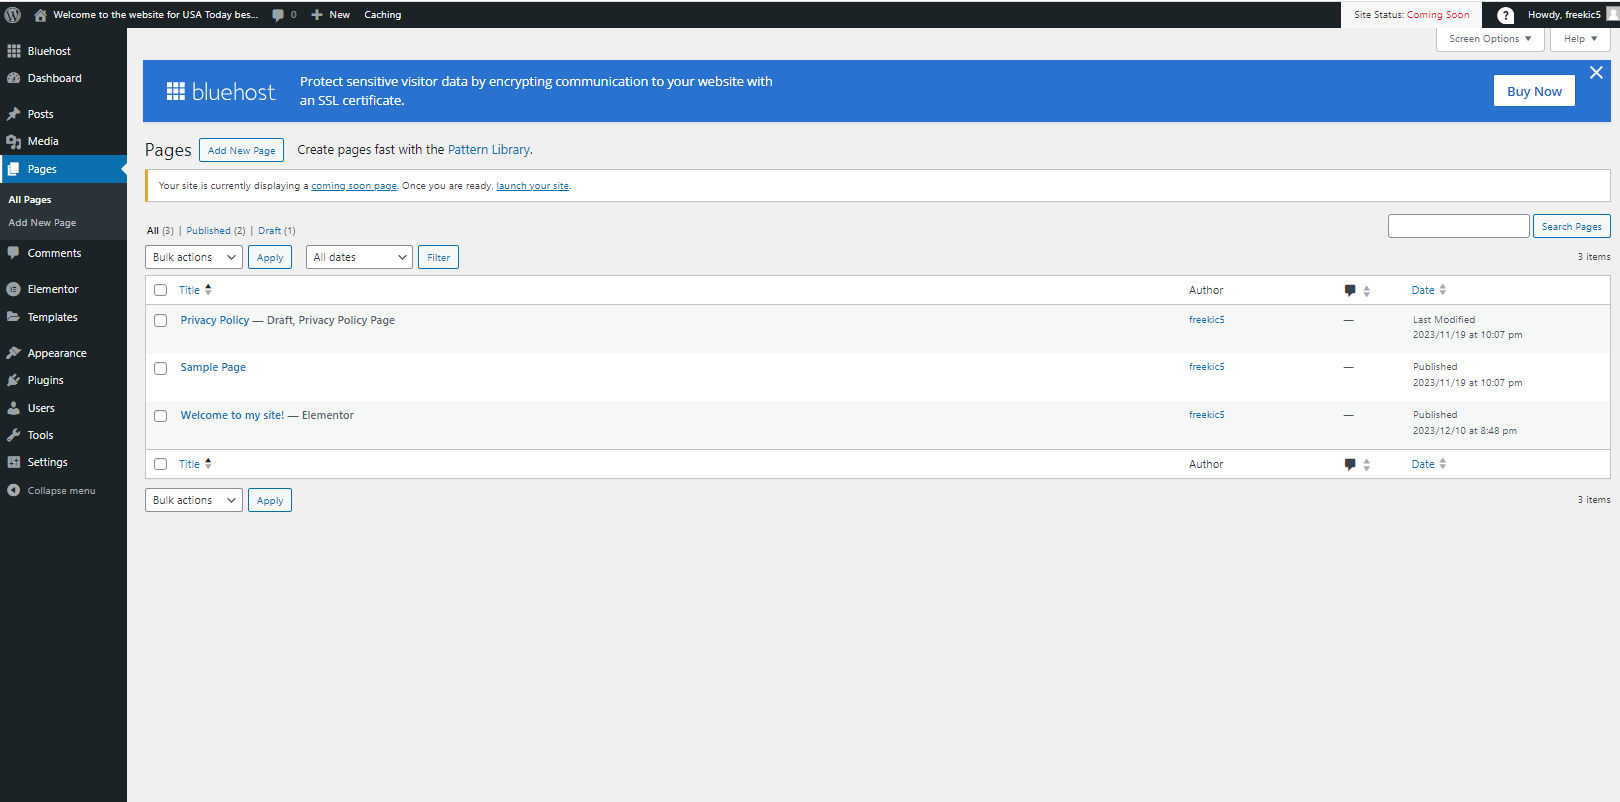
It doesn’t have to look pretty. It just has to exist. Once it’s done, publish it.
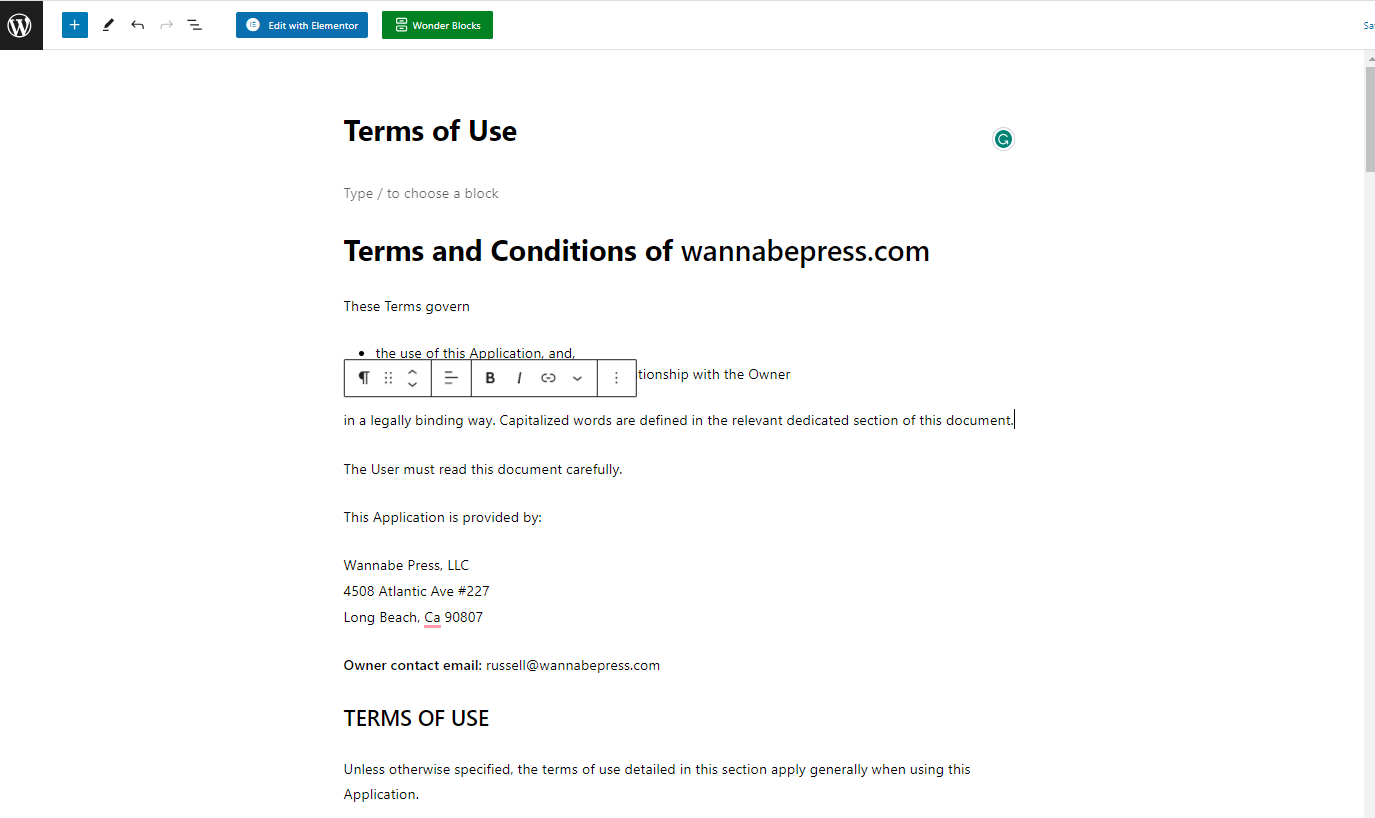
Step 2: Do the same with your terms of use.
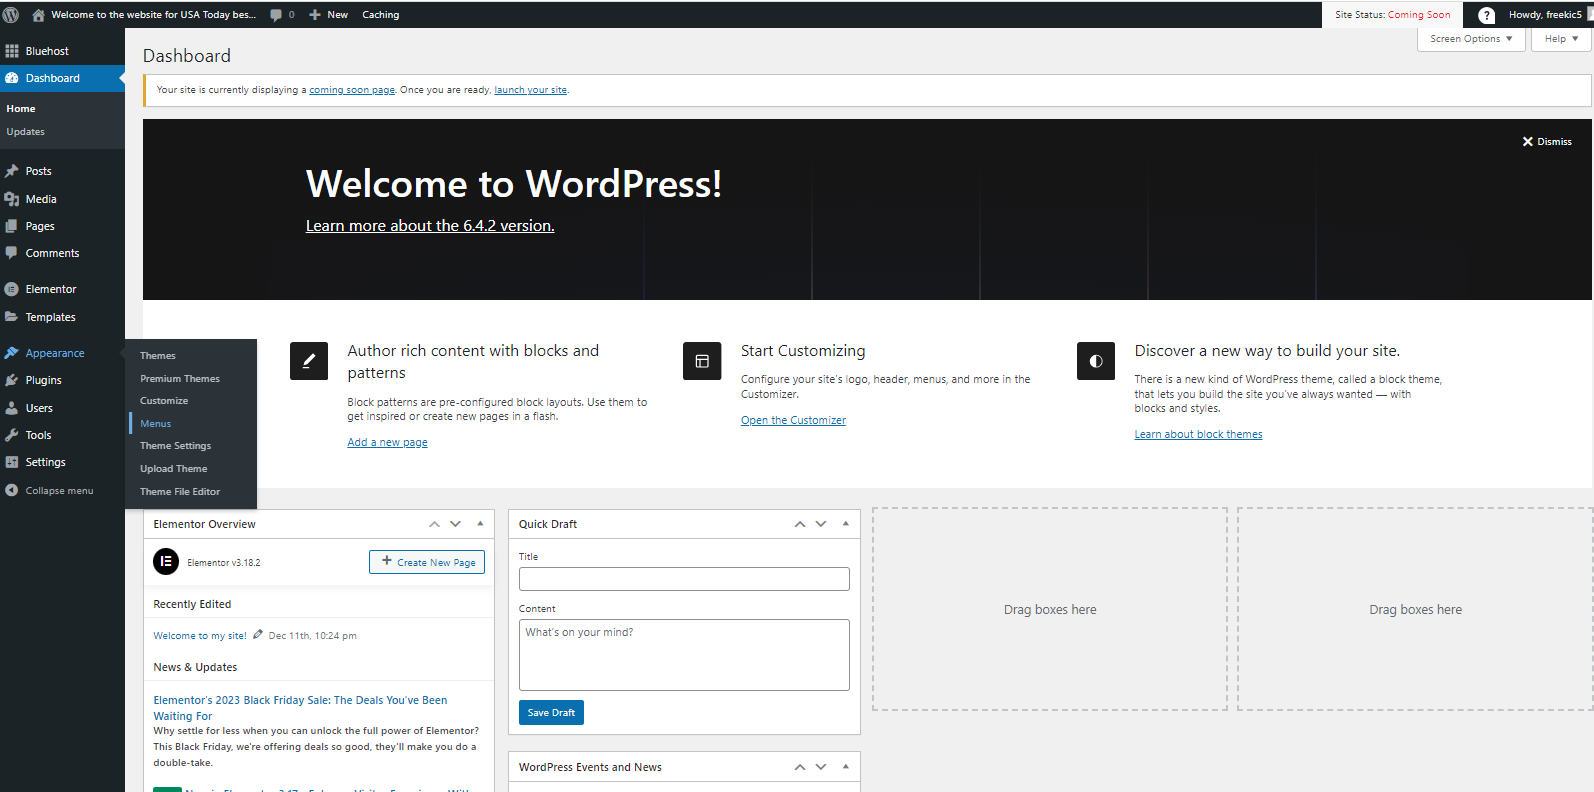
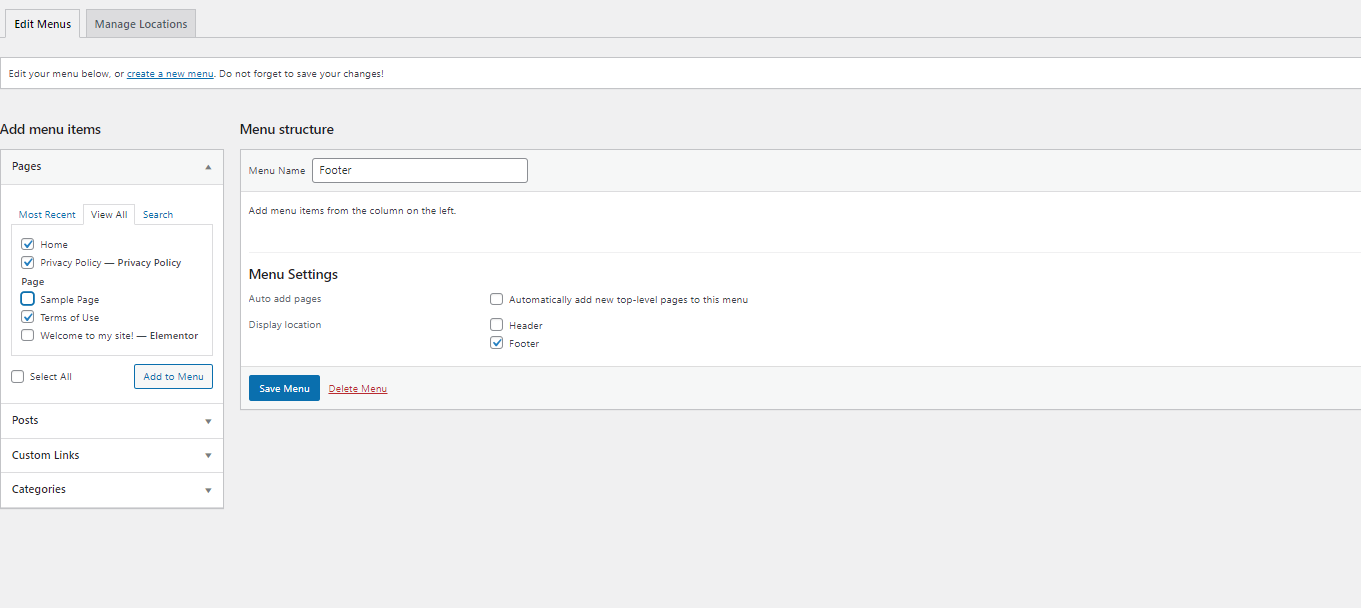
Step 3: Go to the Appearance>Menus tab.
Step 4: Create a new menu called Footer and check the box for Footer. Then click Create Menu.
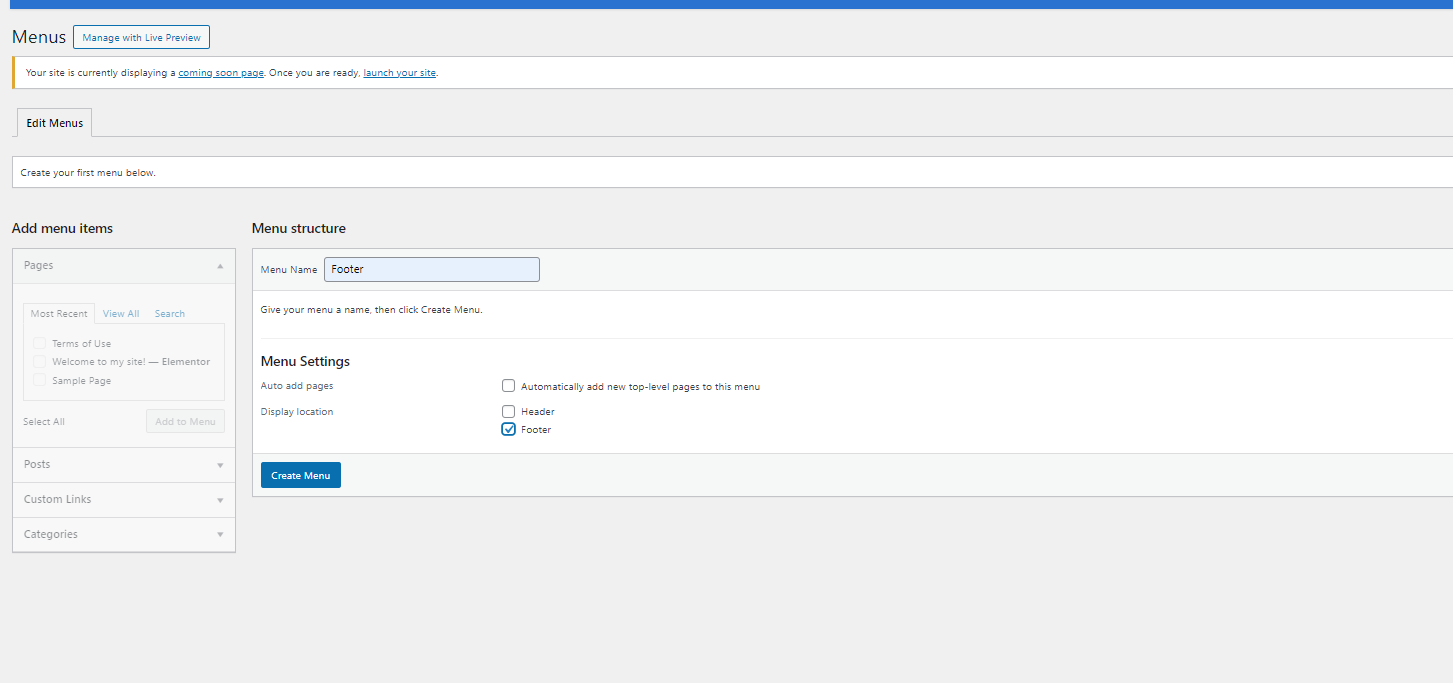
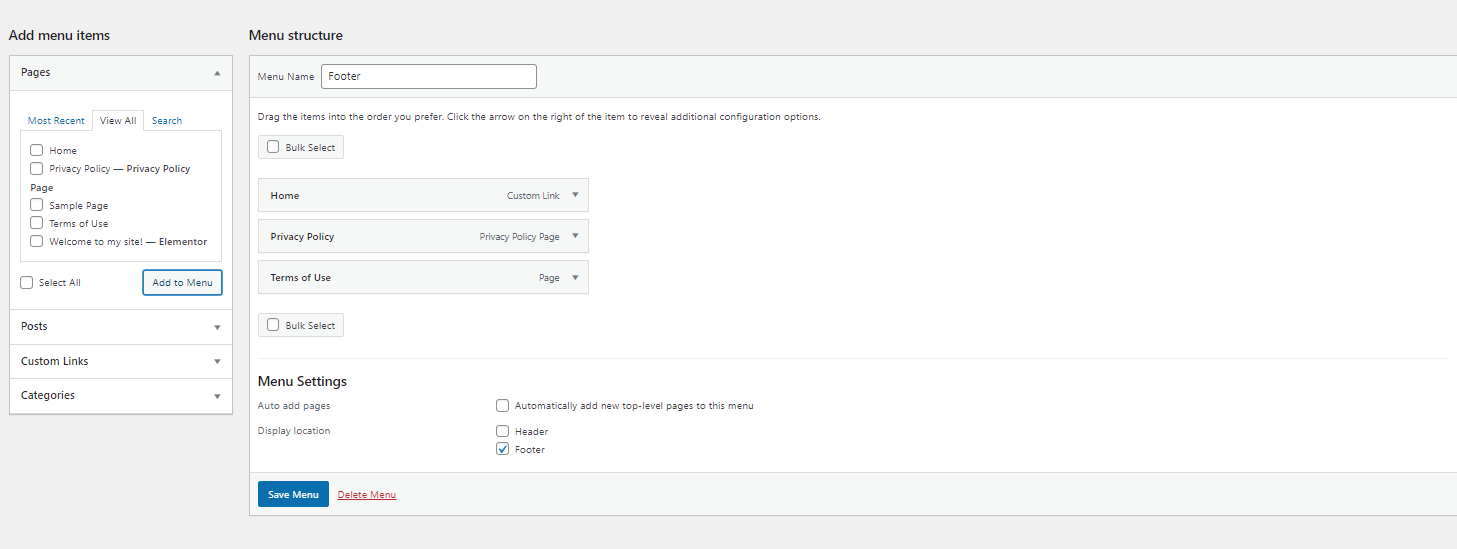
Step 5: Check the Homepage, Terms of Use, and Privacy Policy pages. Then click add to the menu.
If it all looks right, you can save it.
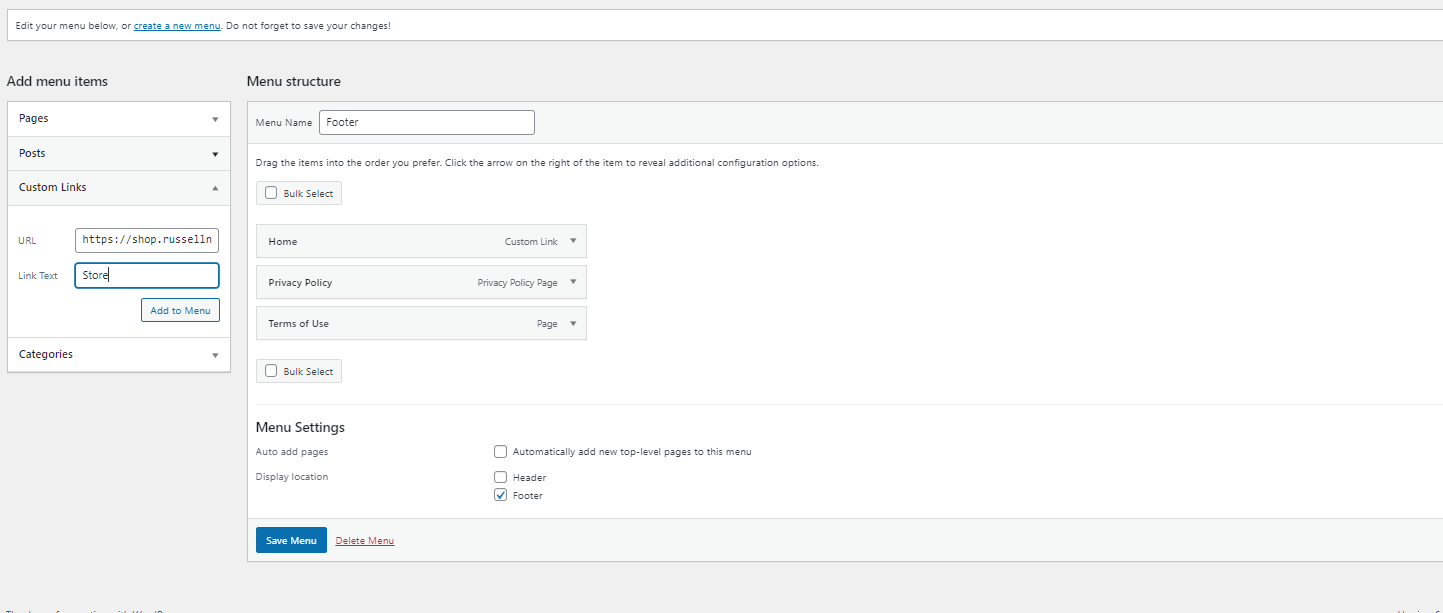
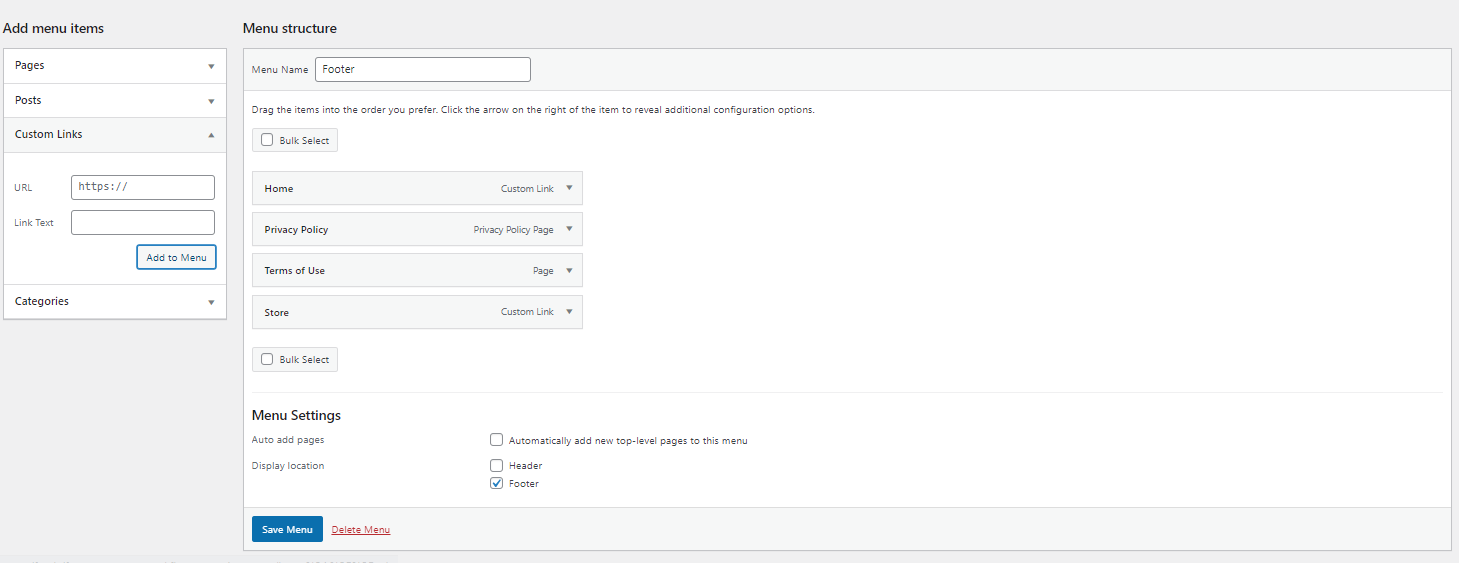
Or you can add other custom links, like to your store.
Once you’re happy, hit save.
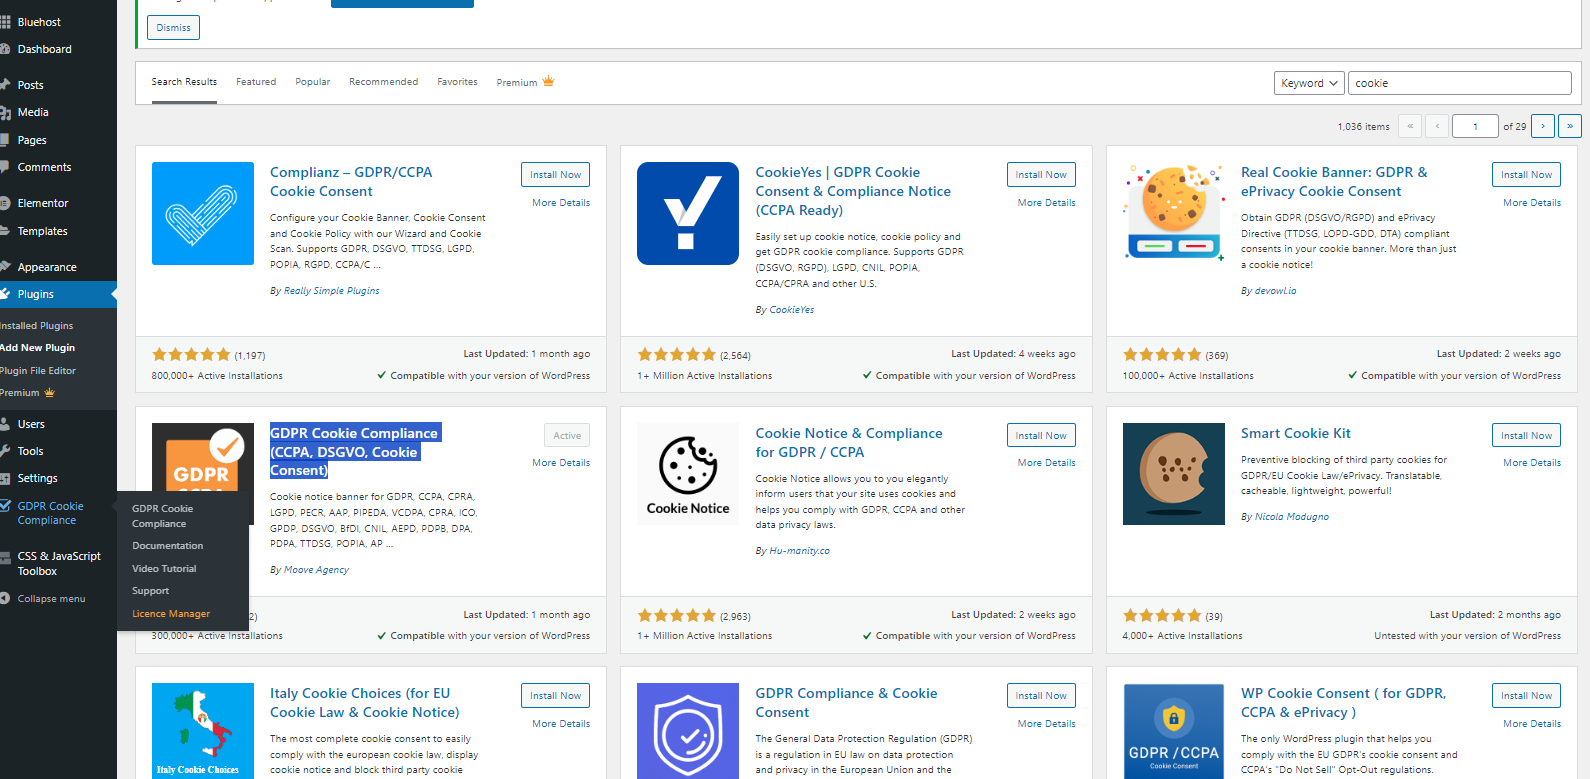
Step 6: For Cookie Consent, I use GDPR Cookie Compliance (CCPA, DSGVO, Cookie Consent). It’s free, but basic.
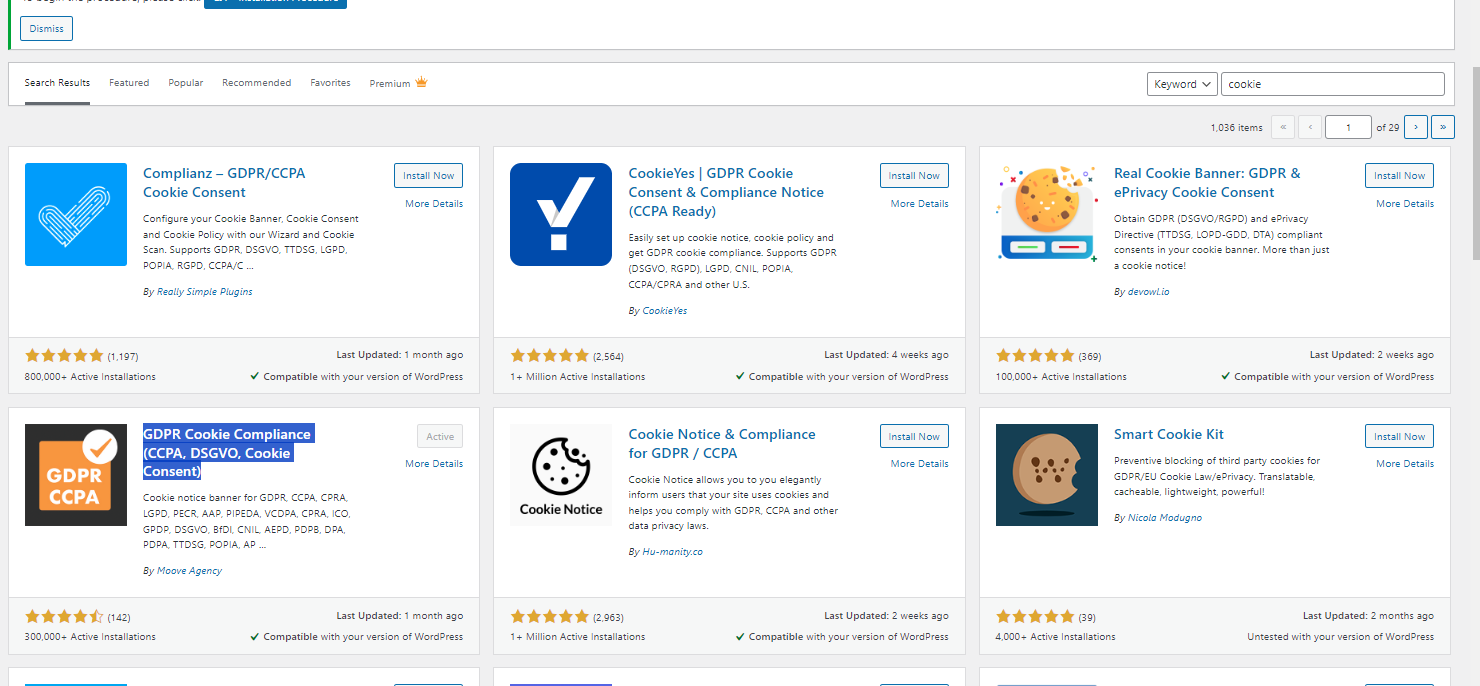
After you have activated it, you can find it in the left-hand tabs.
Follow the instructions and it should work. If not try another one.
Step 7: When you’re done, go to the admin page and click the coming soon banner at the top.
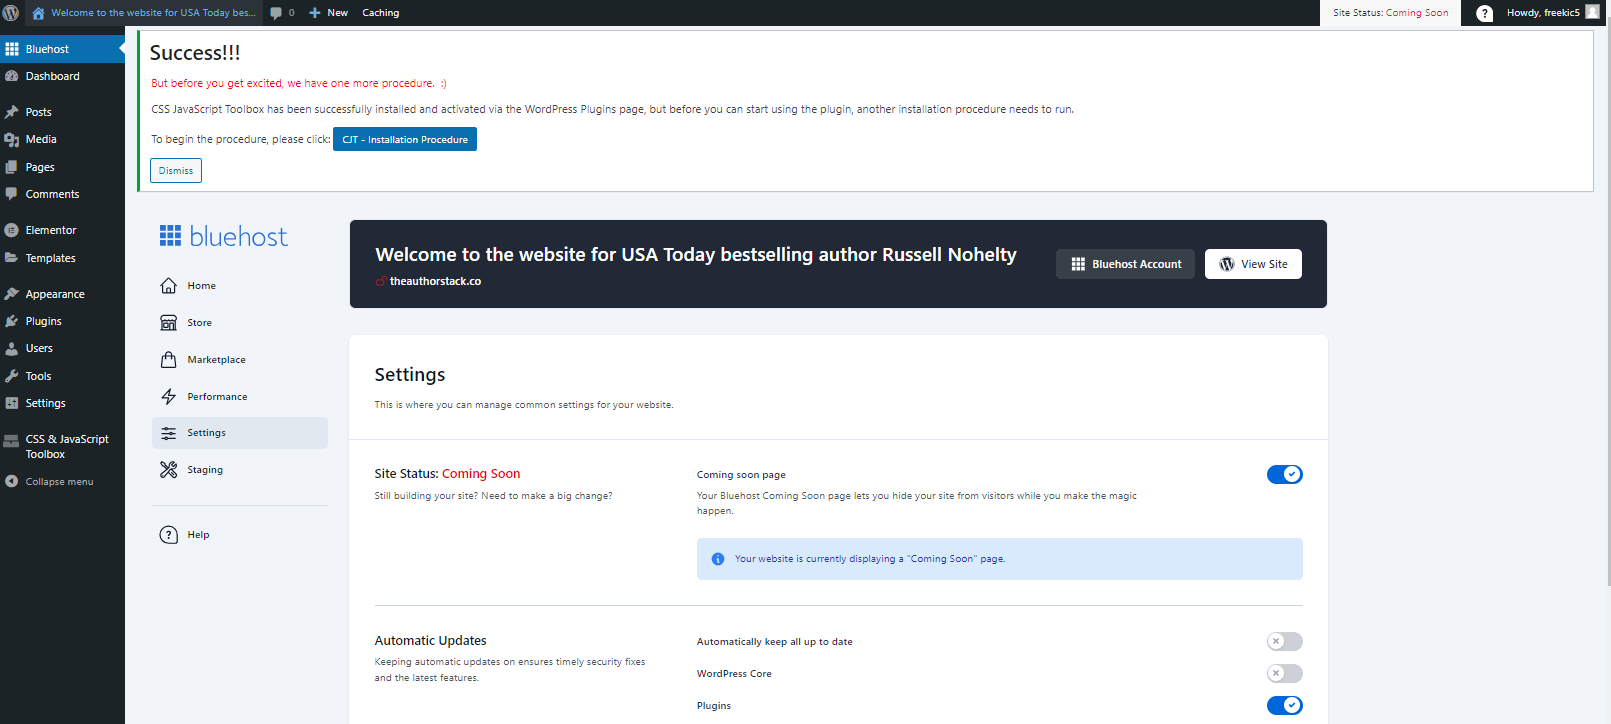
Toggle off the coming soon page.
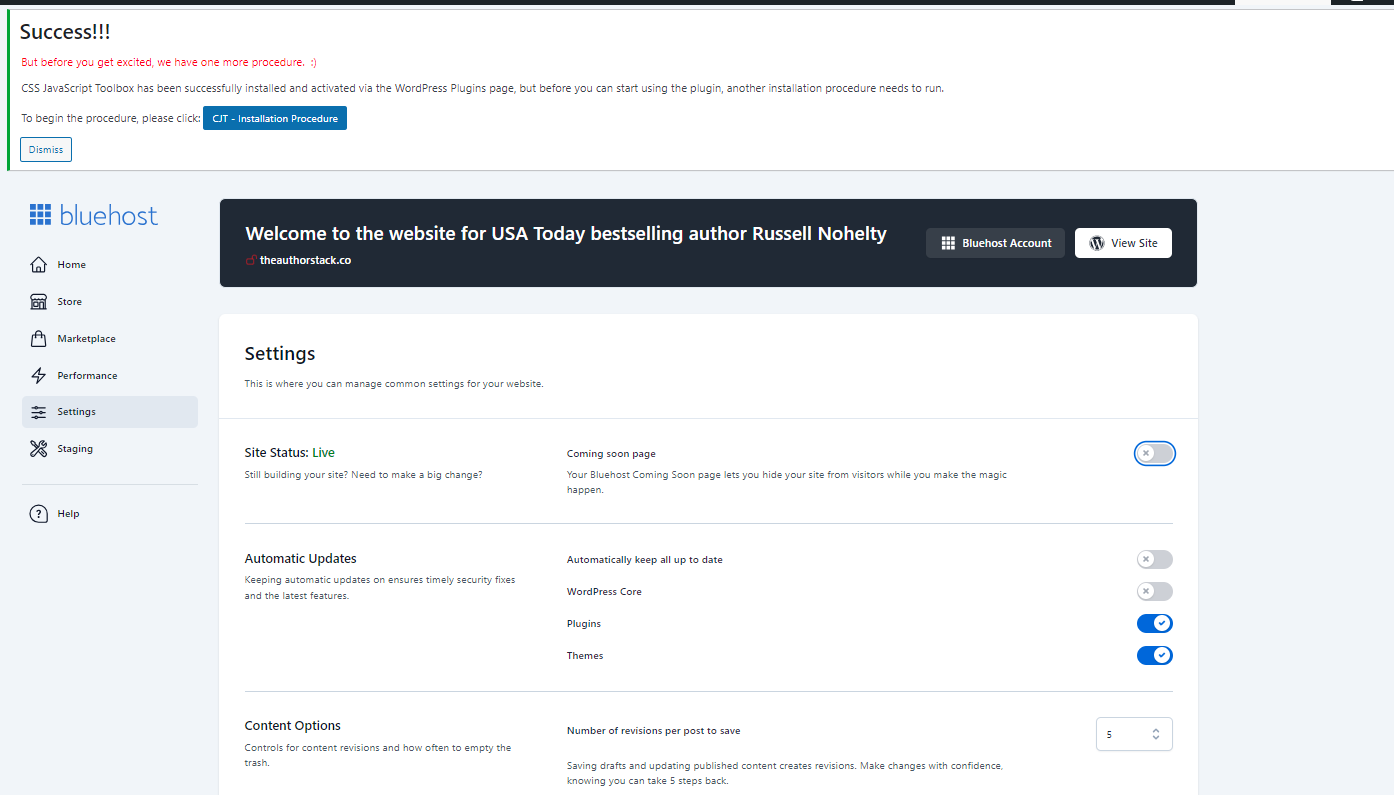
You should be live!
Step 8 (Optional): If you plan to run Facebook ads, you’ll want to install the Meta Pixel plugin. If you want to check analytics or run Google Ads, you’ll want to install Site Kit from Google.
From here, you can create other pages, add a menu to the top, and build out into something bigger and better. However, if you’re new to this, or you don’t need something fancy, this should work. Even though I’ve been doing this for a long time, my homepage doesn’t look much different.


I have many other pages, but I’m mainly interested in getting people onto my mailing list and giving search engines somewhere I own when people search for me.
BONUS: Turning your WordPress site into a Substack-like blog
I think we’ve been classifying Substack wrong. It’s not a social media platform or anything like that. I think it’s a no-code app builder like Webflow, Bubble, or Shopify.
Substack has given us a lot of growth levers, which is great for a no-code builder, but just like Kit they are only features, not a platform like Facebook.
We have been conflating the two, but at best Substack is a highly recognizable no-code web app builder with a communal app and a vibrant comments section with Notes.
No-code platforms don’t care what you make on them because they aren’t a platform, they are the pipes that make sites function. If that’s what they want, then I’m more than willing to play that game. If they don’t want free marketing, I surely don’t want to give it to them.
I propose that we should, in general, never even say the word Substack except to other people who are either looking to grow a thing or are already on it.
Just like with Wordpress or any no-code builder site, it should be our goal to get a custom domain set up as soon as possible so that we can remove the branding.
You wouldn’t keep a Wix subdomain or Squarespace subdomain up for the long haul, so why a Substack one? After all, they are just pipes, and pipes are there to be covered up. Up until now, Substack has tried to have it both ways, but they clearly picked a side of how they want to be perceived, and that’s fine by me.
As such, we should have zero loyalty to the platform beyond how it helps us grow. When it stops doing so, we should be open to other possibilities.
There are several good options if you’re looking to leave Substack completely.
Were I to leave Substack, this is what I would do to keep costs down and still deliver a great experience to readers. There are plenty of other ways, but this is what I would do. Please note, this is way more complicated than what we’ve done in this article.
WordPress from a host like Bluehost, Siteground, Godaddy, etc. ($15/yr for the domain).
I personally love both Elementor and Themify. You can buy a single Themify theme for $59, and Elementor is $9.99/mo on the low end. You can also go to Themeforest and find a Magazine template for about $25-$50. (
I would use either the Newsletter plugin or Sendy to send emails for $1/10,000 emails and lives right on your blog. There is a $69 cost for Sendy upfront. Newsletter has a monthly cost if you want to unlock all their features, but free to start. Just make sure to properly set up your DMARC, DKIM, and SPF.
You do need to have an email set up for your domain. You should be able to pick one up from your domain provider. I know I get 100 with Bluehost, but if not you can get for about $5/mo from Google.
For your paywall, there are a lot of options, but I would probably use Memberful or ARMember because they have a free tier. You can also use Patreon, and they have a plugin for Wordpress that allows you to set who can see what post.
If you want a recommendation engine, then I recommend the Creator Network from Convertkit, which costs a minimum of $29/mo. The more emails you have on Convertkit, the more you pay. This is easily the biggest advantage of Substack b/c creating these networks is very expensive. You can also create a webring yourself. We used to do it back in the day, and a recommendation engine is just a supercharged webring.
If you want to advertise, then I recommend Sparkloop for $99/mo. This also allows you to integrate with Convertkit and access their paid recommendation network. With WordPress, you can easily load a plugin to track your campaigns.
You’ll have to migrate from Substack to WordPress, which is not seamless, but it’s not an impossible task either. WordPress has a really good tutorial on how to do it.
Doing this allows you to scale without paying the ridiculous price Ghost or Buttondown charges.
Also worth looking at is Beehiiv, but only if you are in the AI or Crypto spaces b/c otherwise it’s impossible to find people in their network. Still, they have a flat fee every month, and their tech was similar to Substack. They even have a migration tool.
I think you can do it for a lot less than $100/mo that Beehiiv charges. This allows you to set up a magazine like what you have on Substack for a couple hundred dollars, and minimal ongoing costs.
If you just want a place to send emails about your book launches and sales, then you don’t need a full publication and can probably just get away with a mailing list.
You can use https://www.wordpress.com and it will probably work for most of these things if you want a simple solution. I prefer one I host myself, but you can get most of these options at the $8/mo option. Since I have several sites, it works better for me to host it myself. I have never chosen a simple solution when a complicated solution will do, especially when I get more control.
One of the bonuses of hosting your own WordPress site is that you can turn your site into an app through a service like Appmysite. If you want to take it to the next level, you could even use a platform like Bubble.io to create a Substack-like clone for your blog using one of their no-code templates (though this solution would not be hosted on WordPress).
Why would you do this much work? Lots of reasons:
Maybe you want more customization for your website
Maybe you don’t agree with Substack’s policies
Maybe you want to make money on display ads or any type of sponsorship content in a more efficient way
Maybe you want to offer more than one payment option or different tiers
Maybe you want to add a beautiful blog to your existing site we built in this article
Or one of any number of other reasons that send people to use other hosts.
Now, a special surprise!
If you’ve gotten this far, it means you are dedicated to the cause, so I wanted to give you something awesome. So, here is a link to the template I built.
If you want to learn how to import it into your Elementor account, here are some instructions.
This is so great! I only wish you did this exact article but with Squarespace. I left WordPress a few years ago due to the hastle of all the constant upkeep of my wordpress site.....and I need to make my squarespace site....